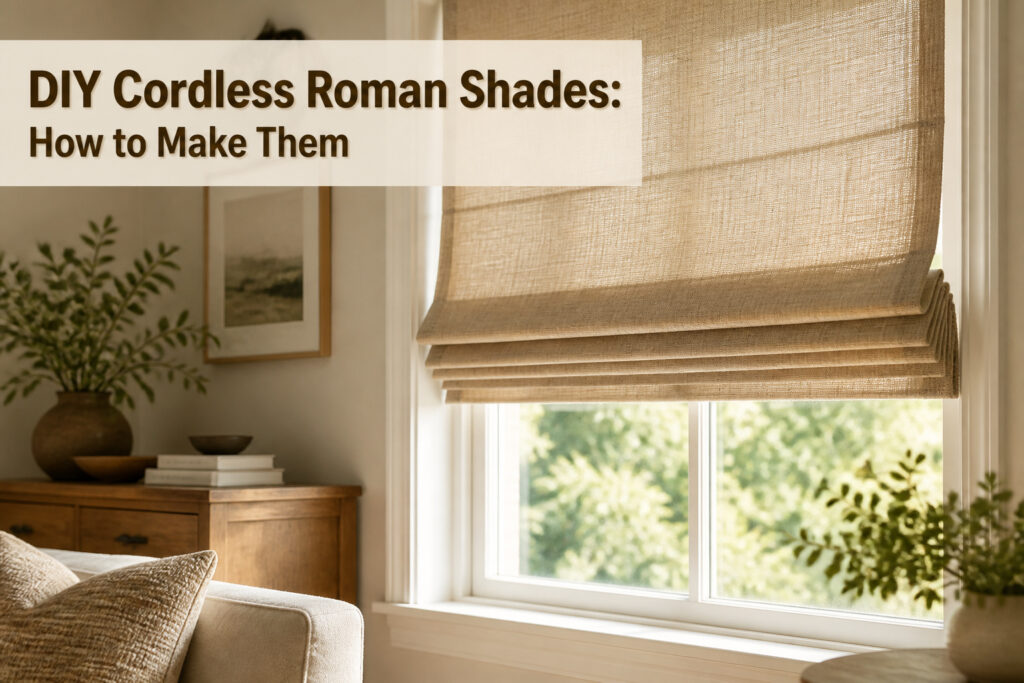
A cordless roman shade is a fabric window treatment that folds into flat pleats as it rises, with the lift mechanism hidden inside the headrail so no cords hang free.
The catch is that the fold has to hold its shape without the tension of pull cords, which means the wrong fabric collapses into limp ribbons no matter how carefully you build the rest.
The method most tutorials use starts with a $7 cordless mini blind from a hardware store: the slats come off, the ladder strings get clipped, and the spring-loaded pulley system becomes the engine of a shade that costs $600 or more to buy custom.
Window Measurements
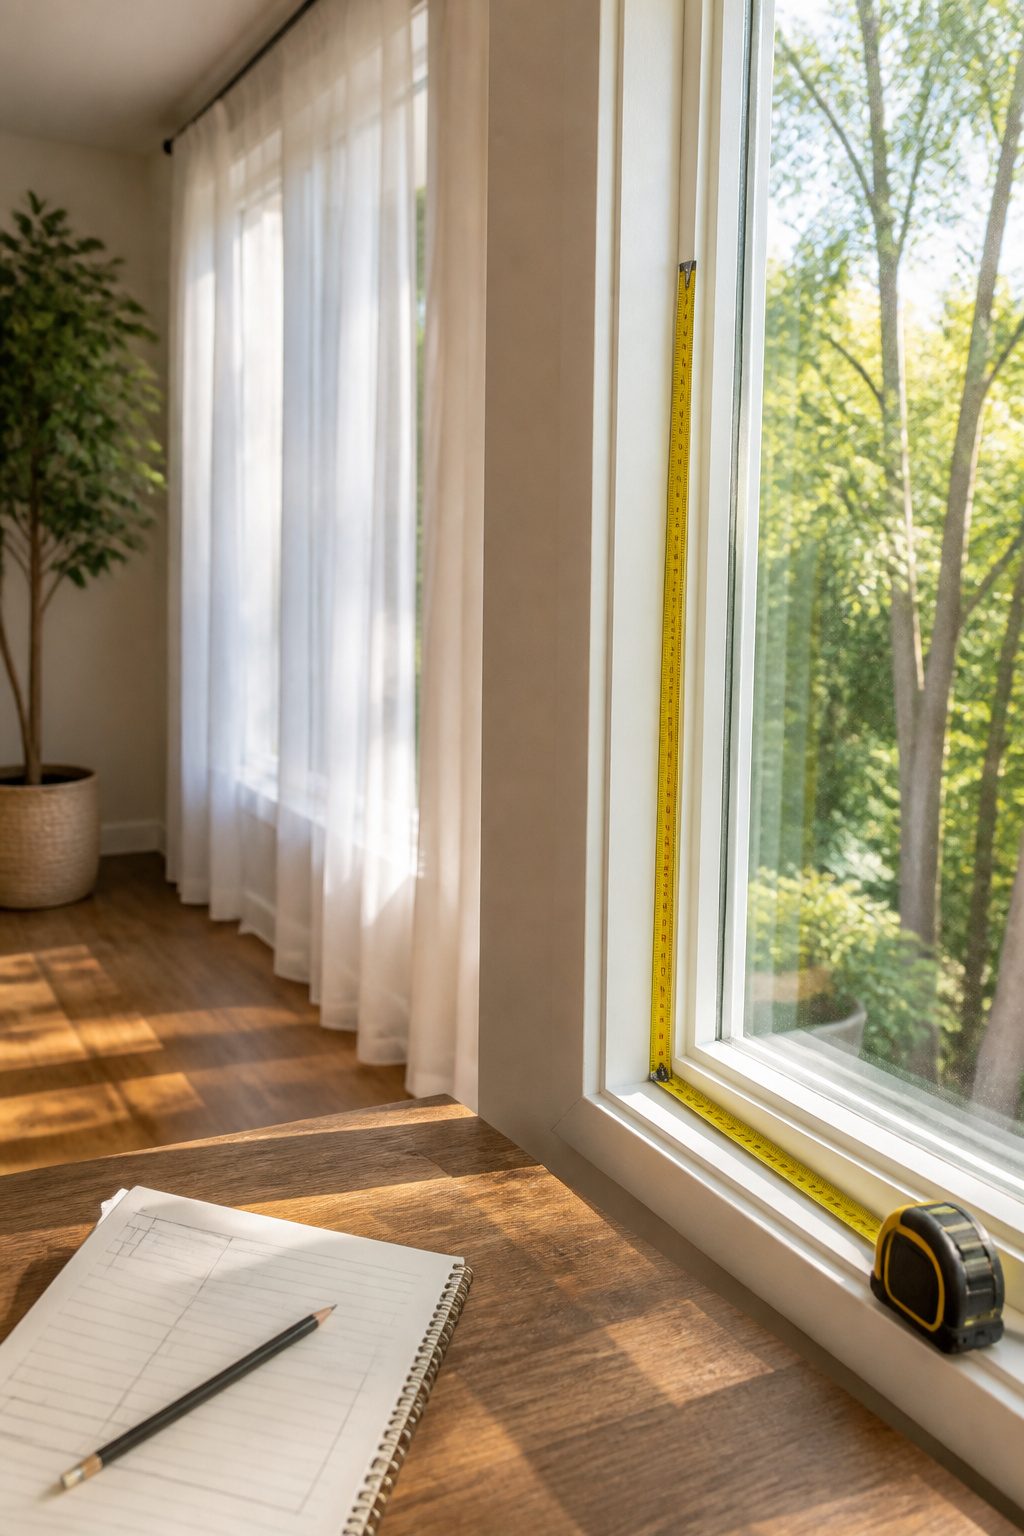
The first time I measured for an inside-mount shade, I recorded the width at three points and took the smallest number, which happened to be 35 inches.
That smallest measurement is what matters, because a window frame bows more often than you’d think, and a shade that fits at the top but jams at the sill is a shade you’ll remake.
For that same 35-inch-wide by 60-inch-long window, the fabric needs to run wider and longer than the opening itself. One approach adds 4 inches to the width and 6 inches to the length for hem and seam allowance.
Another keeps it tighter: 1 inch total added to width and length for seams, then extra length to cover whatever cordless mechanism sits at the top. A 1½-inch mechanism needs another 2 inches of fabric to hide it.
An outside mount changes the math entirely.
There, you want the finished shade to extend past the frame, roughly a half inch on each side, so the fabric cut follows that larger footprint. The seam allowance still applies on top.
**Measure twice at the top, middle, and bottom for width; left, center, and right for height.
Record the smallest of each set.** That pair of numbers drives every cut that follows.
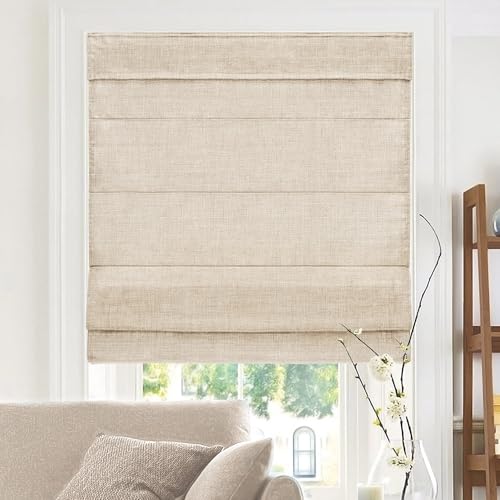
PRIVACY + LIGHT FILTERING (NOT BLACKOUT) – Softens sunlight and provides daytime privacy. At night with interior lights on, silhouettes may be visible (common for light-filtering shades).
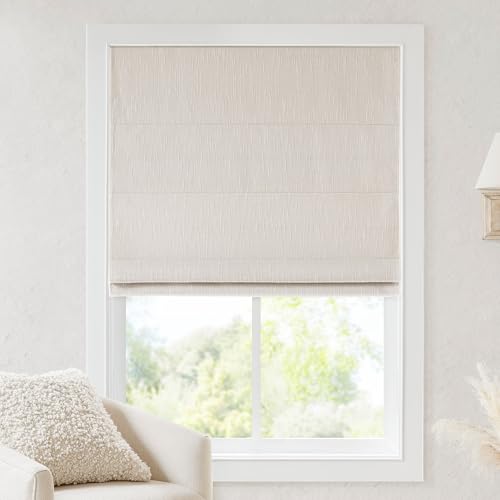
True to size - Refer to our sizing guide image for your perfect fit. SIZE: 33"W x 64"L. Inside mount requires shade 0.5" shorter in width, while outside mount requires shade 3" wider than your window size
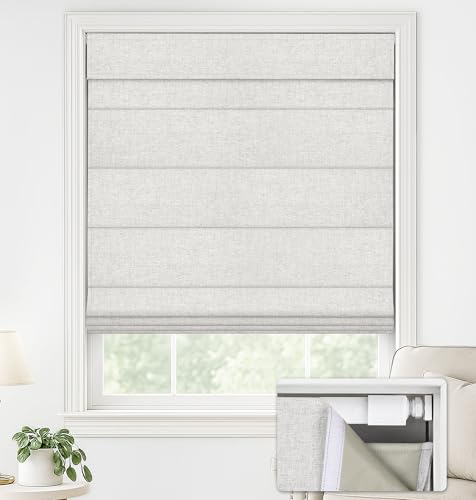
【For inside mount】order the exact width of your window frame. If your frame is 29", buy 29". No deduction – we make it to your exact size
1. Fabric Selection
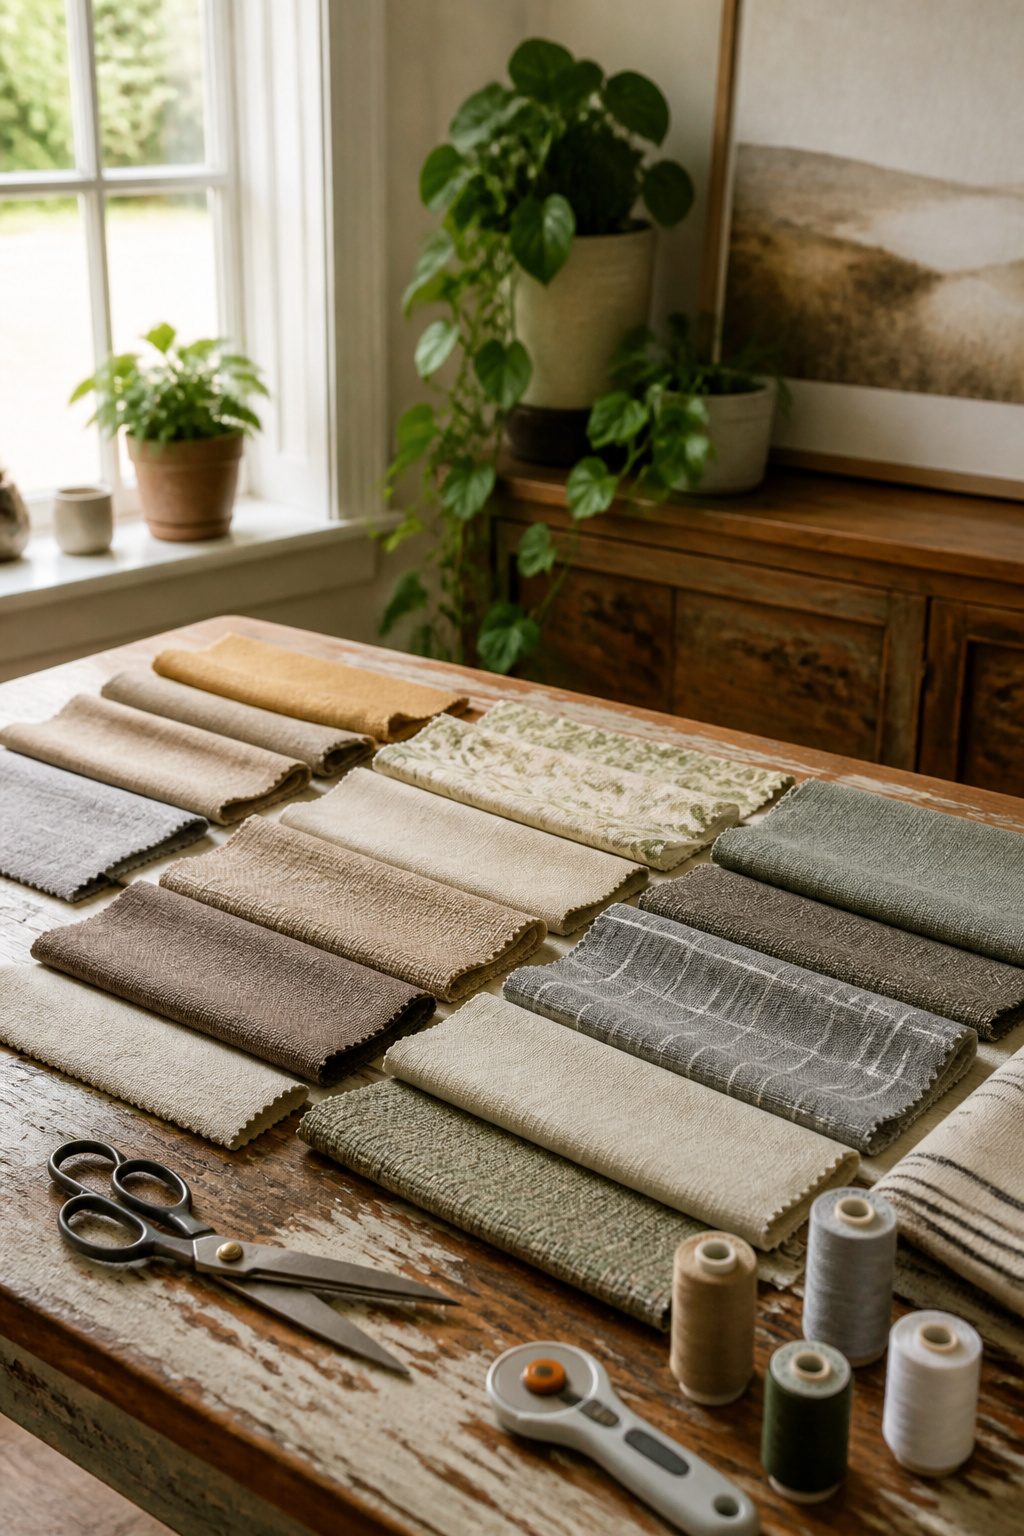
Drapery weight fabric makes the difference between a shade that hangs like a window treatment and one that hangs like a bedsheet.
The sources I read all landed on the same material, and after seeing what lighter cottons do, I get it.
A fabric with some body folds into clean, flat roman pleats instead of sagging between the dowels. Too heavy, though, and the cordless lift mechanism strains; the shade rises unevenly or not at all.
Plan on 1 to 2 yards for a standard window, with the extra length buying you insurance for pattern matching and hems. One project used almost two yards for a 60-inch shade once the valance and seam allowances were factored in.
Patterned fabric demands that extra yardage. If the repeat is even half an inch off between two shades on the same window, the eye catches it immediately.
The sources that bothered with alignment treated it as non-negotiable: start each cut at the identical point in the repeat, match the valance to the shade body, and check before any iron touches hem tape.
Lightweight quilting cotton will bubble and shift as the glue sets.
Upholstery weight fights the fold lines. The middle ground, a true drapery cotton or linen blend, presses flat and stays where you tell it to.

CORDLESS & MAGNETIC DESIGN: Featuring a cordless magnetic lift system, this roman shade offers easy, smooth operation with enhanced safety. Effortlessly adjust the shade to your desired height. Secure magnets and lightweight linen fabric hold it firmly in place, allowing you complete control over light and privacy with flexibility and stability.

CORDLESS MAGNETIC & NO-DRILL DESIGN: Our upgraded Roman shades feature a hassle-free, no-drill installation with ultra-strong sticky velcro that securely holds the shade without damaging your walls. The ingenious cordless magnetic folding system ensures silky-smooth operation while completely eliminating dangerous dangling cords, providing ultimate safety for homes with children and pets, and giving you total peace of mind.
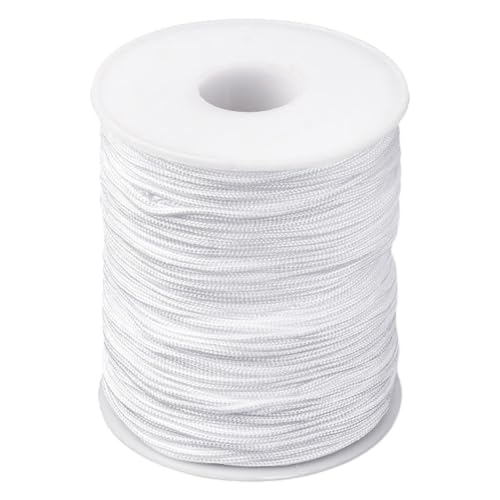
Braided Lift Shade Cord: Made from nylon with a nice satiny sheen; Smooth and soft without snags; Excellent resistance to UV rays, preventing cord strands from drying out and becoming damaged by direct sunlight.
2. Mini Blind Preparation
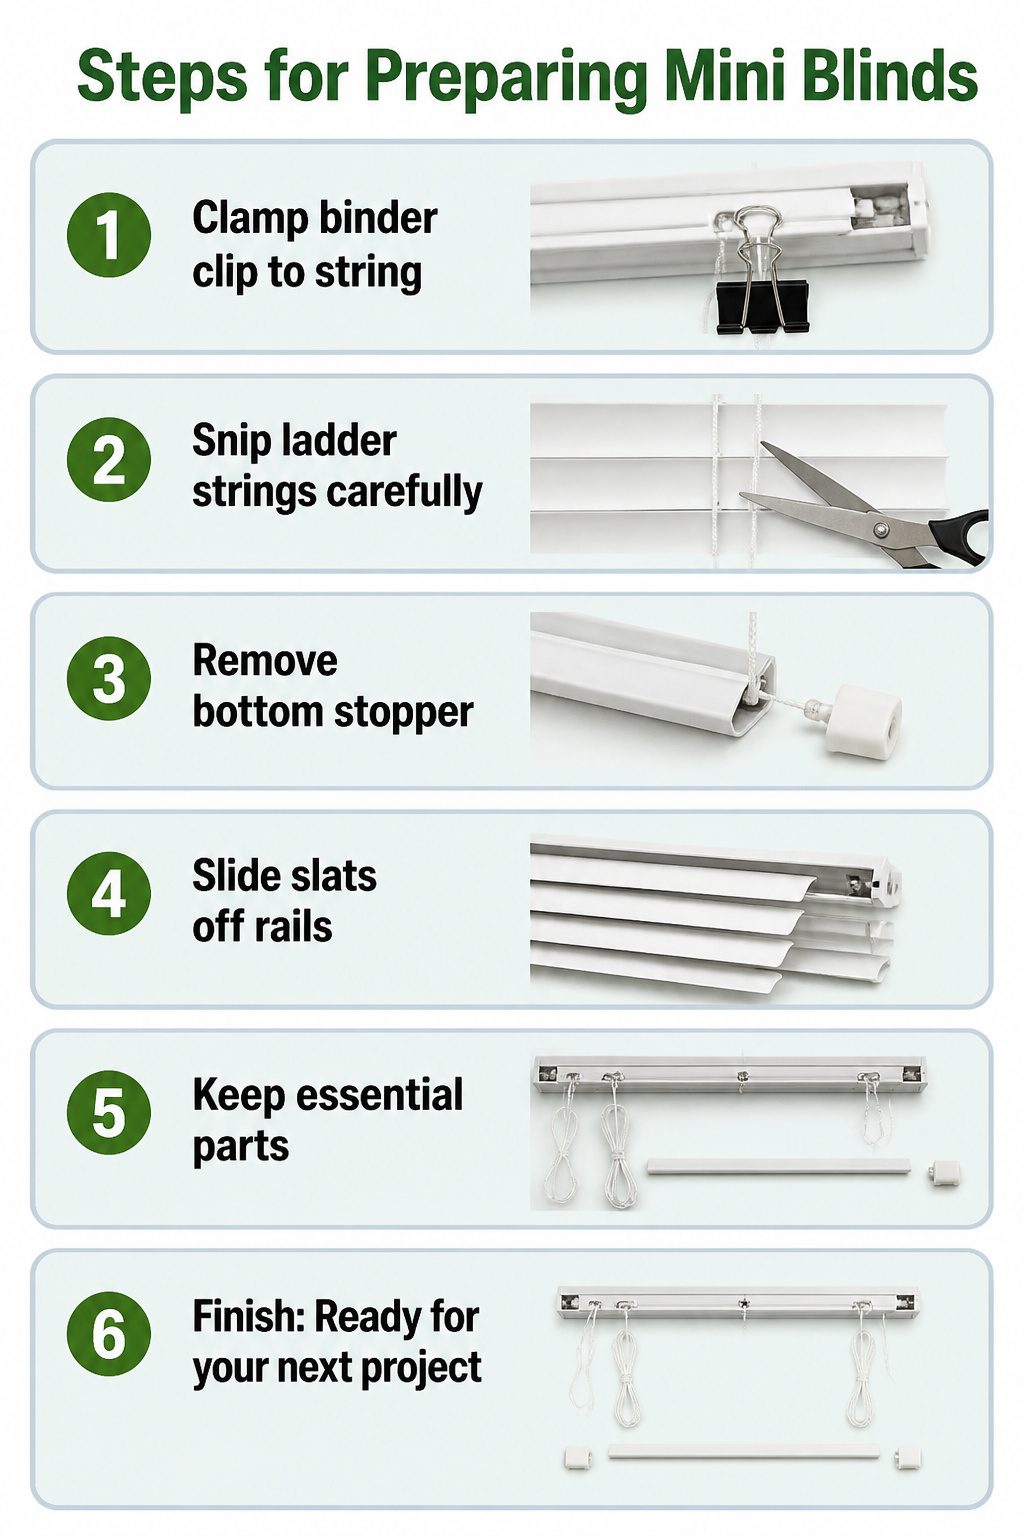
A cordless mini blind in the $7–$35 range is all the hardware you need. I buy the cheapest option at Lowe’s; the slats come off anyway, so plastic or aluminum makes no difference.
- Clamp a binder clip to the pulley string before you cut anything. The string retracts the moment tension drops, and fishing it back out is not how you want to spend your afternoon.
- Snip the ladder strings at the top and bottom of the blind. The ladder strings are the thinner cords running left and right; the center pulley string is the one you keep. Cut that, and the mechanism is trash.
- Remove the bottom stopper and slide every slat off the rails. What you have left: the headrail with its cordless spring, two pulley strings, the bottom bar, and the stoppers. A slat will crack if you force it past a bent rail or yank instead of sliding. The break is clean and loud, like snapping a thin ruler, and the plastic splinters at the string hole.
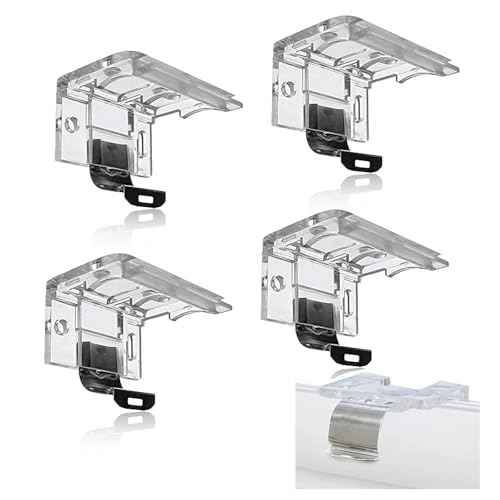
Accurate Sizing and Compatibility: Designed specifically to fit the blind top headrail with a height of 1" (25mm), ensuring a ieal fit for your 1/16" x 1-19/32" x 1-11/16" blinds

PRIVACY + LIGHT FILTERING (NOT BLACKOUT) – Softens sunlight and provides daytime privacy. At night with interior lights on, silhouettes may be visible (common for light-filtering shades).

Size: 1-1/2"x1-3/4"(38x45mm) for the bracket and the wingnut screw length is 1-1/2"(38mm)
3. Cut and Sew Fabric
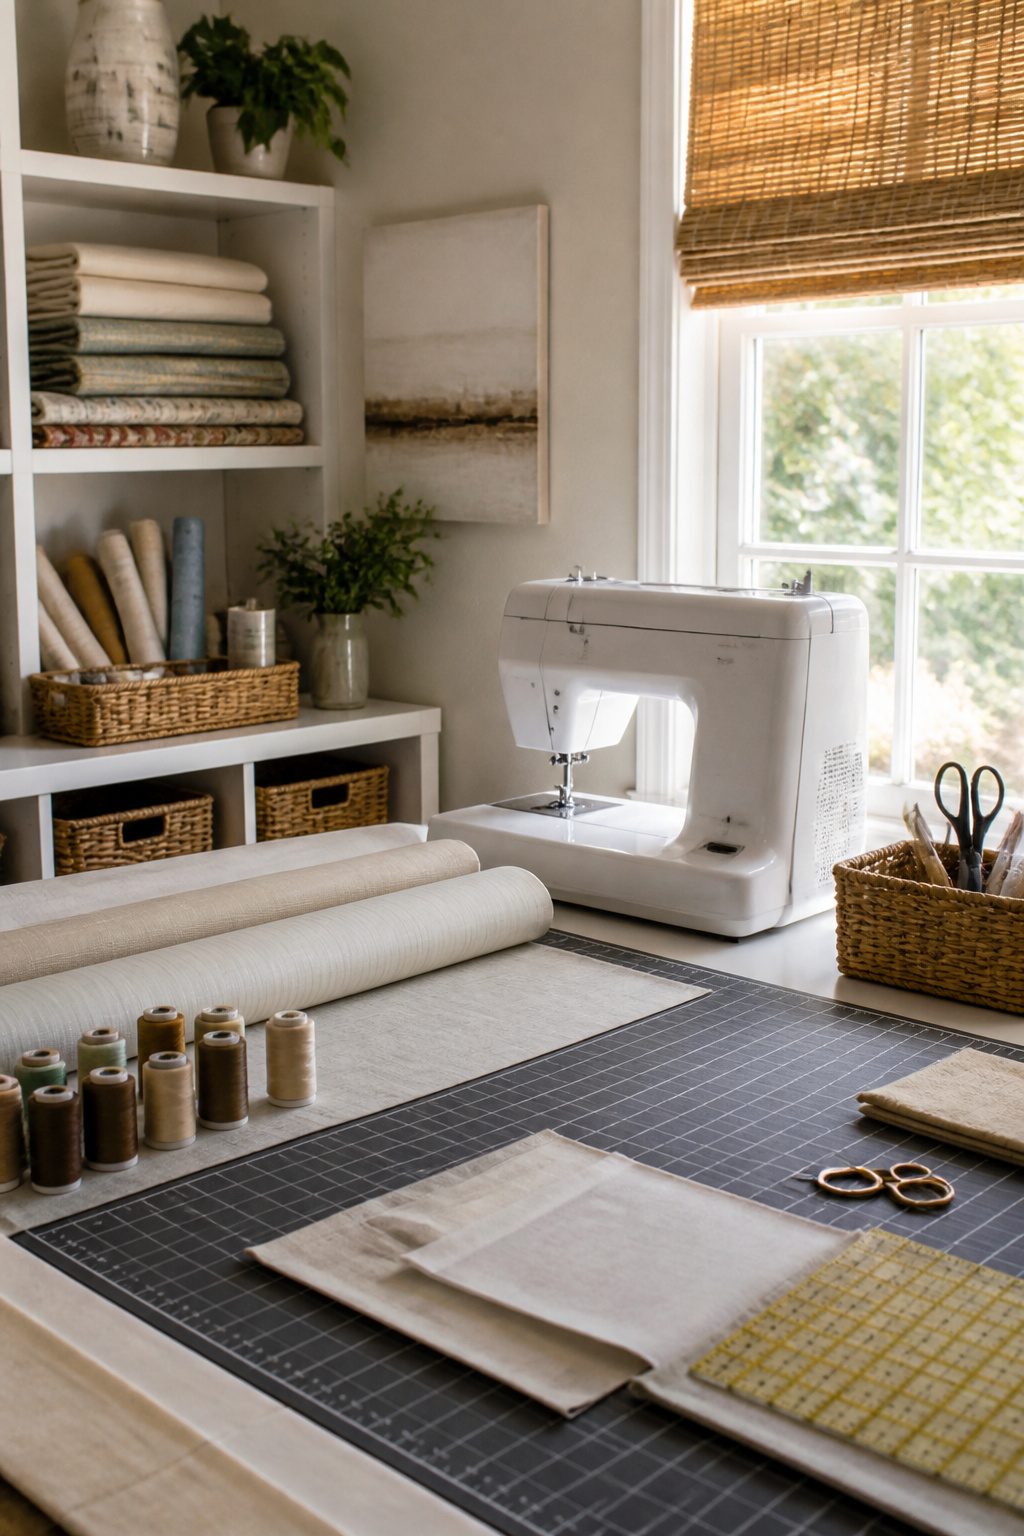
Cut fabric to size by adding 4 inches to the width and 6 inches to the length of your window measurements.
That extra fabric folds into hems on all four sides, and the length allowance also covers the blind mechanism at the top.
I ironed my fabric flat before marking anything.
Wrinkles hide where the edge actually sits, and a crooked cut turns into a crooked shade faster than you’d think. For the hems themselves, you have two paths.
A sewing machine gives a cleaner finish on heavier fabric, but iron-on hem tape works if you do not sew. The tape needs a medium-heat dry iron, about eight seconds per section, then time to cool before you touch it.
Peel-and-stick hem tape speeds things up even more; I have run the smooth handle of my scissors across the fold to press the tape home when an iron felt like overkill.
Glue is faster than either tape method.
Tacky glue holds a double fold without the bulk, though on thick fabric the glue can seep through and stiffen the face. Test a corner first.
Where I stumbled was cutting the hem allowance too short.
I got impatient, trimmed the fabric closer than those four and six inches, and ended up with a bottom hem that barely gripped the tape. The fold pulled loose after two weeks of raising and lowering.
Leave the full allowance, even if the extra fabric seems wasteful while you are working. You cannot add it back.

Compatibility: These cordless shade handles fits onto the bottom rail of some new (made since 2015) Graber or Bali cordless honeycomb/cellular shades

Compatibility: These cordless shade handles fits onto the bottom rail of some new (made since 2015) graber or bali cordless honeycomb/cellular shades

MULTI-CORD CAPACITY: Specifically designed for Roman and Austrian shades, holding up to 5 cords with a 2" x 3/4" base.
4. Attach Fabric to Blinds
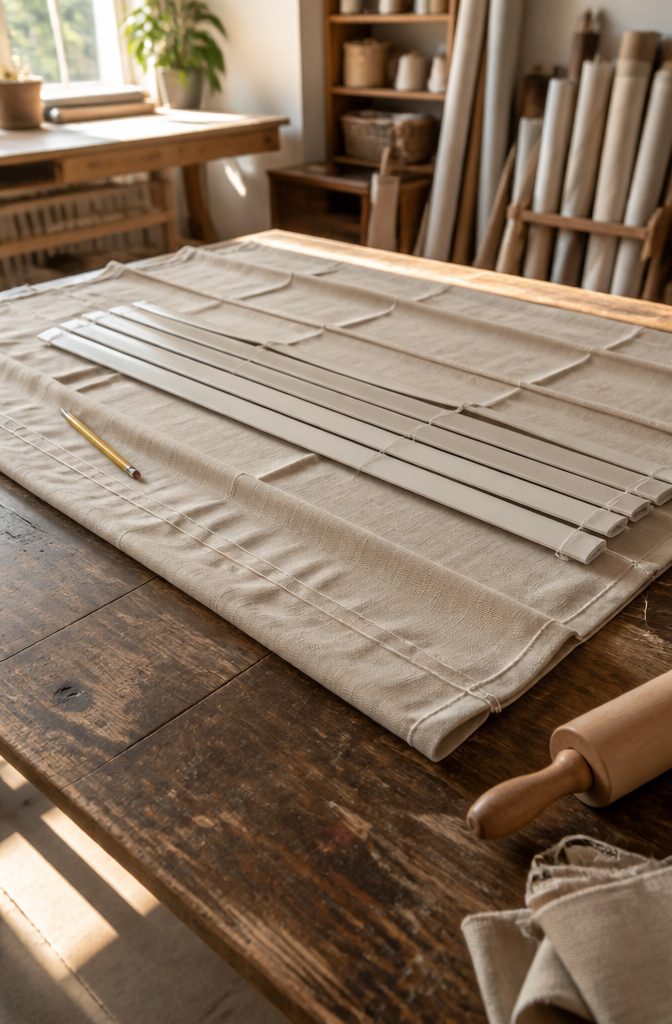
The fabric and the blind mechanism meet on a flat surface with the wrong side of the fabric facing up. Lay the mini blind across it so the slats you kept sit where you want the folds to form.
Mark both edges of the fabric at each slat with a light pencil line or a pin, because the glue stays wet long enough for a sneeze to shift everything an inch.
Work one slat at a time. Flip a slat over, run a thin squiggly line of fabric glue along its rounded side, flip it back and press it into place.
The top bar gets the same treatment, leaving a quarter to half inch of extra fabric above it for a clean finished edge.
At the bottom, the blind’s bottom bar doubles as the final slat, with a few extra inches of fabric below it to hide a weight bar inside the hem.
Fabric fuse works here too, applied to the top of the shade fabric with the mechanism placed face down and aligned to the edge.
Go light either way, because glue that bleeds through the face of the fabric ruins the whole piece and there is no recovering from it.
Pins help keep the fabric straight while the adhesive sets. Slide them in just above the fabric line at each seam, pull them once the bond holds, and move to the next section before the glue skins over.

Package Includes: You will receive 1 roll 2mm Roman Curtain Cord, 50m in total length. The ring size is about 14x3mm, inner diameter is 8mm with 100 pcs. The roman shade cord lock size is 36x45x19.5mm with 2 bags. Sufficient for daily use and replacement

Material: High-quality metal construction for durability and long-lasting performance

Roman Shade Repair Kit: you will get 100 pieces clear roman curtain rings and 55 yards braided nylon roman shade cord; Suitable for replacing worn, frayed or broken blind strings; This roman blind replacement set also works for DIY handmade roman curtains and craft blind projects for home windows
5. Install the Shade
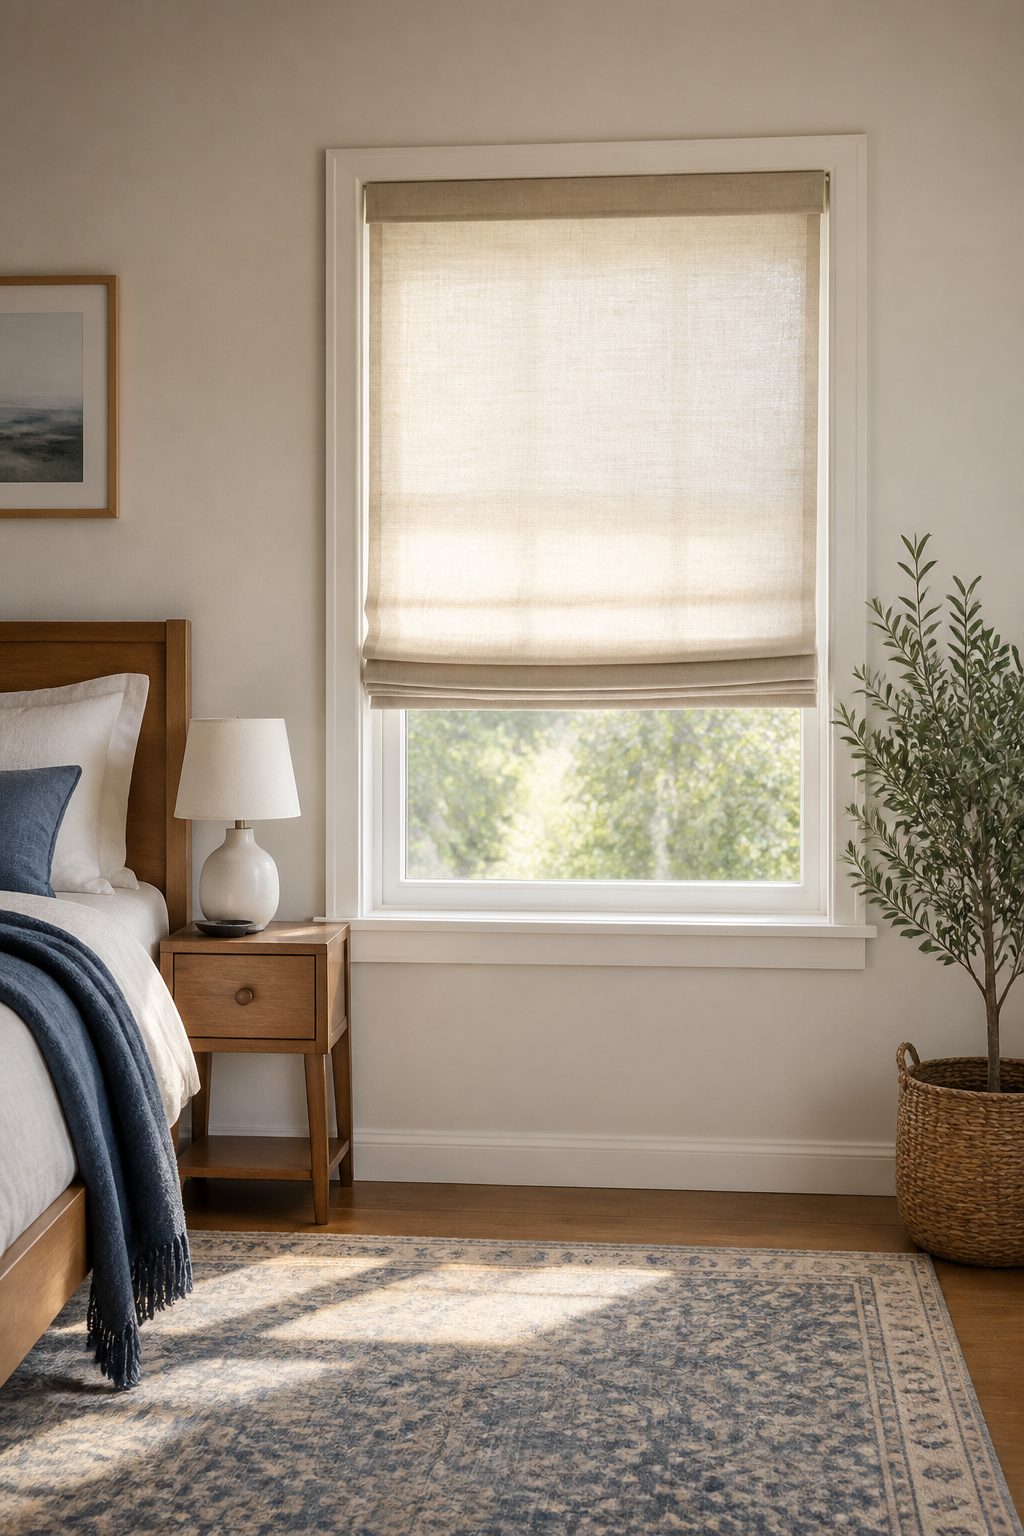
Mounting starts with a choice that affects every measurement after it. An inside mount sits within the window frame, so the finished shade needs to be just smaller than the opening itself.
An outside mount overlaps the frame by about a half inch on each side, which hides uneven trim and blocks more light.
I have gone wrong here by measuring the fabric for one and installing for the other; the shade puckered at the edges and I had to start the top seam over.
For a standard install, the mini blind headrail carries the load. Drill pilot holes through the rail, then drive screws into the frame.
The velcro bond between headrail and shade holds the fabric close, but the fabric will pucker if one person drills while the other lets the shade sag. Two sets of hands matter more here than anywhere else in the build.
Renters have another path. The hollow top of a mini blind mechanism gives no flat surface for adhesive, but the bottom rail below the slats does.
3M Command Strips can anchor to that solid strip, letting the shade hang without a single hole. The strips hold less weight than screws, so this works best on lighter fabrics and smaller windows.
A failed mount announces itself early. The headrail pulls away from the frame, or the velcro separates because the shade was too heavy for the adhesive.
The fabric bunches at one side, which means the rail is not level. Catching this before the final press saves the work underneath.

This roman shade features a beautifully textured linen blend fabric in a soft white tone creating a natural look and feel, while the lightweight fabric lets the right amount of light into your home for a bright, yet soft and airy touch

[Multi-Purepose]:Joydeco blackout roman shades block 100% of sunlight and UV rays, providing excellent insulation to keep rooms cool in summer and reduce heat loss in winter. Highly durable and easy to clean, they’re perfect for bedrooms, nurseries, living rooms, kitchens, and offices—helping you create a consistently comfortable environment.
【For inside mount】order the exact width of your window frame. If your frame is 33", buy 33". No deduction – we make it to your exact size
6. Finishing Touches
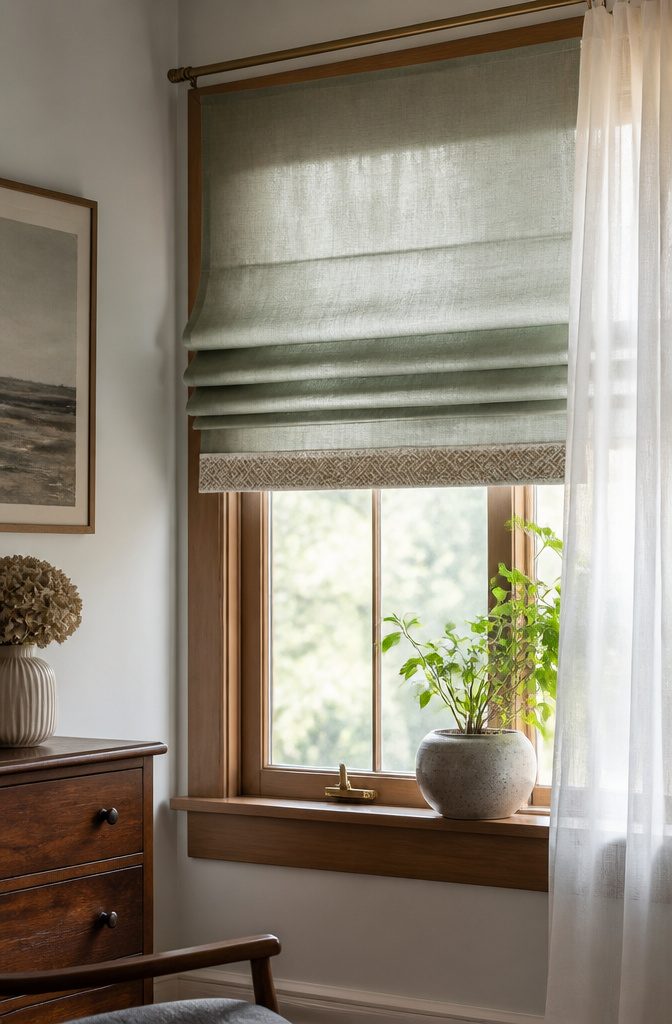
The last thing you want is a shade that balloons out from the window on a breezy day.
5/16-inch wooden dowels slipped into the rib pockets solve that. Without them, the fabric pools instead of folding, and the whole thing looks like a bedsheet hung on a whim.
I cut mine slightly shorter than the backing width, scored them with a utility knife, and snapped to length, the same way you’d break trim for a clean edge.
Tear Mender or fabric glue holds the dowels in place if you’d rather not sew channels closed. Test it on scrap first; some fabrics let the adhesive bleed through to the face, and that mark does not wash out.
For the bottom fold, the standard trick is to make it half the length of the folds above so it tucks behind them when raised.
I wanted mine to hang below the stack to show a trim, so I added two inches to that half length and ended up at seven inches. The shade still stacks fine, just with a little skirt at the bottom.
Decorative trim goes on before you thread cords or mount hardware. Once the rings are tied and the lift system is in, any hand-sewn edge work becomes a contortion act.

TIMELESS CHARM: Elevate your home with our Floral Velvet Roman Shade, featuring a moody dark botanical print with antique accents against a deep black background. The blooming roses and trailing vines evoke old-world opulence, while the plush velvet fabric adds a tactile, luxurious feel. It's a bold design statement that transforms any space into a sophisticated, moody retreat—where every glance feels like stepping into a curated vintage boutique.

PACKAGE INCLUDES: 1-piece tie up curtain. Made of linen texture fabric. Extremely soft to touch., imported.
True to size - Refer to our sizing guide image for your perfect fit. SIZE: 34"W x 64"L. Inside mount requires shade 0.5" shorter in width, while outside mount requires shade 3" wider than your window size
7. Cordless Methods Compared
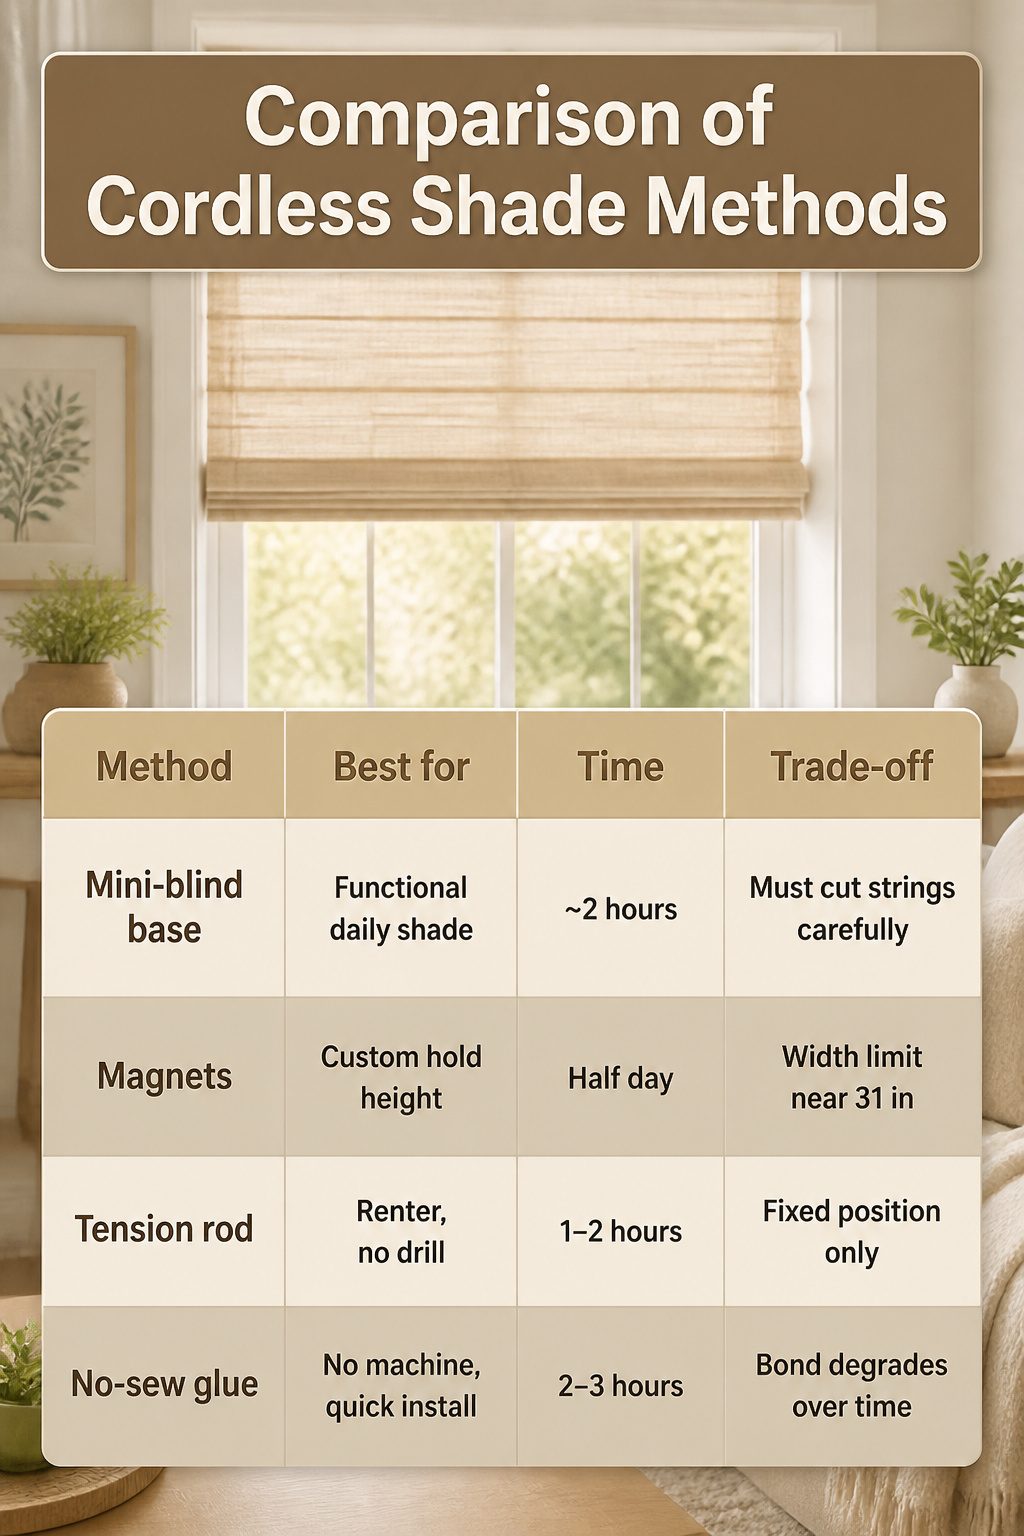
The mini-blind hack still dominates most tutorials for a reason: a cordless mini-blind gives you the lift mechanism ready-made, and the project clocks in around two hours once fabric is prepped.
Fabric glue like Fabri-Tac bonds the shade to the slats, though testing it on your fabric first matters, some materials show adhesive through the weave.
Magnets came from a mother-daughter FaceTime call, not a craft store aisle. Small neodymium magnets sewn into the side seams let the shade hold at any height without hardware.
The method works best under 31 inches wide; at 46 inches the magnets slip and need tweaking. Budget stays low, well under $200 for five windows, but patience is the real cost.
Tension rods and no-sew glue methods trade durability for speed. A tension rod with glued fabric folds creates a stationary faux shade in an afternoon, fine for a window you never open.
No-sew glue methods skip the machine entirely, using fusible tape or adhesive hems, they last until humidity or sun weakens the bond.
| Method | Best for | Time | Trade-off |
|---|---|---|---|
| Mini-blind base | Functional daily shade | ~2 hours | Must cut ladder strings carefully |
| Magnets | Custom hold height | Half day | Width limit near 31 in |
| Tension rod | Renter, no drill | 1–2 hours | Fixed position only |
| No-sew glue | No machine, quick install | 2–3 hours | Bond degrades over time |
For a first project, the mini-blind route forgives mistakes.
Magnets reward narrower windows and someone who enjoys tinkering. The faster options save hours now and cost you remaking later.

Truly No-Drill Installation for Easy Seasonal Changes: Change window treatments with the seasons without creating screw holes. Place the headrail inside your window frame and tighten the silicone expansion brackets to lock securely, supporting up to 15 kg. This system holds firmly and removes cleanly when switching to insulated shades for colder months. Designed for inside mount only, it fits windows 22 to 37.5 inches wide by 64 inches high with a 2 inch minimum frame depth.

【No Drill Tension Rod Installation】Fast inside mount without drilling, screws or extra hardware. Upgraded tension rod system clips firmly to window frames, no wall damage left after removal. Perfect for renters, dorms, apartments and temporary living spaces.

【No Drill Tension Rod Installation】Fast inside mount without drilling, screws or extra hardware. Upgraded tension rod system clips firmly to window frames, no wall damage left after removal. Perfect for renters, dorms, apartments and temporary living spaces.
Materials and Costs
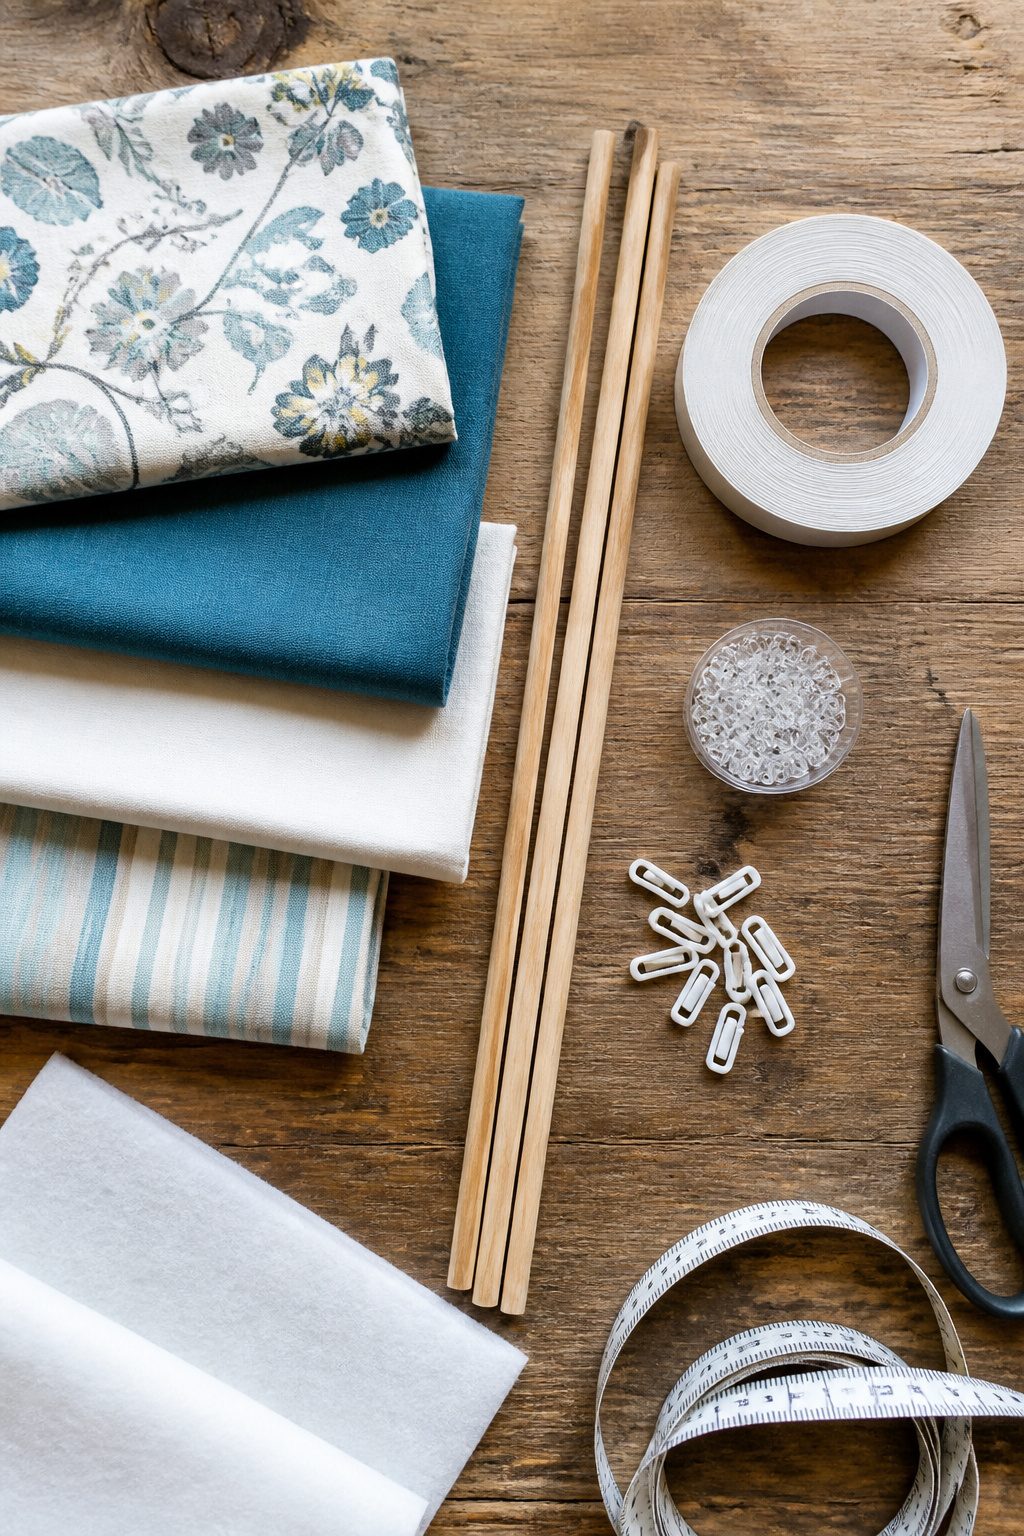
Most projects finish under $20 total, which is why this hack stuck with me when I first read through the tutorials. Here is what goes on the shopping list:
- Fabric and lining: 1–2 yards, depending on window size. Leftover sheets work fine; one maker used spare pendant-light fabric.
- Cordless mini blinds: $7 at the low end for a basic vinyl model, up to $35 if your length is harder to find. The slats come off anyway, so plastic versus aluminum does not matter.
- 5/16-inch wooden dowels: these become the shade’s horizontal rails.
- Adhesive: fabric glue or a hot glue gun. Fabri-Tac is one name that comes up, though testing it on your fabric first is smart, since some formulas show through once dry.
- Thread: if you are sewing rather than gluing.
- Roman shade rings and decorative trim: optional, but the rings matter if you want a classic pleated fold.
Custom quotes for a single non-standard window run $600–$800, with some climbing past $1,500. Against that, even the $35 "premium" blind looks like a rounding error.

[Wide Compatibility & Precise Fit] These 3/4" literise cordless shades handles are compatible with Graber, Bali, Levolor and Kirsch cordless honeycomb/cellular shades manufactured since 2015. This cellular bottom rail handle fits 3/4" pleat top-down bottom-up cordless shades, matching bottom rails measuring 1/2" thick by 3/8". Each handle is 1.93" long and 1.22" wide. Please confirm your shade rail specifications before purchase


Braided shade lift blinds cord: 1.4 mm width, 109 yards/100 meters a roll; The maximum weight it can resist is 54 kg (120 lb), please use it in the bearing limits
Safety and Cordless Design

Cordless roman shades remove the one part of older designs that makes them dangerous to young children: the exposed lift cord.
A looped cord or even a single dangling length can wrap around a neck in under a minute, and the hazard is worst where cribs, changing tables, or playpens sit near a window.
The Consumer Product Safety Commission has recalled millions of corded blinds over the last two decades, and voluntary standards have steadily tightened, but retrofitting old shades is often more trouble than building cordless from the start.
The cordless mechanism hides the lifting system inside the shade itself. Fabric panels rise on an internal track or spring-loaded tube, so nothing hangs free for small hands to reach.
For a nursery or any room where a child sleeps unsupervised, this is the difference between a shade you trust and one you check twice.
Sailrite puts the risk plainly in its roman shade instructions:
"Warning: Cords can be hazardous, even fatal, to young children. Keep cords out of reach of children. Keep cribs, playpens, and other furniture away from cords. Do not tie cords together or allow cords to twist or loop together."
— Sailrite
That warning was written for corded shades, which is exactly why this project skips them.
A cordless build costs roughly the same in materials and adds no more than an hour to assembly, mostly in fitting the internal lift hardware. The peace of mind is immediate, and it lasts until the shade itself wears out.

Sufficient for replacement: you will get totally 4 pieces (2 sets) roman shade wall l brackets in one package, enough quantity for meeting your daily demands; They can surprisingly work well

Scope of application: The mounting L bracket are suitable for wooden blinds,roma blinds&other similar style curtain. It can be used in kitchen, living room, bedroom ,ect.

Sufficient Quantity: presented in a pack of 10 Roman shade cord pulleys; They are made of sturdy galvanized iron and durable plastic material that assures longevity and resiliency; Enough to meet your daily replacement needs and to share with your neighbors; Before ordering, please compare the size and shape on the picture to see if it meets your needs
What I Got Wrong
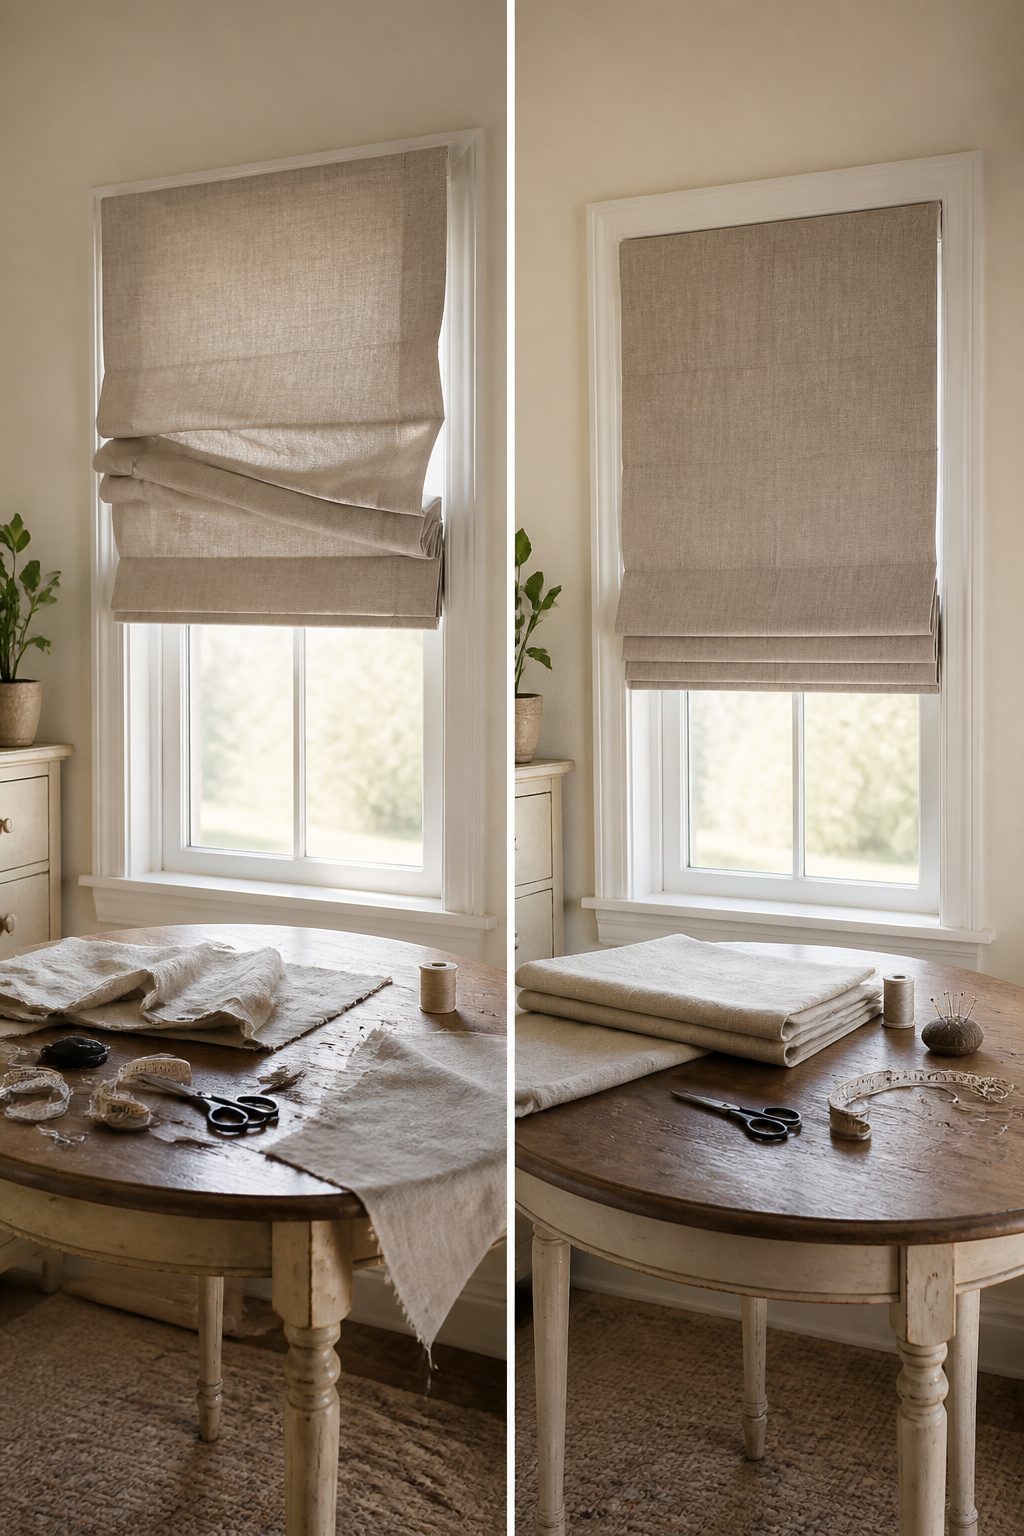
Fabric weight was the first thing that bit me. I picked a cotton voile that looked crisp on the bolt, but once the shade hung, the folds collapsed into limp ribbons instead of stacking clean.
A cordless shade lives or dies by the fold memory; without enough body, the mechanism lifts a wrinkled curtain, not a shade.
Hem allowance was the second mistake, and it came from cutting to the finished size like I was hemming a skirt.
The sources call for two inches on each side, four on top, three on bottom. I gave myself one and a half, thinking precision would save me.
It didn’t. The seam frayed past the fold line within a month.
A few other ways I found the edge:
- Glue failed in a south-facing window after one August afternoon. Iron-on hem tape had peeled on my first attempt; fabric glue seemed like the upgrade until heat softened the bond and the slat slipped. Now I glue, then weight the bond overnight, and I keep the shade out of direct midday sun if I can help it.
- Pattern crept sideways because I pinned at the top and assumed the rest would follow. Stripes need checking at every slat mark, left and right, or the fold lines walk off by an eighth-inch per row. That eighth-inch stacks to a half-inch by the bottom, and the shade looks drunk.
- Installed without a level, trusting the window frame. The frame was out by three-sixteenths. The shade hung straight to itself and crooked to the room, which is worse than honest crooked. I check the frame now, then check again with the shade held up by a single bracket before the second screw goes in.
Frequently Asked Questions
How much fabric do I need for a Roman shade?
Plan on 1 to 2 yards for a standard window. That extra length gives you insurance for pattern matching and hems.
One project used almost two yards for a 60-inch shade once the valance and seam allowances were factored in. If your fabric has a pattern, you will need the extra yardage to match repeats between panels.
What type of fabric is best for Roman shades?
Drapery weight fabric works best. It has enough body to fold into clean, flat roman pleats instead of sagging between the dowels.
A true drapery cotton or linen blend presses flat and stays where you tell it to. Too light and the shade bubbles; too heavy and the cordless lift mechanism strains to raise it evenly.
How do I install my DIY Roman shades?
For a standard install, drill pilot holes through the mini blind headrail and drive screws into the window frame. Two people make this easier; the fabric puckers if one person drills while the other lets the shade sag.
Renters can use 3M Command Strips on the blind’s bottom rail instead, though this works best on lighter fabrics and smaller windows.