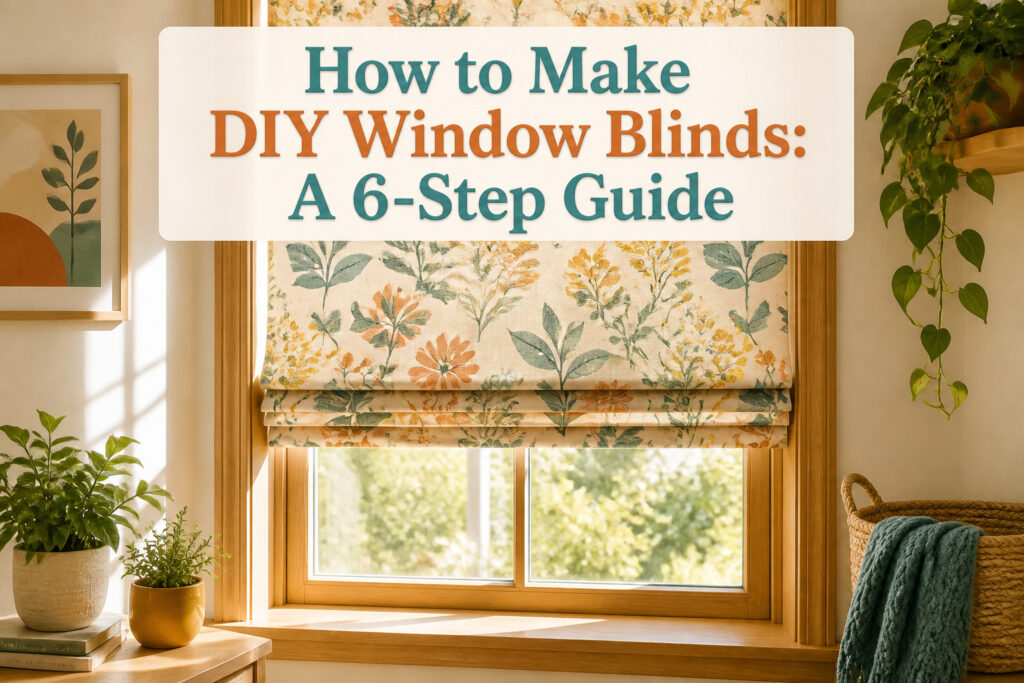
The most useful thing about making your own window blinds is that medium-weight cotton or canvas holds its shape without fighting you, whether you sew or use iron-on hem tape.
The catch is the tape measure: a window that looks square rarely is, and guessing at the kitchen table costs you a second trip to the hardware store.
Measure width at three points top to bottom and height at three points left to right, then write every number down the instant you take it.
1. Measure the Window
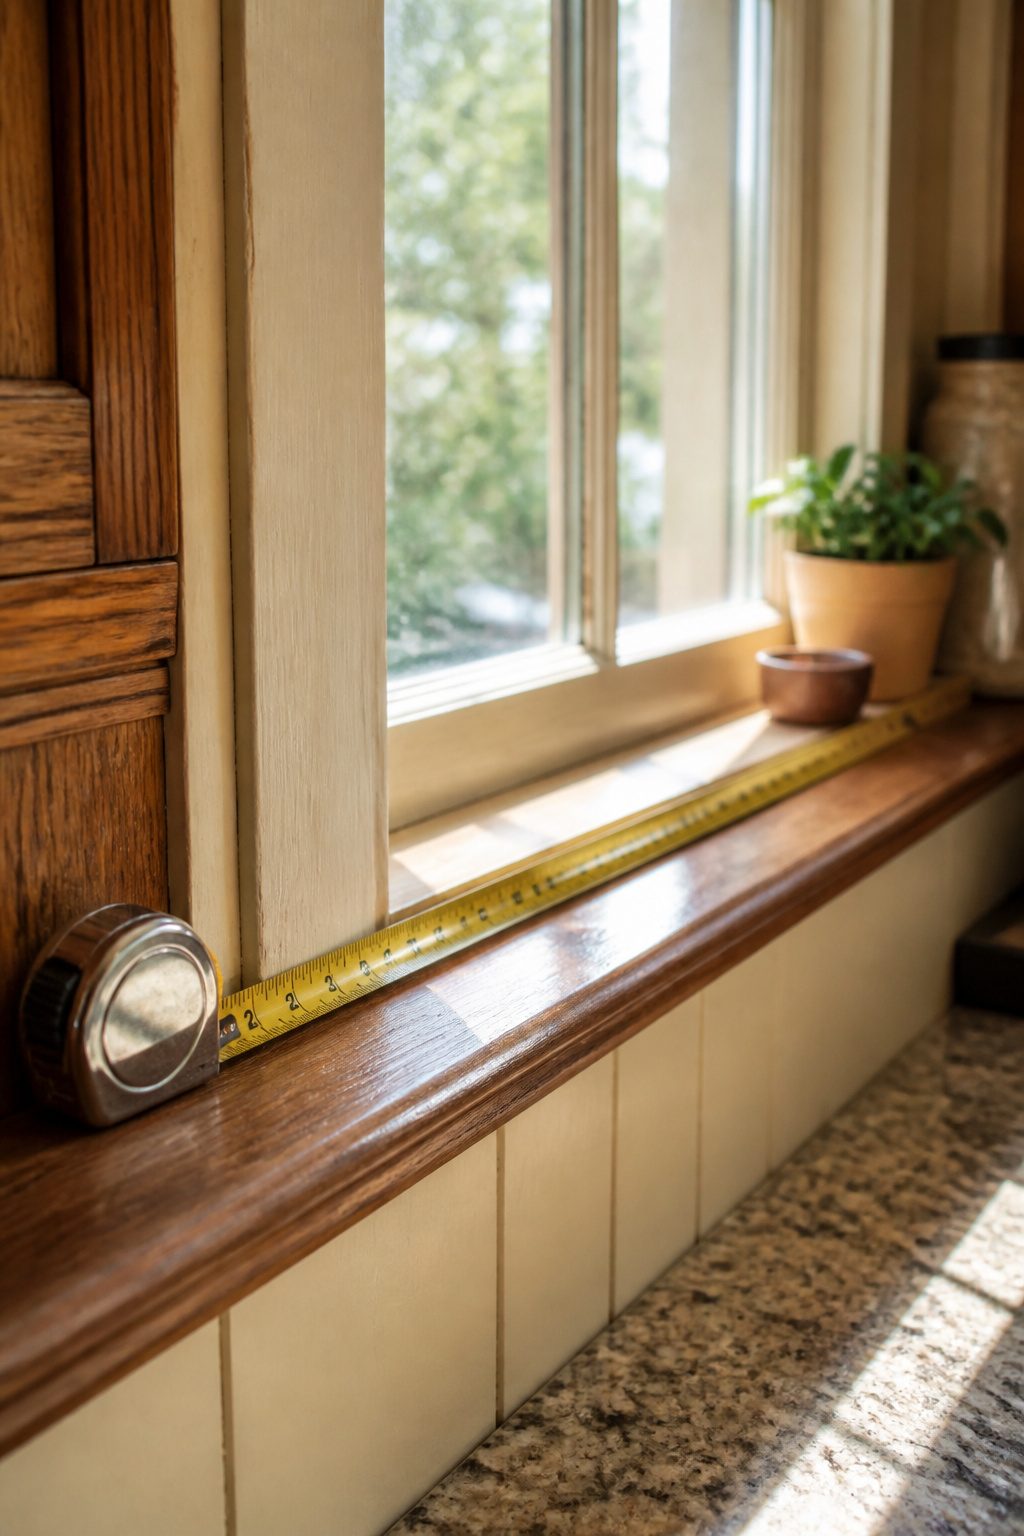
The tape measure is the part of window blinds DIY that ruins more projects than any other tool. I learned that the hard way the first time I assumed a window frame was square.
Start by measuring the width at three points: top, middle, and bottom.
Do the same for height on the left, right, and center. Use the narrowest width and the shortest height for an inside mount so the finished blind actually slides in without binding.
For an outside mount, add a few extra inches to each side so the shade fully covers the window and leaves room for hems.
Inside mount means the blind fits within the window casing itself.
Outside mount attaches to the frame or wall beyond the opening. The choice depends on how much depth your window has and whether you want to hide uneven trim.
Write every number down the instant you take it. Windows that look square rarely are, and guessing at the kitchen table costs you a second trip to the hardware store.

【New way of Magnetic Fasteners + Heat-Resistant Hook Loop Tape 】Fix The Blackout Curtains With 2 Way - Heat-Resistant Hook Loop Tape + Magnetic Closure.Hook & Loop Strips Are Used For Fix On The Top Of The Window, Magnetic Closure Are Used For The Curtain Beside And The Bottom.1 Pair Magnetic Closure Include 1Pcs Metal Board With Thermal Adhesive Tape+1Pcs Black Magnet Board Without Adhesive Tape.Metal Board Stick On The Frame of Your Window,The Blackout Window Cover Will be Clamped Between The Metal Board And Black Magnet Board. Each Part Can Be Tightly Connected Together To Easily Fixed,Removed And Portable.

Inside Measurements Made Easy: Read inside dimensions through the top window with the housing against the far surface. Ideal for cabinets, window frames, doorways and drawers without bending the blade or adding case length by hand.
2. Choose and Prepare Fabric
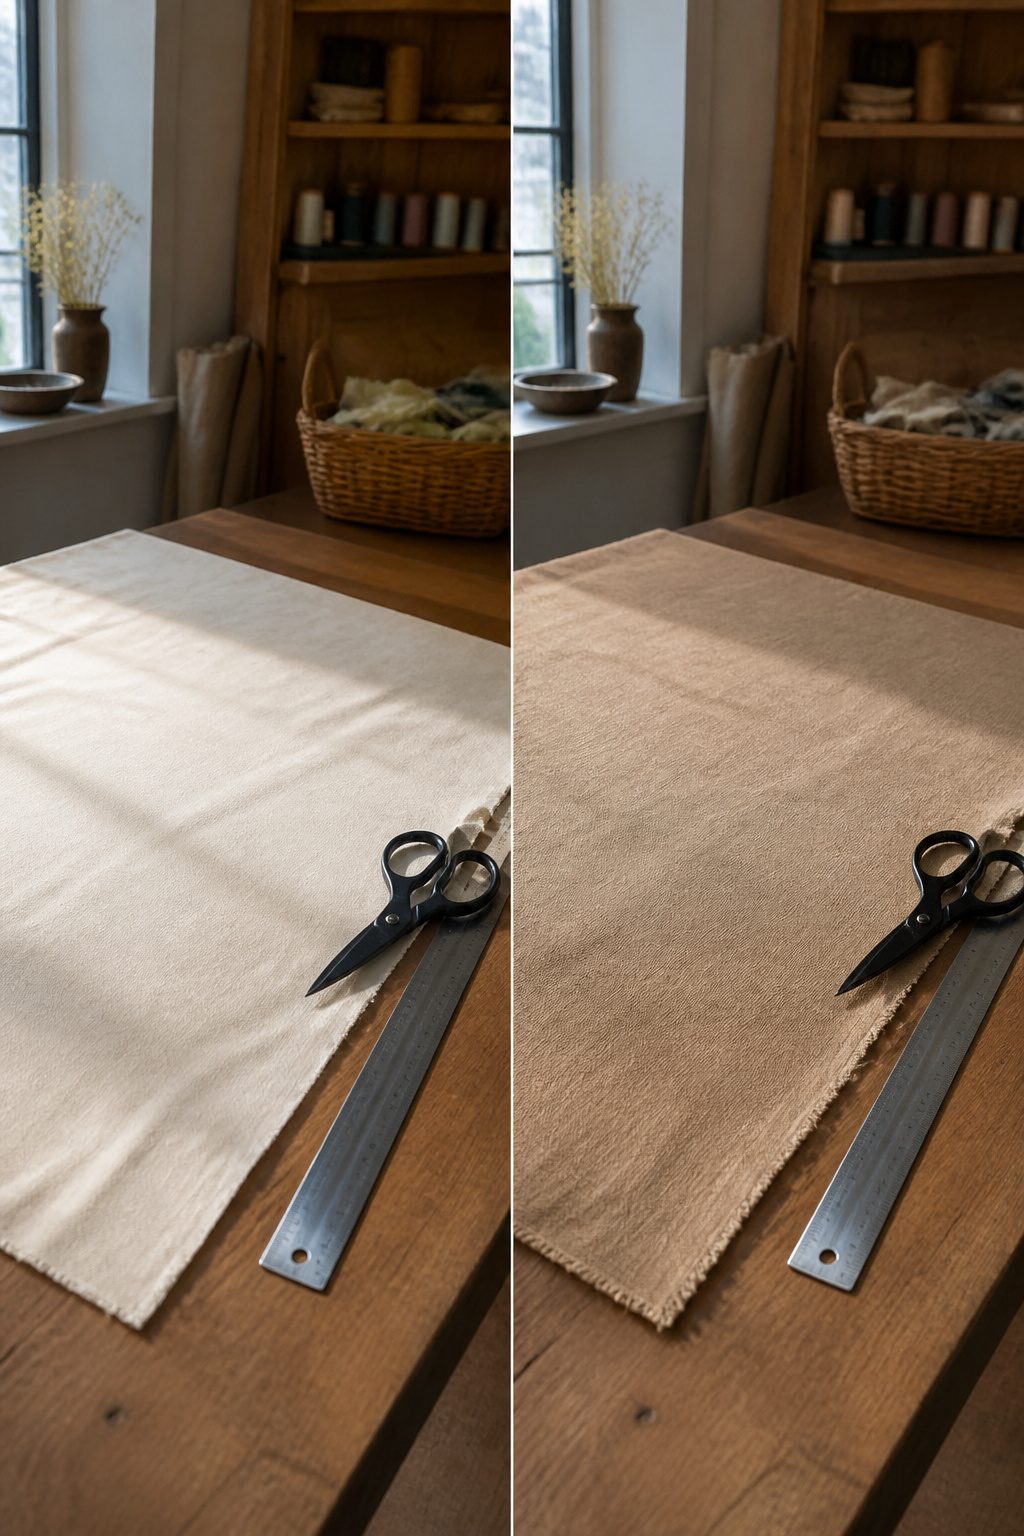
Medium-weight cotton or canvas holds its shape without fighting you, and both take a hem well whether you sew or not.
I look for something that reads right in daylight, since the fabric becomes the wall’s statement once the blind is down.
Cutting starts with the finished size you want, then add one inch on the sides and bottom, three inches across the top if you are mounting with extra fabric up there.
That top border matters more than it looks; it is where the shade meets the hardware, and skimping leaves you wrestling with clip rings later.
No-sew hems are real options, not compromises. Iron-on hem tape, pressed with a hot iron, seals an edge as clean as most machine work if you go slow and keep the fold straight.
Fabric glue works too, though I would test it on a scrap first; some formulas stiffen more than others, and a rigid hem will not roll onto a tension rod evenly.
Either way, the weight of medium-weight fabric helps the blind hang flat without lining.
[PREMIUM QUALITY MATERIALS]:SOTISI canvas is carefully sewn with 100% cotton fabric.10 ounces gram weight ensures higher strength and durability.

【10oz Duck Canvas】Made from tightly woven 100% cotton duck cloth with a thick, durable texture that holds its shape well. Ideal for upholstery, tote bags, sewing, and DIY projects.

[Large Size]: Each piece measures 59 inches(150cm) x 1 yard(36 inches/91.44cm), 280GSM, 10oz. meeting your different needs for DIY projects. Note: The fabric is only cut into 1 Yard by 59-Inch(150cm). When you buy more than one, you will get corresponding pieces which is 1 Yard by 59-Inch, not a continuous piece.
3. Create the Shade Mechanism
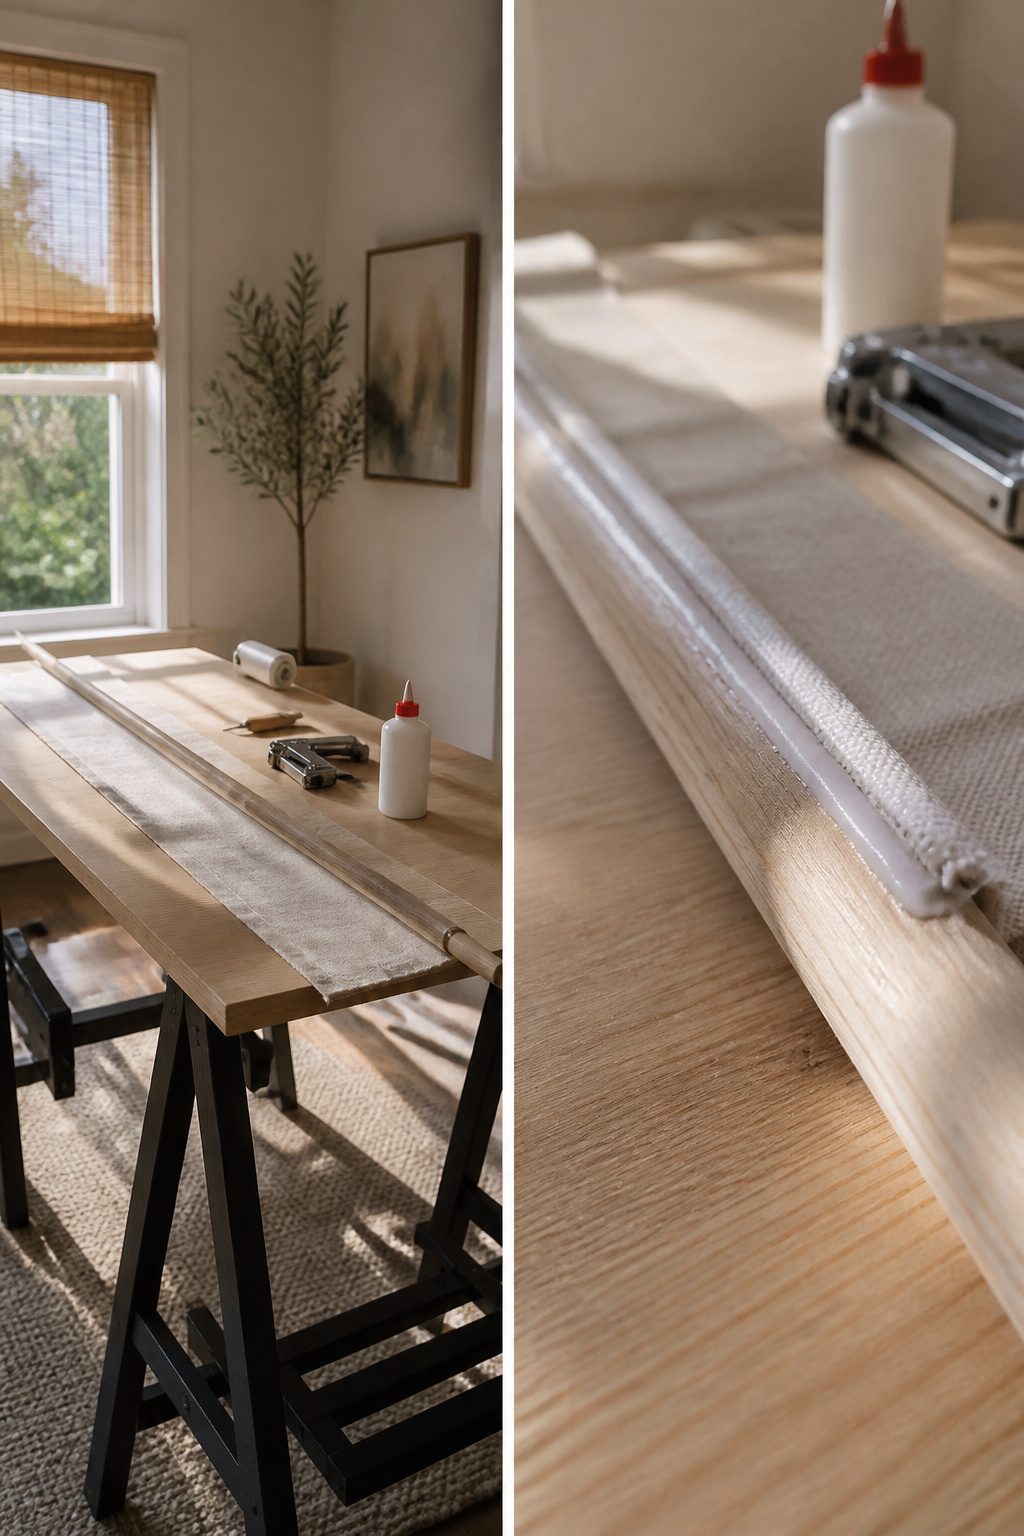
Fabric glue or a staple gun both work for locking the fabric to the roller or wooden dowel, and the choice mostly comes down to how much you trust your own tension.
Glue gives a cleaner face if the shade rolls backward and the attachment shows, but a line of staples along the back edge of a wood dowel is faster and holds better if the fabric has any stretch.
What convinced me, reading through a dozen of these builds, is that either method fails the same way: the fabric has to stay perfectly straight across the width or the roll develops a diagonal creep that never fixes itself.
Smooth roll-up operation depends on that alignment more than on the mechanism itself. Attach the fabric with the roller sitting in a pair of sawhorses or even just across two chairs so you can sight down the length.
Roll it by hand a few turns before the glue sets or before you drive the last staple; if the edge tracks even slightly left or right, peel and reset while you still can.
A scrap dowel rolled into the bottom hem adds weight so the shade drops flat, though one build I read skipped it entirely and still got a clean hang.


Effortless Garment Transformation: Transform your garments effortlessly with our hem tape for pants and dress! This 3/4 INCH x 32 Yards - 60GSM iron hem tape is suitable for quick, temporary fixes

1 roll of Iron-on, double-sided adhesive for easily and permanently hemming garments and home décor without any sewing
4. Add Weight and Finishing Touches
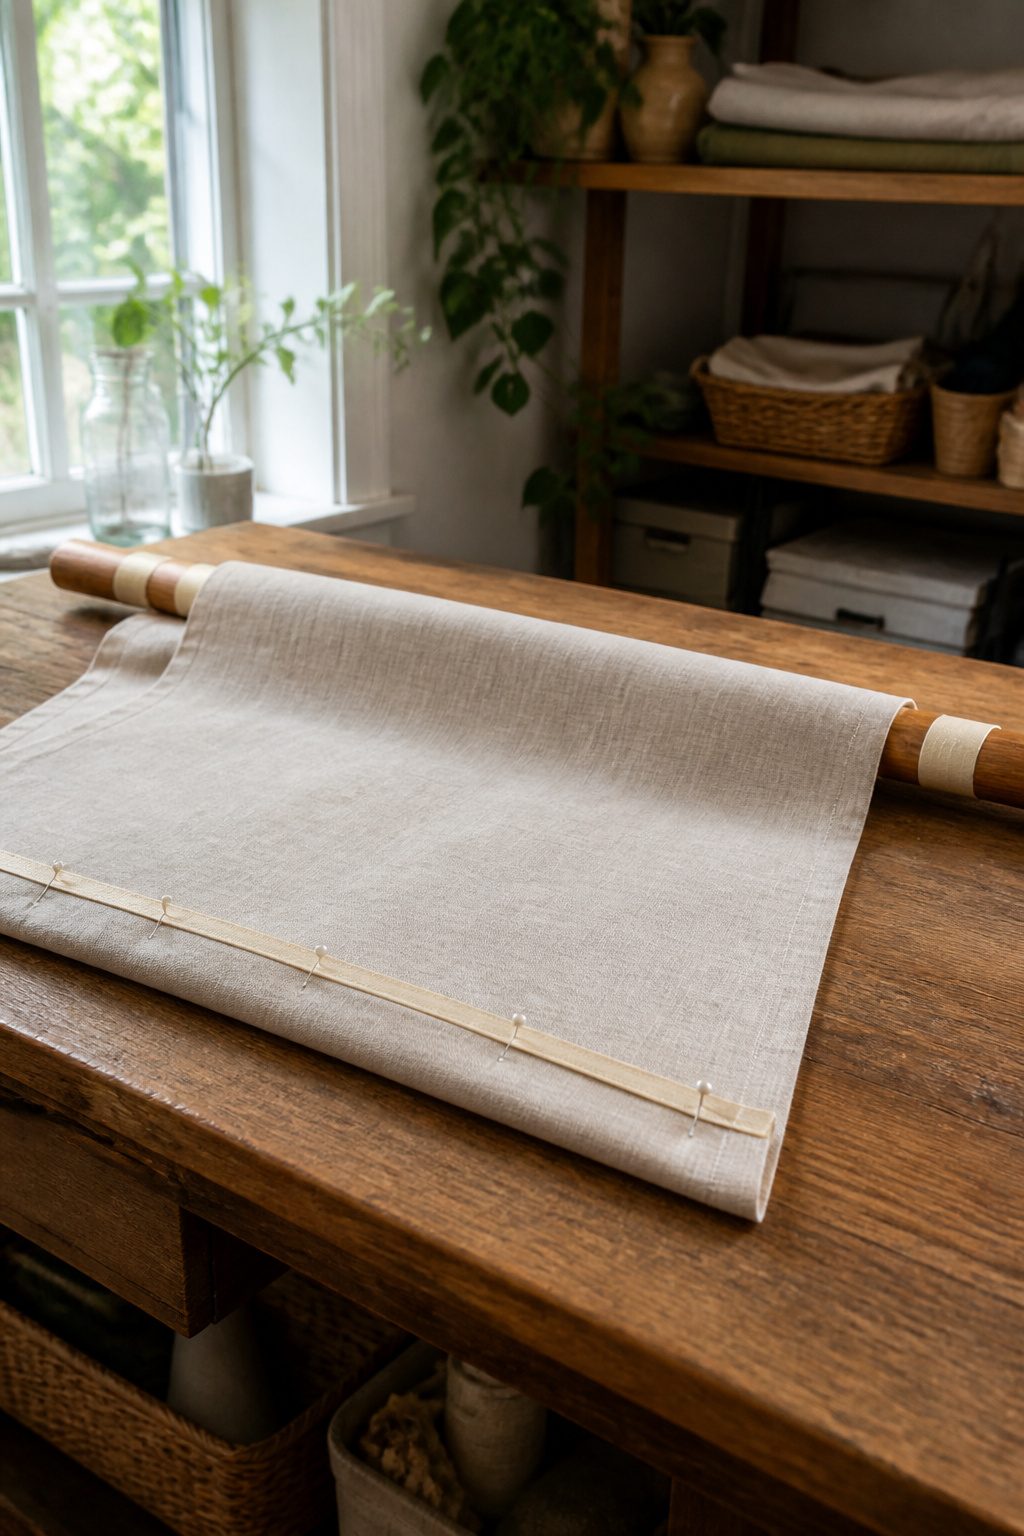
A wooden dowel at the bottom keeps the shade from billowing and helps it roll up evenly. I had the hardware store cut mine to the exact width of the panel; they did it free while I waited.
The fabric gets rolled around the dowel a couple of times and glued in place, same method as the top rod. One source tacked theirs with a few hand stitches instead, which holds the curl tighter but is not required.
If the shade still looks too plain, a strip of grosgrain ribbon or heavier trim along the bottom edge hides the seam and adds some structure.
Pin it to the front so it covers the channel, then sew straight through all layers. This keeps the channel opening from shrinking, which matters more than it sounds if you ever need to remove or adjust the dowel later.
For a tie-up style, two lengths of ribbon glued to the front and back let you roll the shade by hand and secure it with a bow.
Let the glue dry completely before the first roll-up, or the dowel shifts and you are starting over.

100% Blackout Roller Shade: Made of polyester fabric coated with blackout backing. Blocking out 100% light for complete privacy, light control and UV protection for bedrooms, children’s rooms and movie rooms. Excellent for deeper and longer sleepers.

Strong Support: The window shade brackets can easily fix the pulley track, ensuring the normal operation of the roller blind and preventing effectively the roller blind from falling off or loosening.

【Premium & Sturdy Construction】Crafted from high-quality iron in a sleek silver finish, these roller shade brackets for curtain rods over blinds are built to last. They provide robust support for various window roller shades and roller window blinds, ensuring your window treatments stay securely in place without sagging or falling.
5. Install the Shade
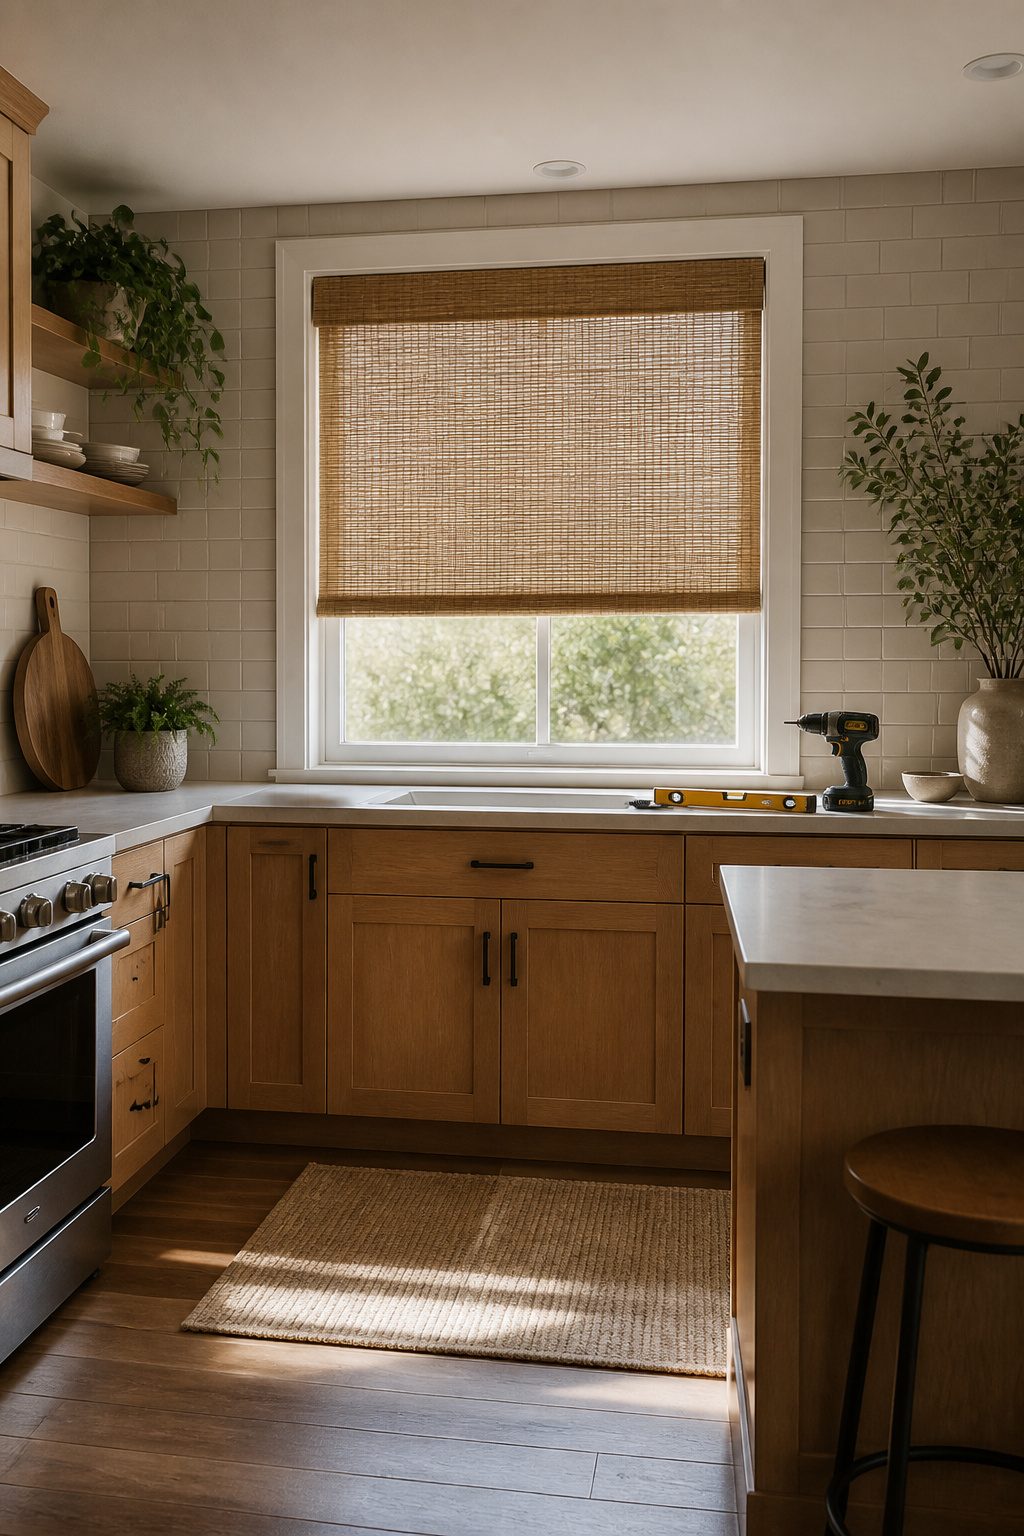
Brackets go in before the shade touches the window.
For an inside mount, the roller or motorized mechanism sits inside the frame, level across the top, and the first test is whether the fabric rolls straight without catching on either side.
A shade that lists to one side usually means the brackets are not square to each other, not that the shade itself is crooked.
Outside mounts need more attention to alignment than most people expect. Mark the bracket spots on the wall, not the frame, and check them with a level before drilling.
The width measurement runs from the outside edge of one planned bracket to the outside edge of the other, and the length drops from that top line to the bottom of the opening.
Even windows that look identical in the same room can vary by a quarter inch, so each one gets its own numbers.
Use the narrowest width measurement for an inside mount, taken at the top, middle, and bottom of the frame.
A window that looks square rarely is, and a shade cut to the widest point will jam on the way down. Once mounted, raise and lower the shade a few times while watching for fabric drift.
If the edge creeps left or right as it rolls, the tube is probably not sitting level in its brackets, and a small shim on one side fixes it faster than remounting.

Fits JT21 Staples : This craft stapler perfectly fits 3 sizes of JT21 staples, 1/4” (6mm), 5/16” (8 mm) and 3/8” (10 mm), which is equivalent to NO.53
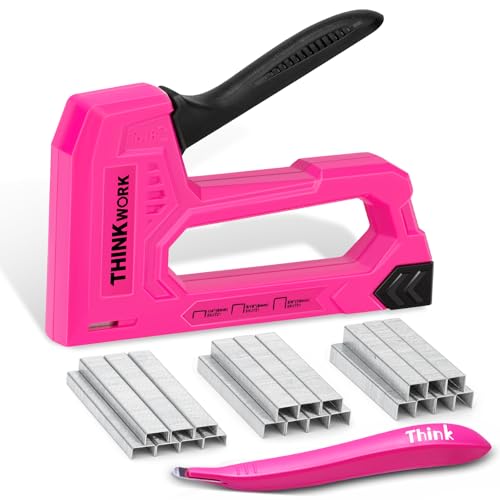
🌸[Included 1600pcs JT21 Staples]This upholstery staple gun perfectly fits of JT21 staples, 400pcs*1/4”(6mm), 800pcs*5/16”(8mm), 400pcs*3/8”(10mm) which is equivallent to NO.53. All the staples are made of premium steel, enough to meet most of your needs. No need for additional stops at the store for nail supplies.

JT21 Compatible: The Thinklearn craft staple gun for wood is perfectly compatible with JT21 staples, including 400 pcs of 1/4" (6mm), 800 pcs of 5/16" (8mm), and 400 pcs of 3/8" (10mm) staples, which are equivalent to No. 53 staples. All staples are made of high-strength, quality steel, and no additional purchase is necessary.
6. Maintain the Shade
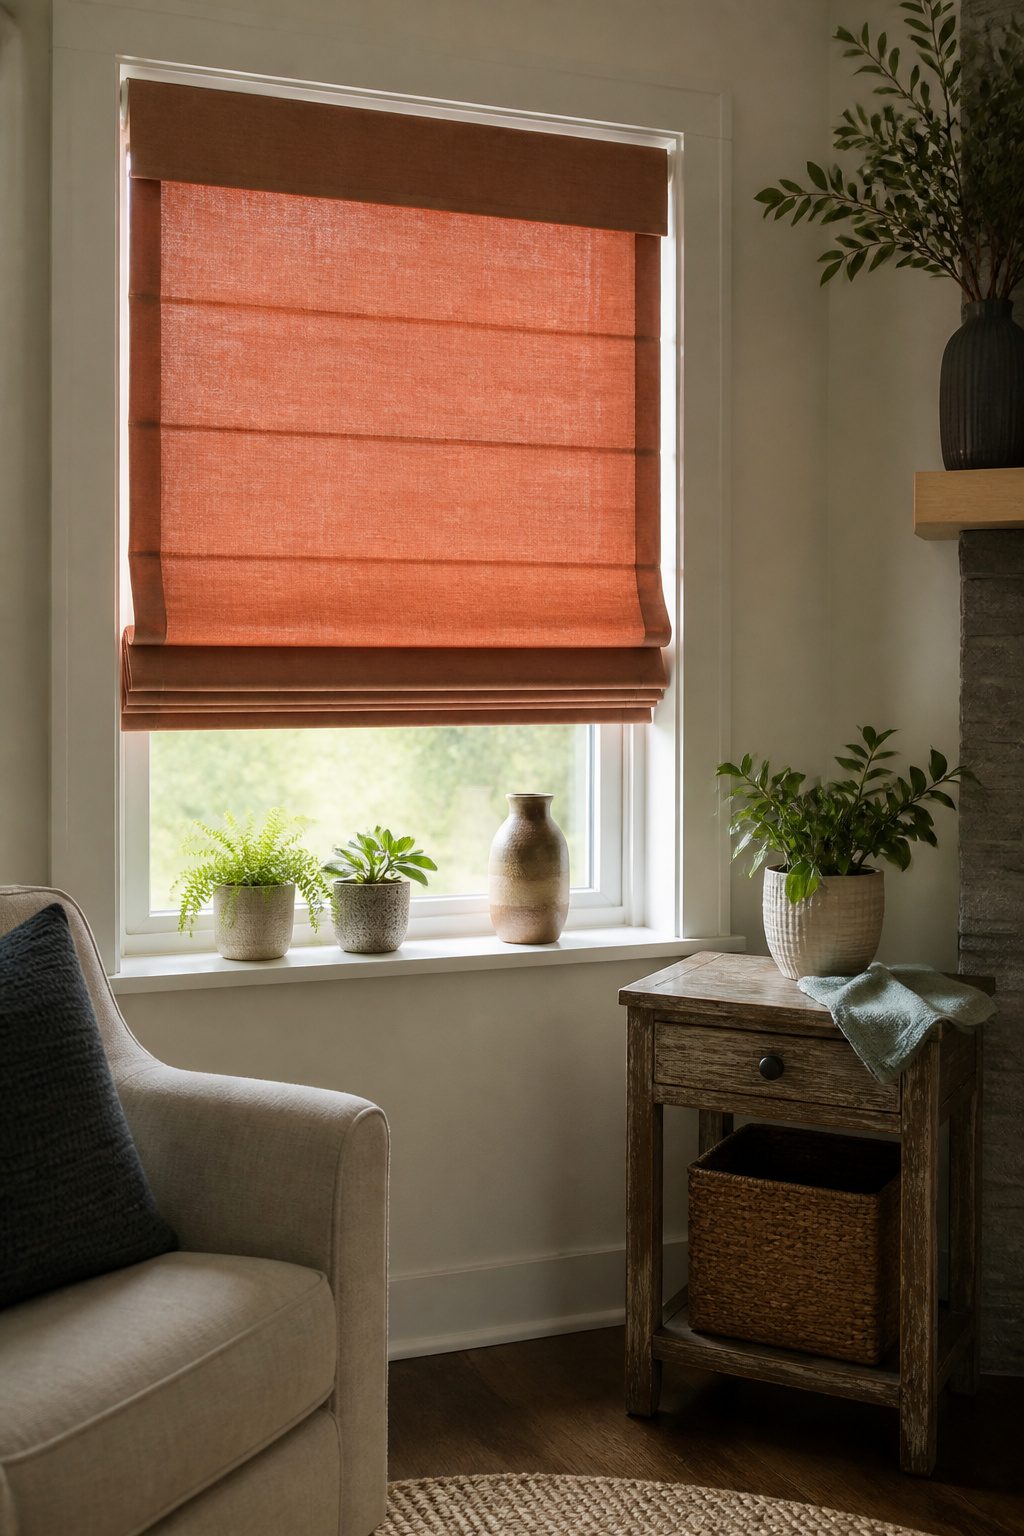
Dust settles on fabric shades faster than you notice, and once it embeds, a simple wipe won’t lift it.
A soft cloth every couple of weeks or a vacuum with a brush attachment keeps the surface clean without stress on the material.
For spots, mild detergent and water work, but the fabric should stay damp, not soaked, since saturation warps the shape and leaves water marks.
Vinyl or faux wood slats are lower drama.
A microfiber cloth grabs dust before it cakes, and a slightly damp pass handles anything sticky. I skip the spray cleaners; they leave residue that attracts more dust the following week.
The sun is the slower threat. Prolonged direct light fades fabric over seasons, so rotating which shades stay lowered helps, or drawing curtains during peak hours if you have them.
Properly kept, fabric shades last years longer than neglected ones, and the difference shows in color that hasn’t dulled and slats that still raise evenly.

【Dual‑Style 2‑Pack Blackout Solution】 Includes 2 specialized blackout Pure Black blackout curtains for different needs: 1 pre‑stitched portable blind (150×122cm / 59×48in) designed for quick travel & temporary privacy, and 1 extra‑large cut‑to‑fit blackout fabric (200×145cm / 78×57in) ideal for DIY custom fitting on any window size or shape at home.

【Dual‑Style 2‑Pack Blackout Solution】 Includes 2 specialized Starry Black blackout curtains for different needs: 1 pre‑stitched portable blind (207×122cm / 81×48in) designed for quick travel & temporary privacy, and 1 extra‑large cut‑to‑fit blackout fabric (300×145cm / 118×57in) ideal for DIY custom fitting on any window size or shape at home.

❤Effective and easy to install blackout curtains - Made of 100 % polyester, this blackout shade blocks out sunlight and UV rays, reduces outside noise, and ensures privacy. No holes to punch, easy to install, full set of installation tools supplied.
Materials You Need
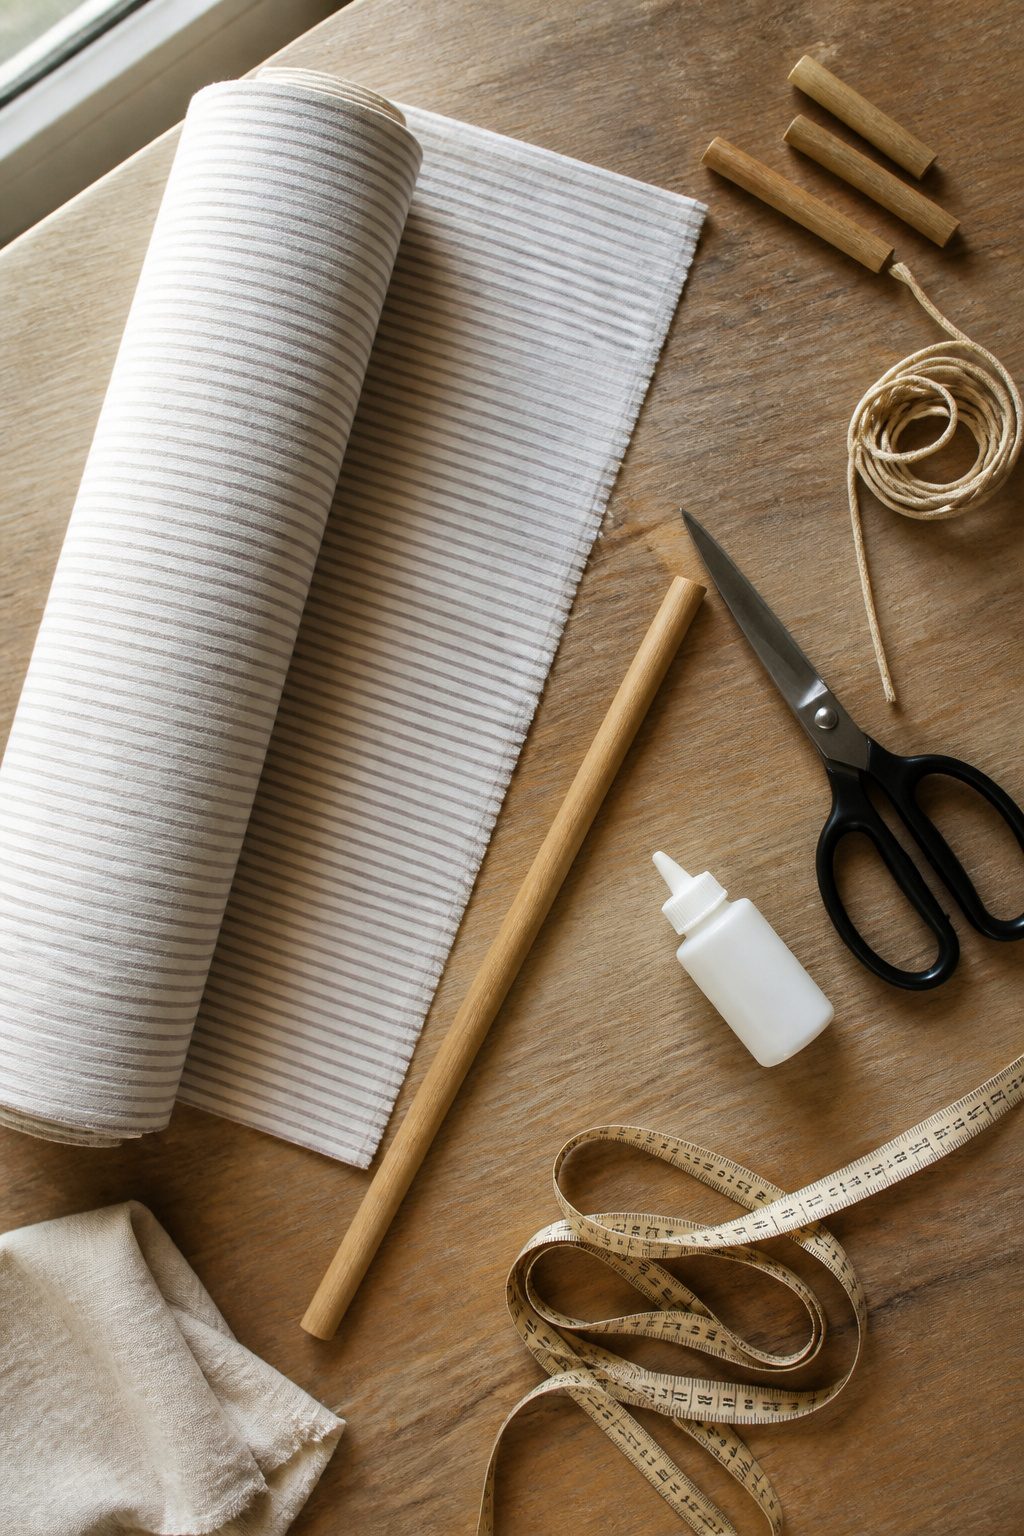
Medium-weight fabric, cotton or canvas, holds up to daily raising and lowering without sagging through the seasons.
The hardware store will cut a wooden dowel to the exact width of your panel at no charge, and that dowel does two jobs: it keeps the shade straight when it is down and gives the fabric something to roll around when it is up.
A tension rod rated for the weight of your specific fabric matters more than the rod’s finish.
A heavy canvas drop cloth will pull down a flimsy lightweight rod, and replacing a fallen shade at 10 p.m. is not how anyone wants to spend a Saturday.
For adhesives, fabric glue and iron-on hem tape both work, though the tape needs an iron and a flat surface to seal.
If you are using a thick trim or ribbon along the edges, you can skip the hem entirely, which saves a step and hides the raw edge.
Grosgrain ribbon handles most fabrics; heavy upholstery weight calls for heavy trim cut an inch shorter than the panel so the edges do not bulk up.

[Large Size]: Each piece measures 59 inches(150cm) x 1 yard(36 inches/91.44cm), 280GSM, 10oz. meeting your different needs for DIY projects. Note: The fabric is only cut into 1 Yard by 59-Inch(150cm). When you buy more than one, you will get corresponding pieces which is 1 Yard by 59-Inch, not a continuous piece.
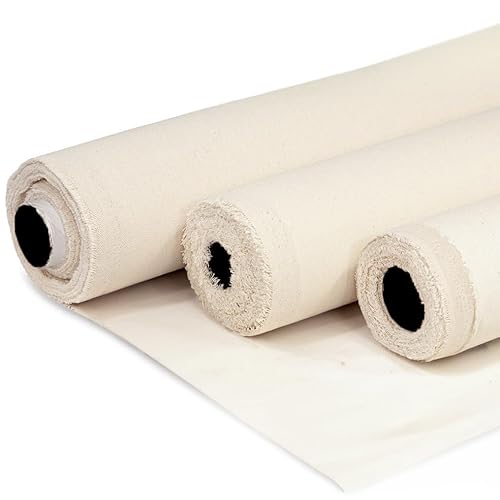
✅ [ 4oz, 7oz, 10oz & 12oz WEIGHT OPTIONS ] - We offer four canvas fabric weight options: 4oz for lightweight applications, 7oz for general-purpose use, 10oz for heavy-duty purposes, and 12oz for maximum durability in demanding tasks.

✅ [ 4oz, 7oz, 10oz & 12oz WEIGHT OPTIONS ] - We offer four canvas fabric weight options: 4oz for lightweight applications, 7oz for general-purpose use, 10oz for heavy-duty purposes, and 12oz for maximum durability in demanding tasks.
Types of DIY Shades
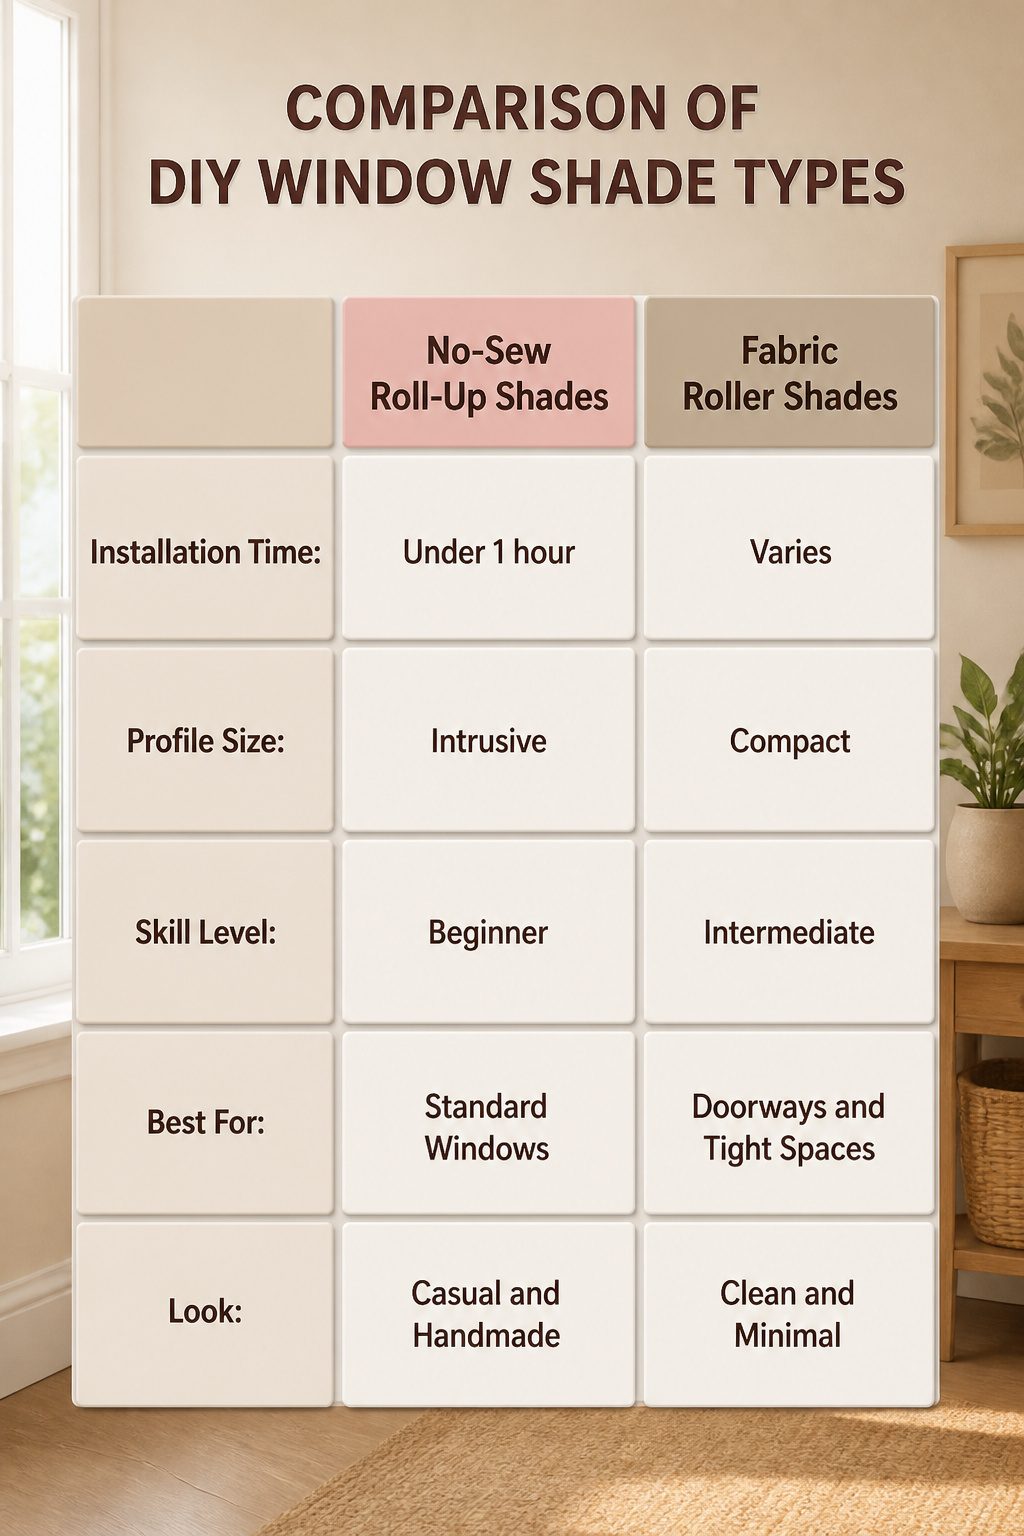
No-sew roll-up shades are the fastest entry point. A tension rod, sturdy fabric, and two ribbon lengths are all the hardware involved.
The fabric drapes over the rod inside the frame, ribbons loop over the top and hang front and back, and you roll from the bottom and tie bows to set the height.
The whole thing finishes in under an hour, and a hidden dowel at the bottom keeps the panel straight when it is down and makes rolling easier. Double-sided fabrics solve the back-side problem without a stitch.
Fabric roller shades trade that speed for a cleaner profile. A DIY roller shade kit supplies the clutch mechanism, chain pull, and tube.
You attach your chosen fabric to the tube, install the brackets, and the shade rolls into a compact cylinder that barely intrudes on the window. These suit doorways and tight spaces where anything bulkier would catch.
Roman shades demand more patience but deliver the most finished look. The classic method upcycles cheap vinyl mini-blinds: remove extra slats, space the remainder evenly, and attach fabric to the front with glue.
The lift cord still works, and the fabric folds into neat horizontal stacks as it rises. The blind slats become your internal structure, so the shade keeps its shape without sewing rings or ribs.
Skill level sorts these quickly.
Roll-ups reward beginners who want something handmade this afternoon. Roller shades ask you to square up fabric and manage a kit, but the sewing is minimal.
Roman shades need the most precision, especially spacing slats so the folds land right. For a first project on a standard rectangular window, the roll-up builds confidence you can spend later.

【Quantity & Packaging Notice】 2 Rolls Included in 1 Pack: Contains 1 roll of 1/4" x 49ft and 1 roll of 1/2" x 49ft (Total 98FT). Note: Both rolls are securely packed together in a single package—please check the inner layer if you think any roll is missing. Specifically designed for clothing repair, folding, and crafting. Whether used for temporary or daily repairs, these sizes ensure efficient and convenient use.

No Sew Hemming Tape: Iron required, requires heat to activate. Transform your garments effortlessly with our hem tape for pants and dress

4 Rolls Hem Tapes: 4 rolls of white hemming tape, each one is 1.9 cm/0.75 in in width, 7.3 m/8 yards in length, with a total length of 29.2 m/32 yards, it can be cut according to your needs, meeting the fabric hemming needs of home or tailor shop
Mistakes I Made
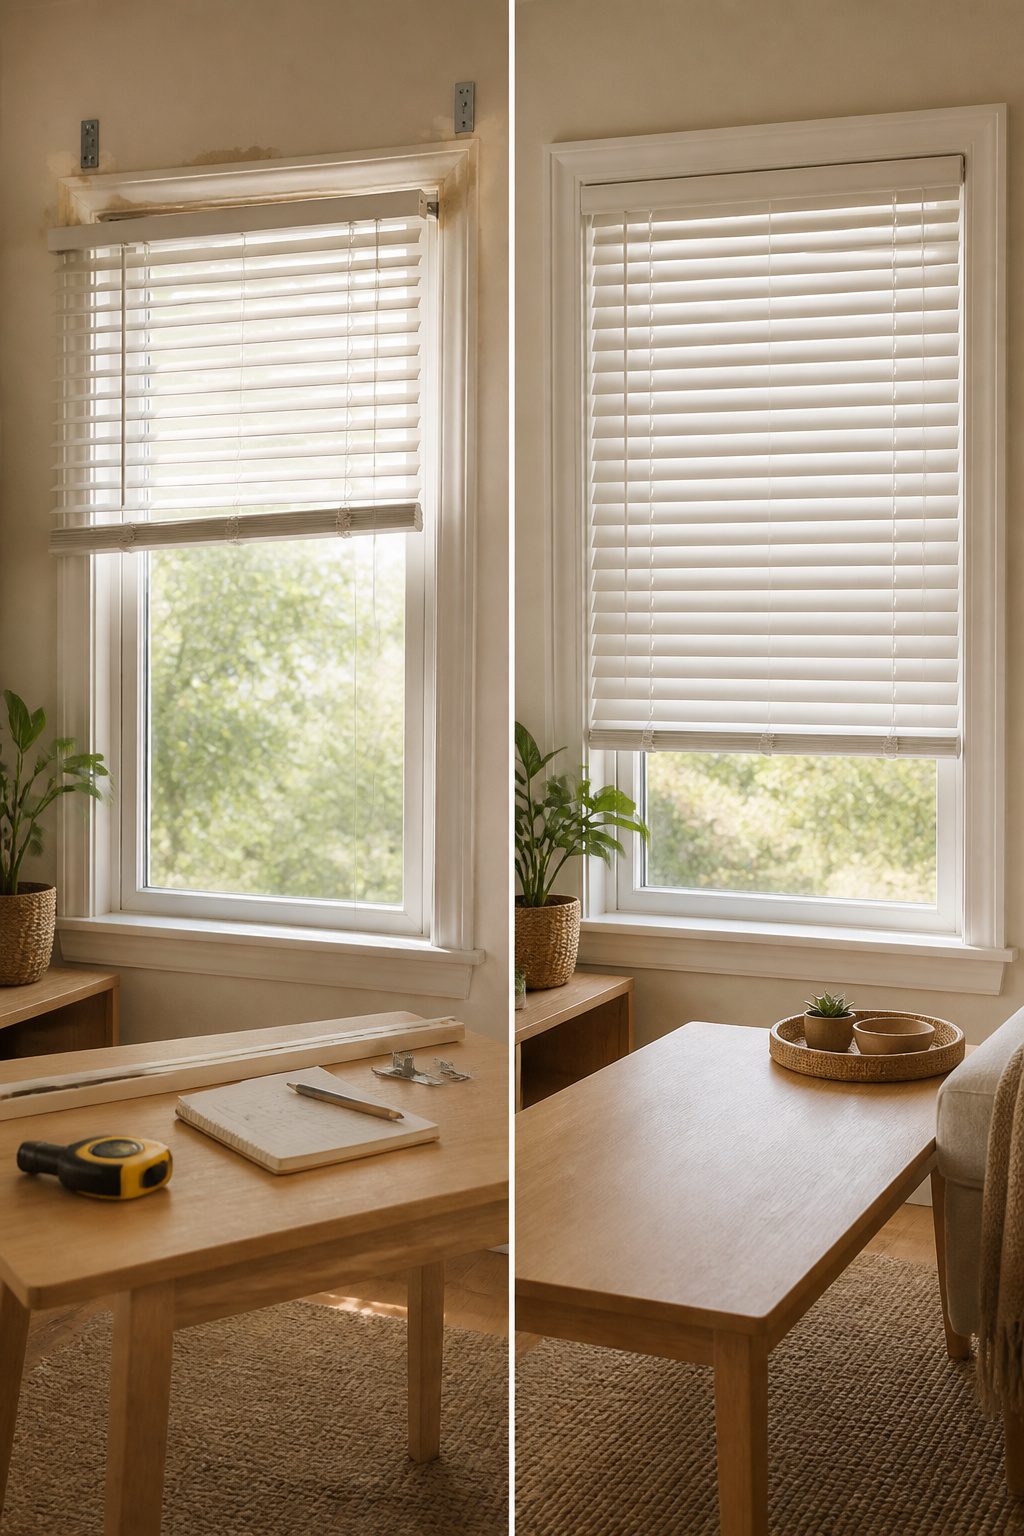
The first set of blinds I measured sat inside the window frame, or so I thought. The molding narrowed the actual opening by nearly half an inch on each side, and the finished blind caught every time I raised it.
Measure the depth of your frame, not just width and height, and check for uneven surfaces that throw off a tape measure reading. I now mark every measurement in two places and write it down before I cut anything.
Material choice carried its own lesson. I hung a lightweight cotton sample that looked crisp in the store, and within a month the sun had faded it to a different color entirely.
Now I test a swatch in the actual window for a few days, watching how the fabric handles light and whether it holds its shape.
Low-quality material does not just look cheap; it sags or breaks under daily use, and replacing it costs more than doing it right once.
Installation rushed me into another fix.
I skipped pre-drilling and drove screws straight into the wall, splitting the drywall and leaving the bracket crooked. The blind hung lopsided for two weeks before I patched the holes and started over.
Wood and faux-wood need different drill care than fabric shades, and wall anchors matter when you miss a stud. A second pair of hands to hold the bracket level saves more time than it costs.
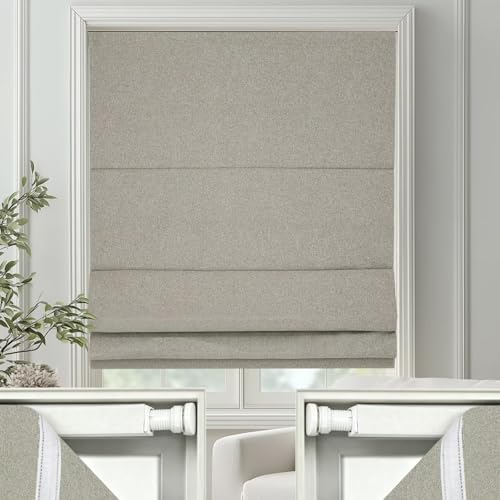
Size instructions and inside mount only: No Drill Roman Shades sizes displayed on the page are the actual shade size you will receive. There are tension rods on both sides of top rail, please measure your window size carefully, and your window width should be 3/8-1/2 inches wider than the shade width for perfect fit. Such as 34 inches wide 64 inches high roman shades fit for window width 34 3/8 - 34 1/2 inches, window height should be less than 64 inches. Please Note: Minimum 1.5" depth of window frame required, so this no drill roman shade may not fit for doors.

Strong Support: The window shade brackets can easily fix the pulley track, ensuring the normal operation of the roller blind and preventing effectively the roller blind from falling off or loosening.
Size instructions and inside mount only: No Drill Roman Shades sizes displayed on the page are the actual shade size you will receive. There are tension rods on both sides of top rail, please measure your window size carefully, and your window width should be 3/8-1/2 inches wider than the shade width for perfect fit. So this 50 inches wide 64 inches high roman shades fit for window width 50 3/8 -50 1/2 inches, window height should be less than 64 inches. Please Note: Minimum 2" depth of window frame required, so this no drill roman shade may not fit for doors.
Customize the Look
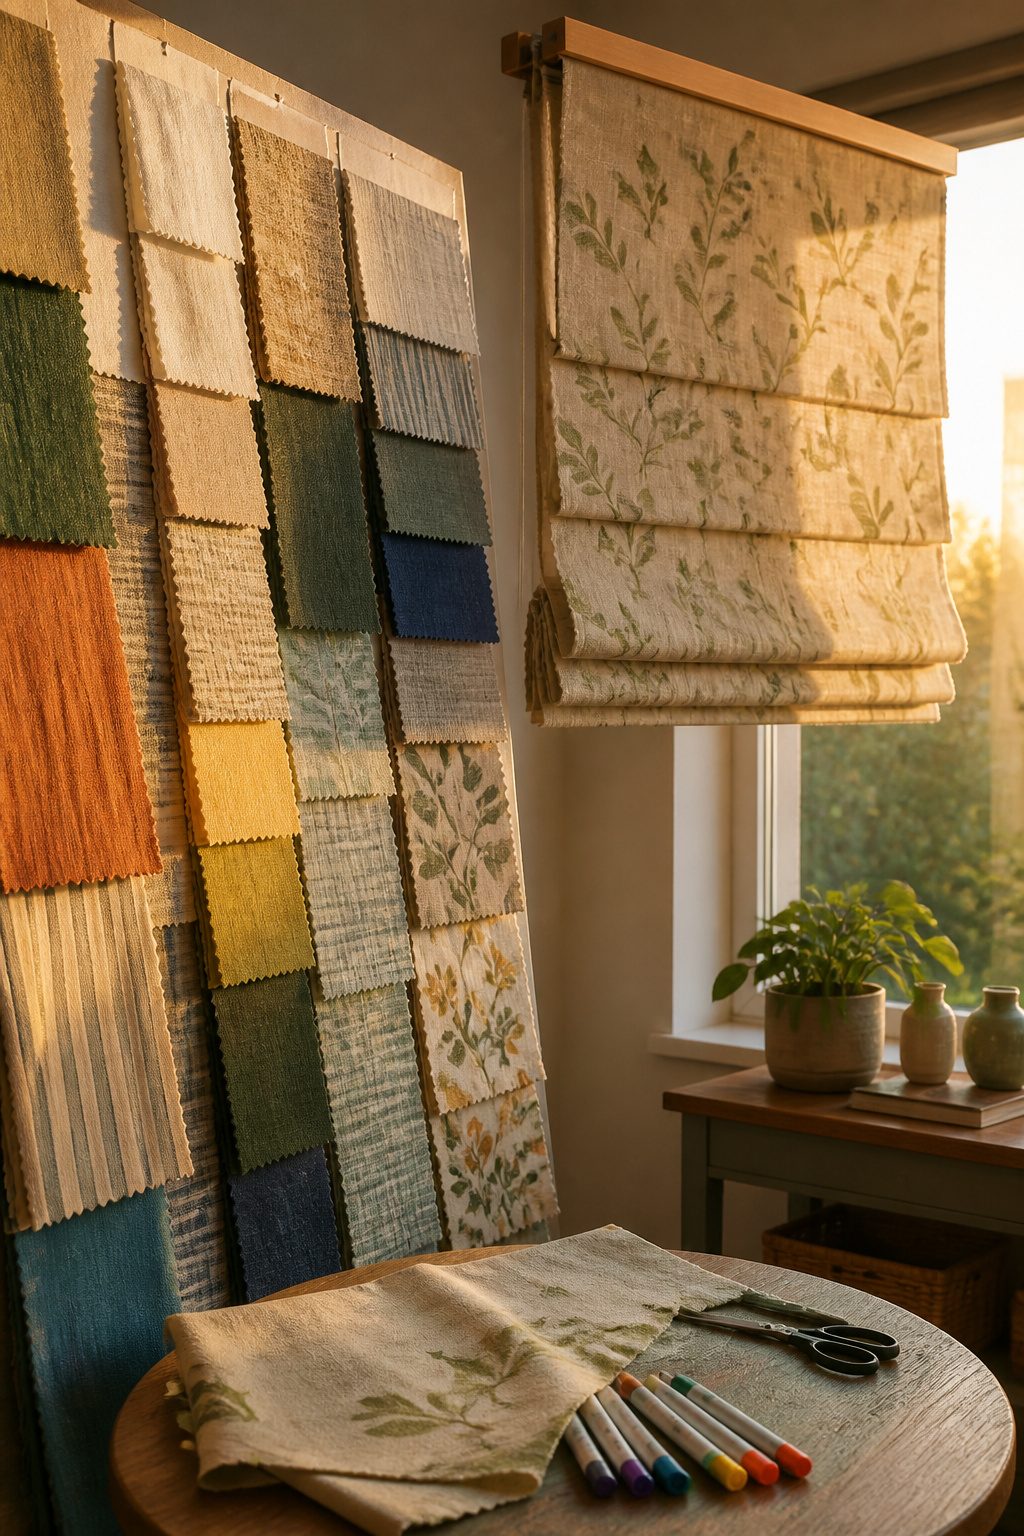
The creative payoff of window blinds diy work is choosing fabric that actually belongs in the room.
A medium-weight fabric diffuses light and keeps privacy intact, while the color either ties into what you already own or becomes the single contrast that makes the space feel finished.
I have learned to hold a swatch against the wall in morning light and again at dusk; a gray that reads clean at nine o’clock turns muddy by four.
For roll-up shades, a double-sided woven fabric gives you two looks in one piece: one pattern faces the room, the reverse shows when the shade is tied up.
No sewing required if the weave is heavy enough to hold its own.
Leather straps work the same way, punched to length and looped over cup hooks, the raw edge of the hide against canvas more interesting than any store-bought pull.
Drop cloths take dye unevenly, which is either the point or a reason to leave them original. The heather gray I wanted once turned out better in my head than against that particular window frame.

What You Get : The kit includes a light duty staple gun for upholstery, a staple remover and total 1600 counts JT21 staples (400 x 1/4”, 800 x 5/16”, 400 x 3/8” )

🌸[Included 1600pcs JT21 Staples] This craft staple gun perfectly fits of JT21 staples, 400pcs*1/4”(6mm), 800pcs*5/16”(8mm), 400pcs*3/8”(10mm) which is equivallent to NO.53. All the staples are made of premium steel, enough to meet most of your needs. No need for additional stops at the store for nail supplies.

🌸[Included 1600pcs JT21 Staples] This craft staple gun perfectly fits of JT21 staples, 400pcs*1/4”(6mm), 800pcs*5/16”(8mm), 400pcs*3/8”(10mm) which is equivallent to NO.53. All the staples are made of premium steel, enough to meet most of your needs. No need for additional stops at the store for nail supplies.
Frequently Asked Questions
What fabric is best for DIY window shades?
Medium-weight cotton or canvas works best because it holds its shape through daily raising and lowering without sagging. It also takes a hem well whether you sew or use no-sew methods, and it diffuses daylight while keeping privacy intact.
How do I measure for DIY blinds?
Measure width at the top, middle, and bottom of the frame, and height at the left, right, and center.
For an inside mount, use the narrowest width and shortest height so the blind slides in without binding. For an outside mount, add a few extra inches to each side for full coverage and hems.
Can I make a no-sew window shade?
Yes. Iron-on hem tape pressed with a hot iron seals edges as clean as machine stitching if you work slowly and keep the fold straight.
Fabric glue also works, though you should test it on scrap first since some formulas stiffen more than others and a rigid hem will not roll evenly.
How do I install DIY window shades?
For an inside mount, set brackets level across the top of the frame so the roller sits square and the fabric rolls straight without catching on either side.
For an outside mount, mark bracket spots on the wall itself, check with a level before drilling, and measure from outside edge of one bracket to the outside edge of the other.