
You end up with about two dozen handmade ornaments for under $30 in supplies, plus an hour of active shaping.
The part that ruins more pieces than any other is the conditioning step, because clay straight from the package holds stress lines that crack open in the oven.
Warm it by hand for three to five minutes first, until a thin folded strip bends without snapping at the edges, and the rest of the process stays forgiving.
1. Materials
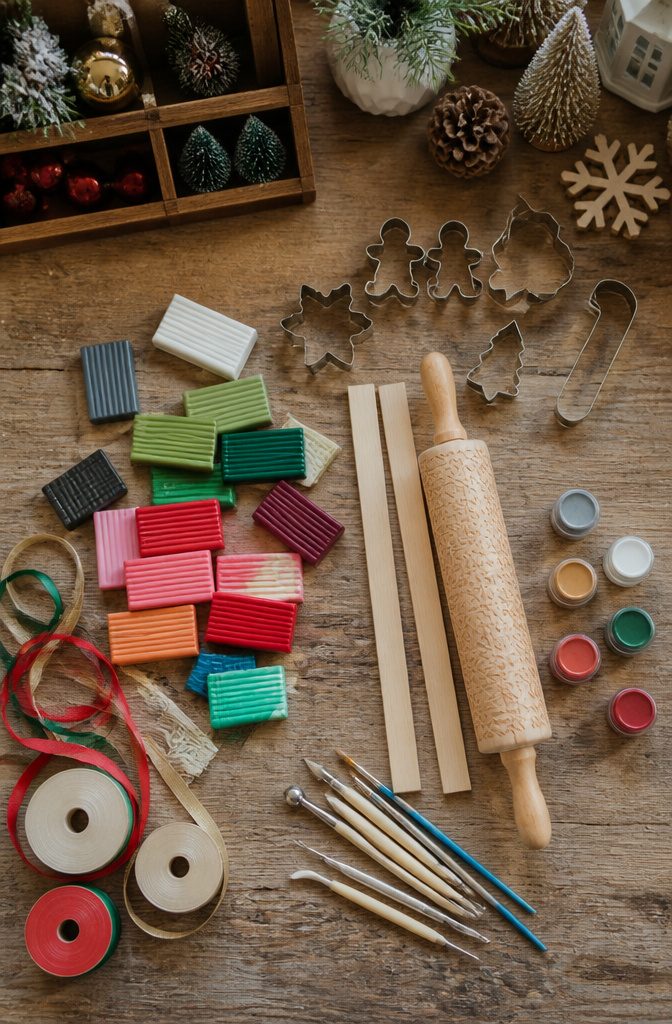
The clay itself is the place to spend your money.
Sculpey Soufflé Oven-Bake Clay and Fimo clay are the two brands worth starting with; Soufflé has a matte, almost ceramic finish that takes paint beautifully, while Fimo is softer out of the package and less likely to crack if you’re working slowly.
Both run about $3–$4 per 1.7 oz bar, and you’ll need four to six bars for a starter batch.
Here’s what else belongs on the table:
- A rolling pin, plus two strips of eighth-inch wood as thickness guides so your ornaments bake evenly
- Cookie cutters for shapes, or a craft knife if you prefer freehand
- Sculpting tools; the Sculpey Essential Tool Kit covers the basics without buying piecemeal
- Stamps, lace, or beads pressed into the surface for texture
- Acrylic paints or Glitterific paint for color after baking
- Ribbon for hanging; eighth-inch width threads cleanly through a needle hole
- A baking surface: parchment paper works, but a ceramic tile distributes heat more evenly and prevents the dreaded flat spot
Most of this starter kit runs under $30 and yields about two dozen ornaments, depending how thick you roll. Skip the dedicated clay work mat until you know you’ll stick with it; parchment paper handles cleanup fine for a weekend project.
2. Condition the Clay
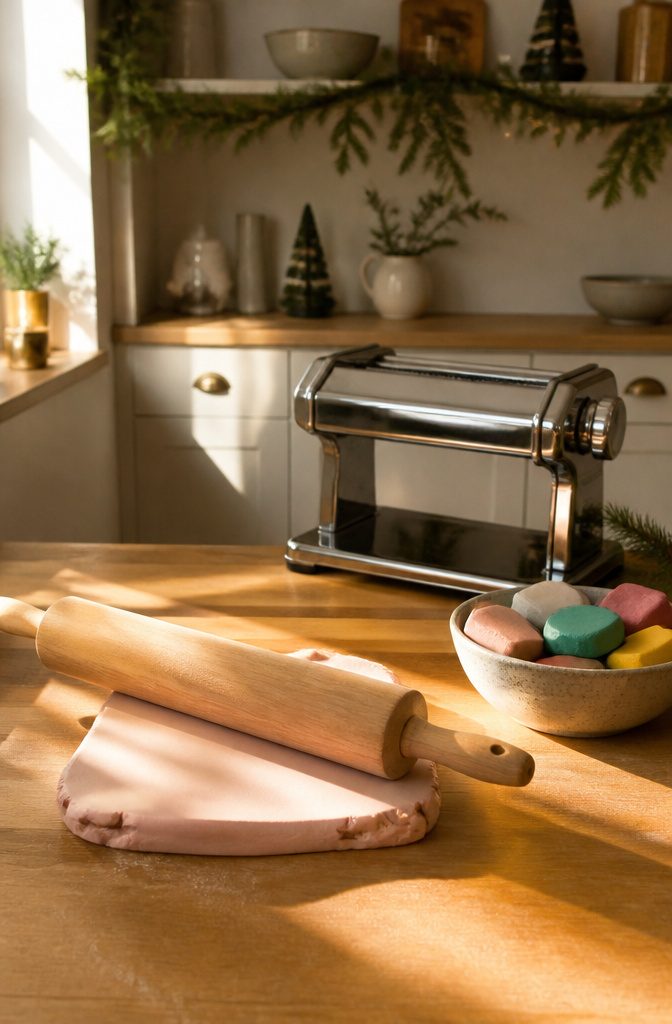
Sculpey and Fimo both come out of the package firm, and winter air hardens them further. Three to five minutes of working by hand warms the clay until it bends without cracking at the edges.
A pasta machine set to its widest setting does the same job faster; fold the sheet in half and feed it through until the surface looks even and the clay feels supple.
Skipping this step is the main reason polymer clay ornaments split in the oven.
Unconditioned clay holds internal stress lines that open into cracks during baking, and by then the piece is already ruined. The edges tell you when you are done: fold a thin strip back on itself.
If it keeps a clean curve, the clay is ready to shape. If it snaps or shows hairline fractures at the bend, keep going.
3. Shape the Ornaments
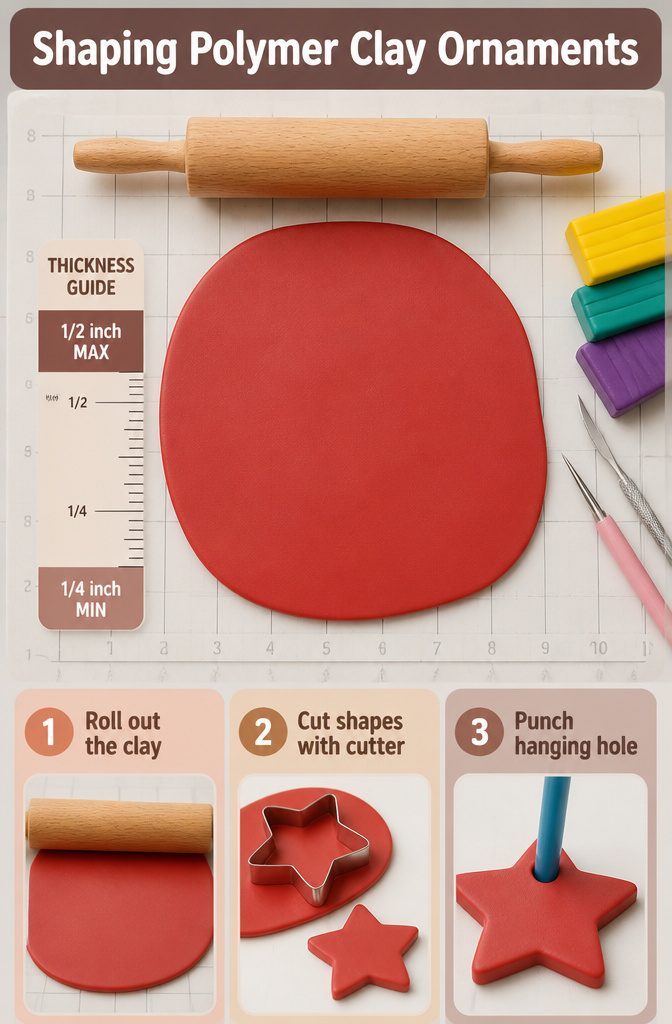
- Roll the conditioned clay out on a cutting sheet to between 1/4 and 1/2 inch thick. I keep a small ruler nearby because eyeballing it costs ornaments. Under 1/4 inch and the baked piece is fragile enough to snap when you hang it or pack it away. Over 1/2 inch is its own problem: the center cures slower than the surface, so the shell hardens while the core is still shrinking, and cracks form where you cannot patch them.
- Cut your shapes with cookie cutters or freehand with sculpting tools. A biscuit cutter or the rim of a small glass works in a pinch. Press straight down and lift straight up; twisting the cutter rounds the edges and wastes the clean line you wanted.
- Punch the hanging hole before the clay goes into the oven. A drinking straw cuts a neat round opening; a skewer works if you want something smaller. Do not tell yourself you will drill it later. Cured polymer clay shatters under drill pressure, and the ornament you spent twenty minutes shaping becomes shards. I have seen people try it. The result is always the same.
4. Add Details
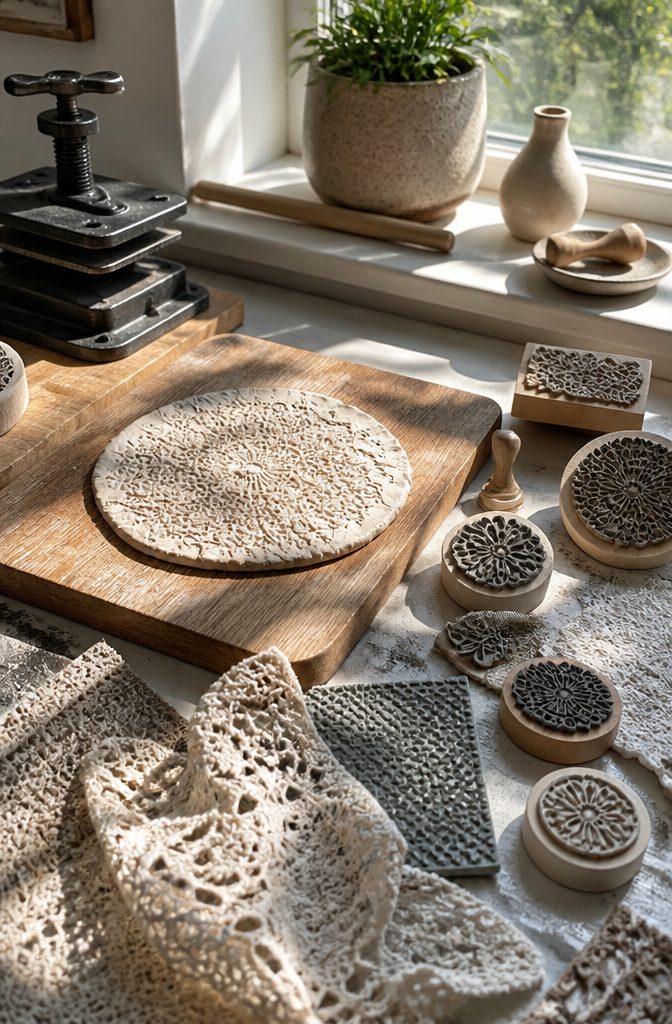
A rubber stamp presses a crisp pattern into soft polymer clay and the mark stays exactly as it leaves it.
That permanence is what makes this stage matter: anything pressed in must be done before baking, while paint and metallic leaf wait until after.
Lace, leaves, and textured fabrics all work as improvised stamps if you press them firmly and lift straight up.
Pin tools, the kind with a wooden handle and a fine metal point, score clean lines for lettering or simple faces without dragging the surface.
For joining small pieces, a drop of liquid polymer clay acts like glue and fuses during curing.
Pressure alone works for flat elements pressed onto a backing sheet, though I would not trust it for anything that might catch on a tree branch or a sibling’s sleeve.
This is the point where the project turns individual, and it is also where children can take part safely.
The clay is cool, non-toxic, and forgiving. A fingerprint accidentally pressed into a snowflake becomes part of the ornament’s story, or it smooths away with a light rub.
5. Bake
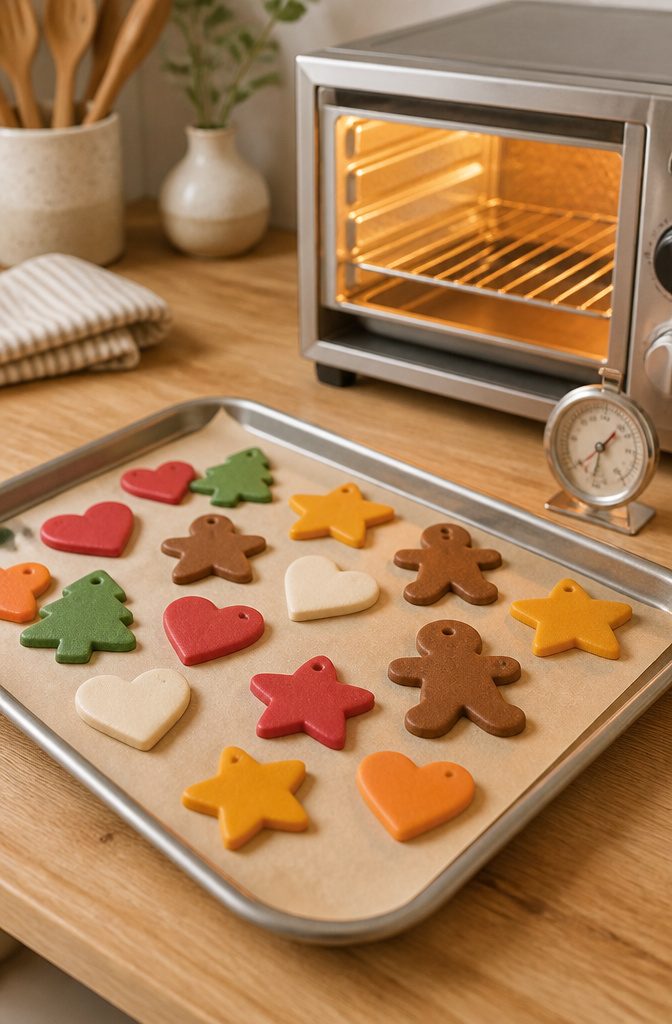
Polymer clay sets at 275°F (135°C), but the exact time depends on what you are working with.
A quarter-inch ornament usually needs fifteen to twenty minutes, while half-inch pieces take thirty to forty. Thicker work needs longer, and every brand prints its own range on the package, so I start there rather than guessing.
The real problem is the oven itself. Most home units cycle their heat and can spike twenty-five degrees above the dial, which scorches the surface while the middle stays soft.
A standalone oven thermometer costs about six dollars and removes the doubt. I check it at the ten-minute mark, then again before the timer runs out.
A toaster oven set aside for clay keeps polymer residue away from anything you eat. Even cured clay can leave traces on the rack or walls that you do not want near food.
6. Finish
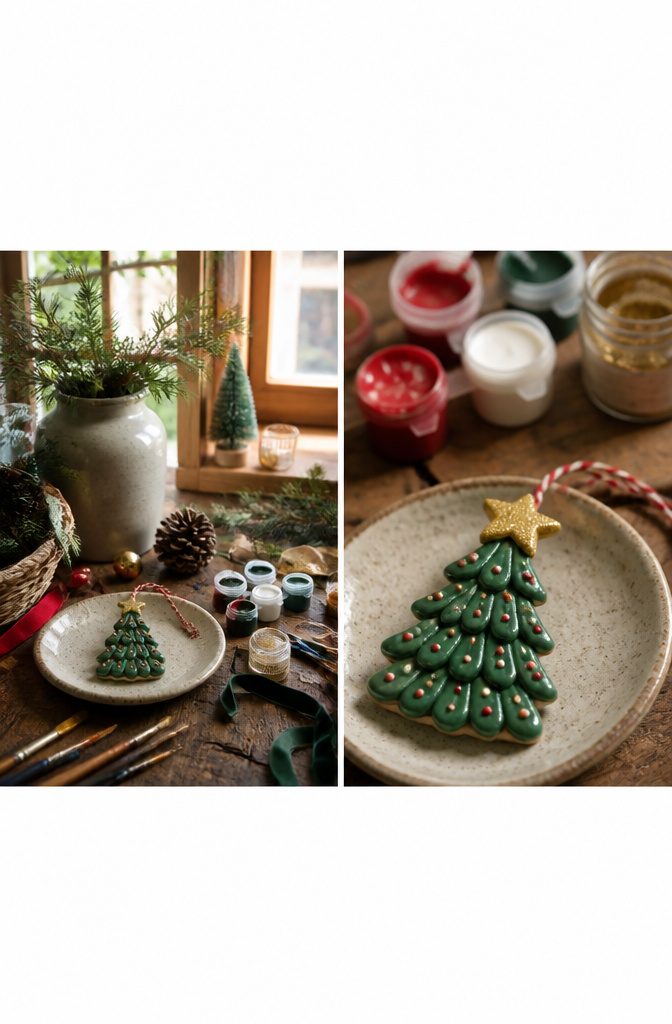
- Wait the full 30 minutes for the ornament to cool before you touch paint or sealant. Warm clay stays soft, and fingerprints at this stage are permanent.
- Acrylic paint goes straight onto cooled polymer clay without primer. Standard craft paint covers in one coat; glitter paint stays workable if you keep the layer thin, since thick glitter pools and cracks.
- Seal only if the ornament will be handled. Water-based polyurethane or Sculpey Gloss Glaze both work. The seal adds a plastic skin and darkens colors slightly, which I account for by painting a shade lighter than I want. Unsealed clay stays matte and slightly porous, and that raw finish is what some people mean by "handmade."
- Thread ribbon through the hole and knot the ends. Cut about 10 inches, enough to fold and push through from the back. Pull gently; the clay has some give but will crack if you yank.
Baking Temperature and Time
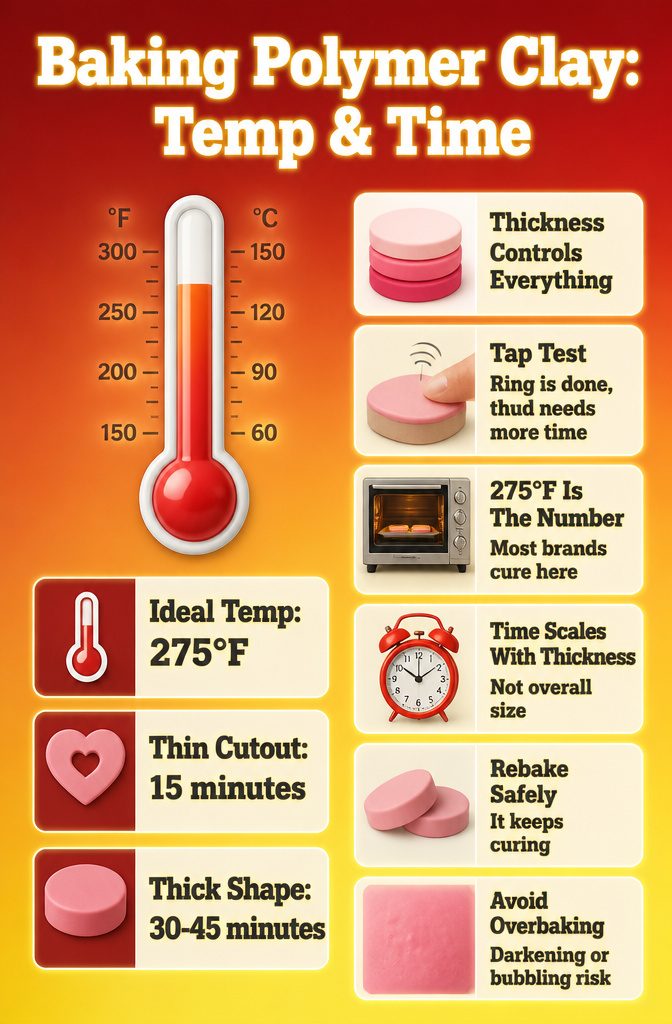
Most polymer clay brands cure at 275°F (135°C), and that number is firm.
The part that shifts is time, which scales with thickness rather than the ornament’s overall size. A thin cutout might need only fifteen minutes, while a solid half-inch shape can run thirty to forty-five.
Thickness also determines whether the center cures through or stays rubbery underneath a hard shell. The test is simple once the piece has cooled: tap it with a fingernail.
A clear ring means the clay has polymerized all the way through. A dull thud means the interior is still soft, and it needs more heat.
Rebaking is safe if the first round was light.
Polymer clay does not burn at 275°F; it simply continues curing. I have pulled ornaments that seemed done, heard the thud an hour later, and put them back in without damage.
The only risk is leaving them in too long at once, which can darken the surface or cause slight bubbling. Two shorter sessions beat one marathon.
Air-Dry Clay Alternative
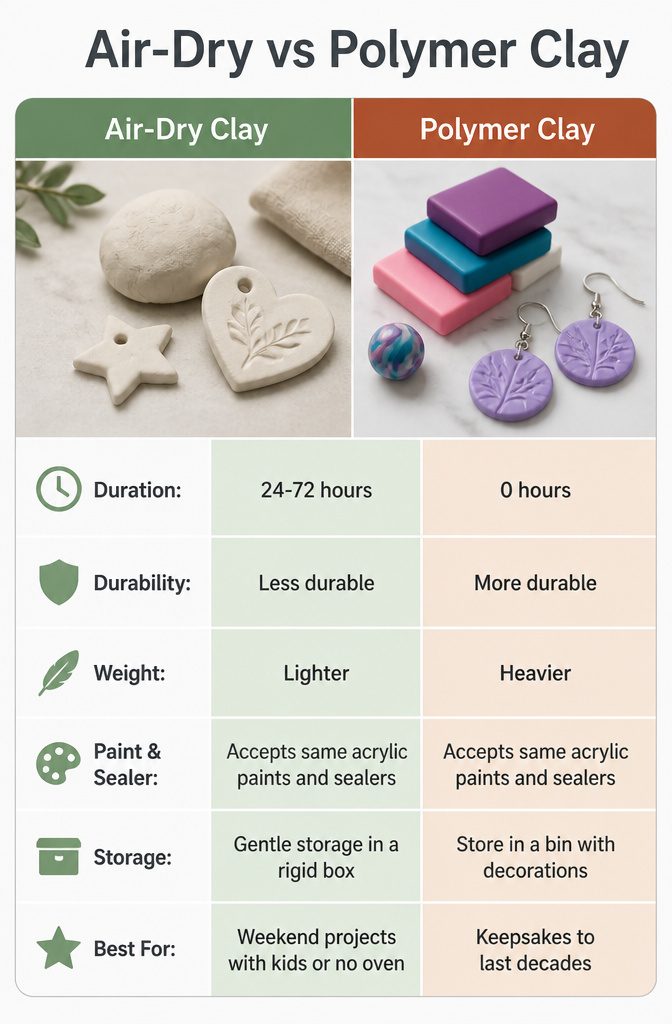
Air-dry clay works in place of polymer when an oven is not an option or small hands are involved.
The steps stay the same right through shaping and adding details, but instead of baking, you wait. Plan on a minimum of 24 hours to dry, though 48 to 72 hours is safer, especially for anything thicker than a quarter inch.
The material itself is softer going in and more fragile coming out.
You cannot rebake it if it warps; once it begins to set, that shape is fixed. The finished ornaments weigh noticeably less, which matters if you are mailing them or hanging them on lightweight branches.
They accept the same acrylic paints and sealers, but the surface is more porous and the body more brittle, so gentle storage in a rigid box beats tossing them in a bin with the rest of the decorations.
For a weekend project with kids or a rental kitchen with no oven, you give up some durability and get to skip the baking step entirely. For keepsakes you want to last decades, polymer still wins.
Family Involvement
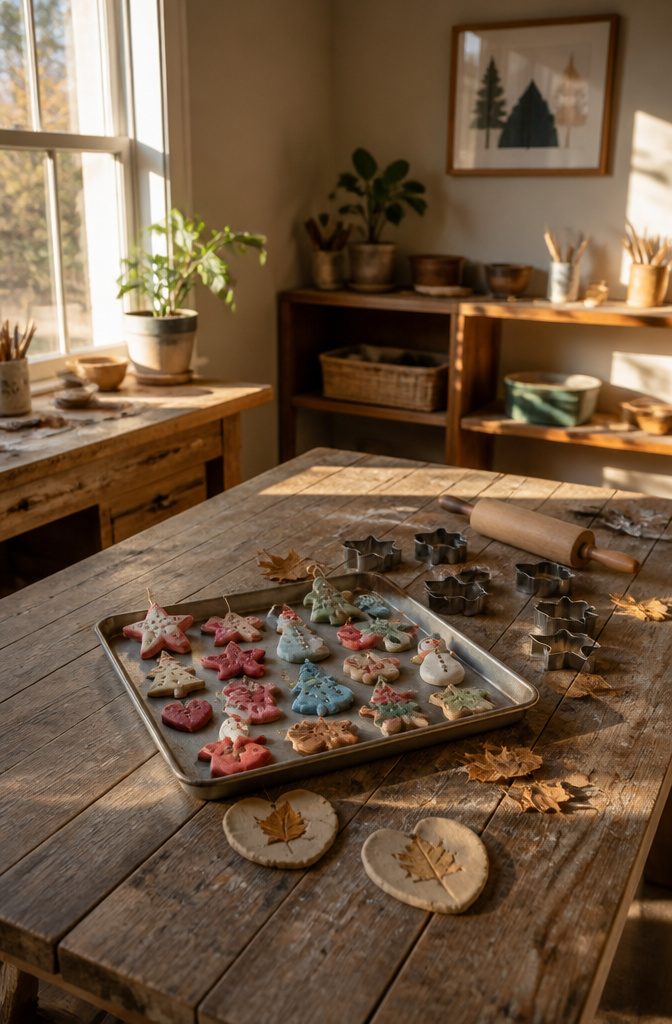
A polymer clay project spreads across generations better than almost any other craft on the table.
Young children under six should not handle the conditioning, which takes sustained hand strength and warms the clay unevenly, but they shine at pressing leaves, lace, or cookie cutters into soft slabs and picking the colors.
Older children, around seven to twelve, manage the cutters cleanly, center the hanging holes without tearing the edge, and enjoy choosing a theme for their batch.
Adults handle the oven, any blade work, and the decision of when the piece is thick enough to survive storage.
The work breaks naturally at the baking step.
Plan for roughly one hour of active shaping and decorating, then let the tray sit until after dinner if the evening is tight. The clay does not mind waiting, and the break saves you from rushing the oven.
Dating the back with a thin Sharpie takes seconds and turns the ornament into a record. The lumpy snowman a child pressed at four becomes, six years later, a way to see how small those fingers once were.
Customization Options
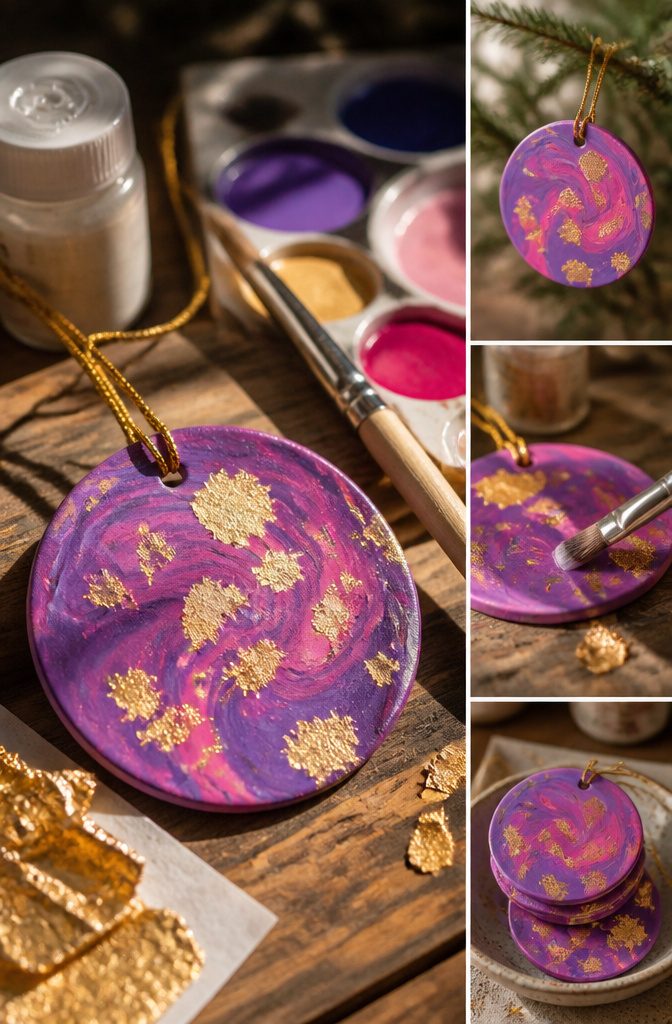
The real fun starts once you figure out how polymer clay holds color.
Embed pigment before baking and the color stays through years of handling; paint or draw on the surface afterward and you keep the option for finer detail that would smudge in the clay itself.
A few ways I like to personalize ornaments:
- Marble two colors. Twist two conditioned clay ropes together, fold, and roll gently until the streaks thin to something like stone. Stop before the colors fully blend, or you end up with mud.
- Apply metallic leaf before baking. Press gold or copper leaf onto raw clay, then burnish with a finger so only thin shards stay. The heat fuses it permanently, and the raised bits catch tree lights.
- Hand-letter after baking. Acrylic paint and a size 0 or 00 brush let you add names or dates the clay would have crushed while soft. Seal with matte varnish so the lettering does not wear off.
- Build matched sets. Three stars in graded sizes, six snowflakes with the same center punch, a dozen mini stockings in one color story. Sets read as intentional gifts rather than single experiments.
Frequently Asked Questions
How long do you bake polymer clay ornaments?
A quarter-inch ornament usually needs 15 to 20 minutes at 275°F, while half-inch pieces take 30 to 40 minutes.
Thicker work needs longer, and every brand prints its own range on the package. A standalone oven thermometer helps, since most home units spike above the dial and can scorch the surface while the middle stays soft.
What thickness should clay ornaments be?
Roll polymer clay between 1/4 and 1/2 inch thick. Under 1/4 inch and the baked piece snaps too easily; over 1/2 inch, the center cures slower than the surface and hidden cracks form where you cannot patch them.
Can you use air-dry clay instead of polymer clay?
Yes, air-dry clay works when an oven is not an option or small children are involved.
The steps stay the same through shaping, but plan on 24 to 72 hours of drying time instead of baking. The finished ornaments weigh less but are more brittle and cannot be rebaked if they warp.
How do you make ornaments with polymer clay?
Condition the clay by hand for 3 to 5 minutes until it bends without cracking, roll it to 1/4 to 1/2 inch thick, cut shapes with cookie cutters or freehand tools, punch the hanging hole before baking, bake at 275°F according to thickness, then paint and seal after a full 30 minutes of cooling.
What are the disadvantages of using polymers?
It covers only polymer clay for Christmas ornaments, where the main risks are scorching from oven heat spikes, cracking from unconditioned clay or uneven thickness, and the brittleness of pieces rolled too thin.
What is polymer degradation?
For polymer clay ornaments, the relevant concern is overcuring: leaving pieces in too long at once can darken the surface or cause slight bubbling, which is why two shorter baking sessions beat one marathon.
What is polymerization?
In practical terms for this craft, polymer clay hardens through heat curing rather than air drying, and you test whether it has fully set by tapping the cooled piece with a fingernail: a clear ring means polymerized through, a dull thud means the interior is still soft.