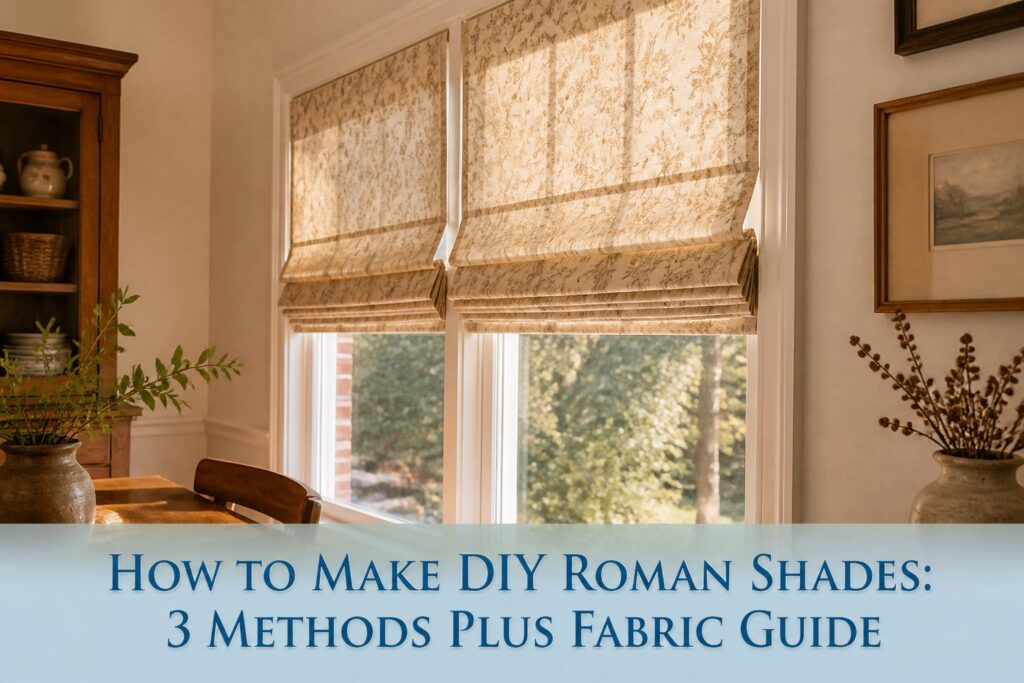
A finished DIY Roman shade costs $50–$100 and takes one weekend, replacing a $300 custom order with a sewing machine you already own.
The measurement stage is where most projects fail: inside mount requires subtracting 1/8 inch from the smallest of three width readings, and frames settle out of square more often than you’d expect.
1. Measure Your Window
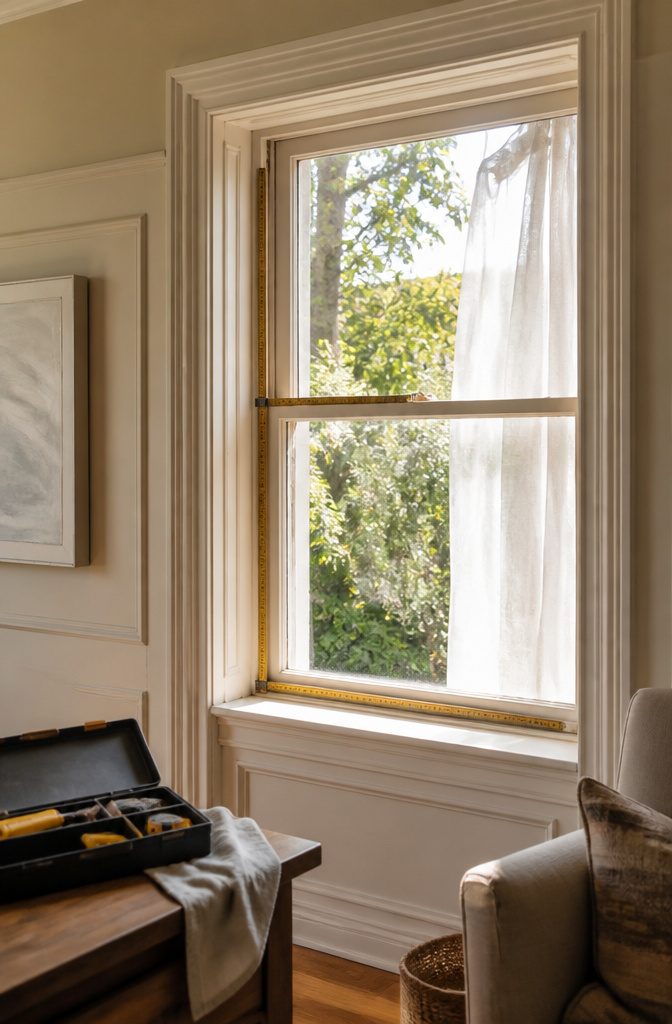
Inside mount gives the cleanest look, which is why I default to it whenever the window frame is deep enough.
Measure the width at three points: top, middle, and bottom of the frame, then use the smallest number and subtract 1/8 inch.
The height gets measured left, center, and right; here you keep the longest. Frames settle out of square more often than you’d expect, and that gap is what lets the shade move without catching.
If those three width readings drift apart by more than a little, I switch to outside mount.
The cost is losing some glass, but the shade actually fits. For outside mount, add 2–3 inches to the width for side overlap and 4–5 inches to the height so the shade clears the frame top and bottom.
The common mistake is measuring the glass itself and ending up with a shade that shows the frame edges at the sides. Measure the frame you want covered, then add.
2. Gather Supplies
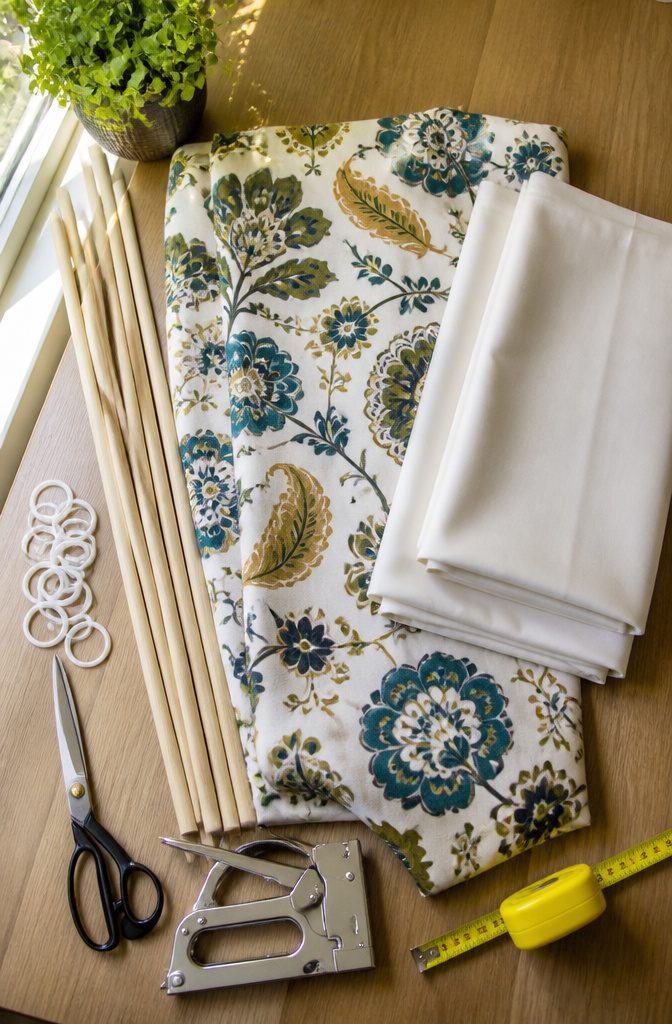
The total outlay for a diy roman shades tutorial project lands around $50–$100, with fabric eating most of that range. A decorator-weight cotton runs less than linen or anything with a repeat pattern you’ll need to match across seams.
Here is what actually goes in the cart:
- Fabric and lining — decorator fabric cut 3 inches wider and 5 inches longer than your finished window size; drapery lining 1 inch narrower than finished width, same length
- Wooden dowels — 3/8 inch diameter, spaced 8–12 inches apart; hardware stores cut these to length
- Plastic shade rings — one per dowel line, plus one at each bottom corner
- Nylon or blind cord — length equals roughly three times your finished height, times the number of lift columns
- 1×2 mounting board — cut to finished shade width
- Screw eyes and mounting screws — number matches your cord columns
- Staple gun — a manual one handles this fine; pneumatic is overkill for one or two windows
Skip the specialty sewing-store kits.
The rings, cord, and lining go cheaper online, and dowels plus mounting boards come from any hardware store that cuts lumber free. A drill helps but is not required; everything else you probably already own if you sew even occasionally.
3. Cut the Fabric
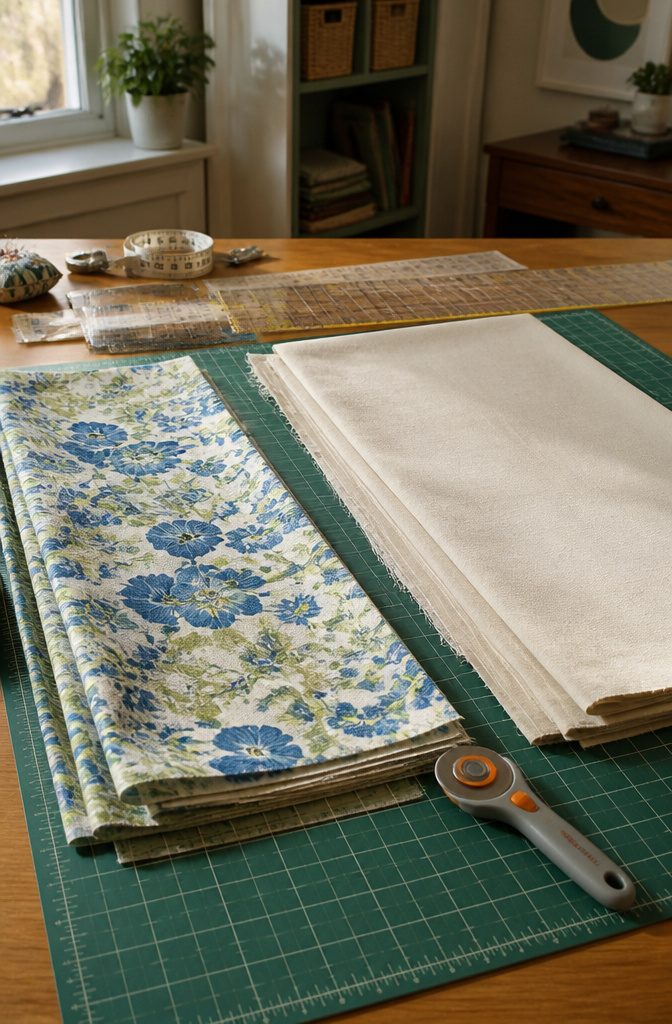
Cut your decorator fabric 3 inches wider and 5 inches longer than your finished window dimensions.
That extra width gives you 1.5 inches per side for double-folded side hems, and the length covers your top hem, bottom hem, and the pockets that hold the dowels.
Two sources bump the length to 6 inches; the 5-inch figure still leaves room for standard dowel spacing at 8–10 inches apart, but if your window is tall enough to need extra pockets, that extra inch of length is worth keeping in mind.
Patterned fabric needs one more check before you cut.
Lay the full piece out and mark where the folds and pockets will sit, because a stripe or large motif that looks centered at the top can drift awkwardly once the shade stacks.
I eyeball the repeat against the window height and shift the cut up or down until the pattern lands where I want it in both the raised and lowered positions.
The lining gets cut 1 inch narrower than your finished width but matches the decorator fabric’s length, since it shares those same hem and pocket folds without the side allowance.
4. Sew the Fabric and Lining
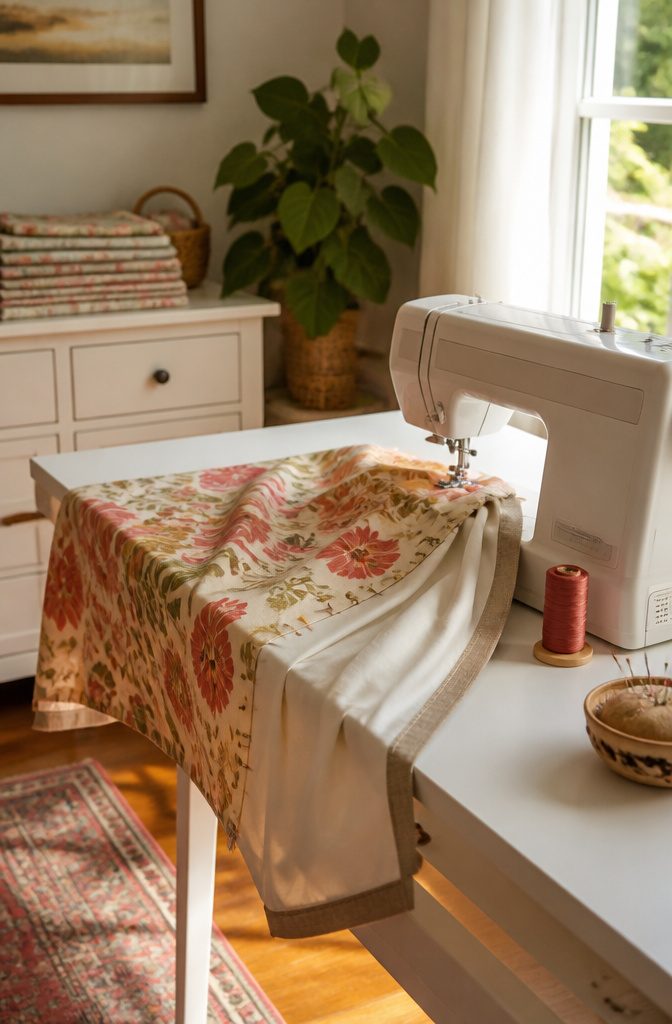
Lay the decorator fabric face down and place the lining on top with its right side up, centered so roughly an inch of the face fabric shows on each side.
Pin along both long edges and across the bottom, then sew with a ½ inch seam allowance, leaving the top edge completely open.
That open top is what lets you slide the mounting board in later; sew it shut now and you will be unpicking stitches when assembly time comes.
Press the seams open, turn the shade right side out, and work the corners square with a blunt tool.
The lining should sit centered on the back with equal fabric showing at both edges, which gives the shade its clean, finished border when hung.
Press the edges flat and topstitch if you want a crisper edge, though plain pressing holds up fine for most fabrics.
The bottom will hang an inch below the lining, which is intentional; that extra length forms the finished hem that weights the shade and keeps it hanging straight.
5. Create Dowel Pockets
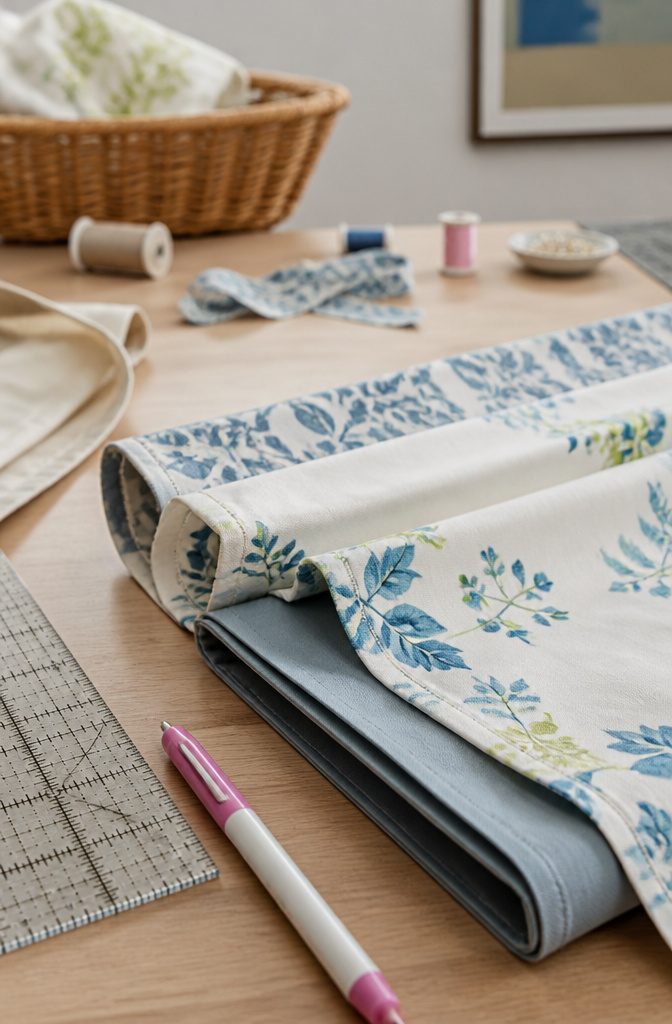
Horizontal pockets hold the dowels that create your folds, and spacing them 8–10 inches apart is the spacing most tutorials settle on.
I divide the finished shade height by a number in that range, then adjust so the bottom section ends slightly shorter than the rest. That shorter bottom section lets the shade stack neatly when raised.
The pocket depth needs to match your dowel diameter. A dowel that sits too loose will shift and throw off the fold line; one that fights the fabric will distort the face of the shade.
Cut your lining strips about 2 inches wide, fold them in half lengthwise, and press before you sew them down. That finished width gives enough ease for a standard 3/8-inch or 1/2-inch dowel without excess bulk.
Some sewers mark all pocket lines at once on the lining side, then pin and stitch in a single pass.
Others sew each pocket as they go, checking the spacing against the window height with every row. Either approach works; the second just catches a math error before every pocket is already in place.
6. Attach Plastic Rings
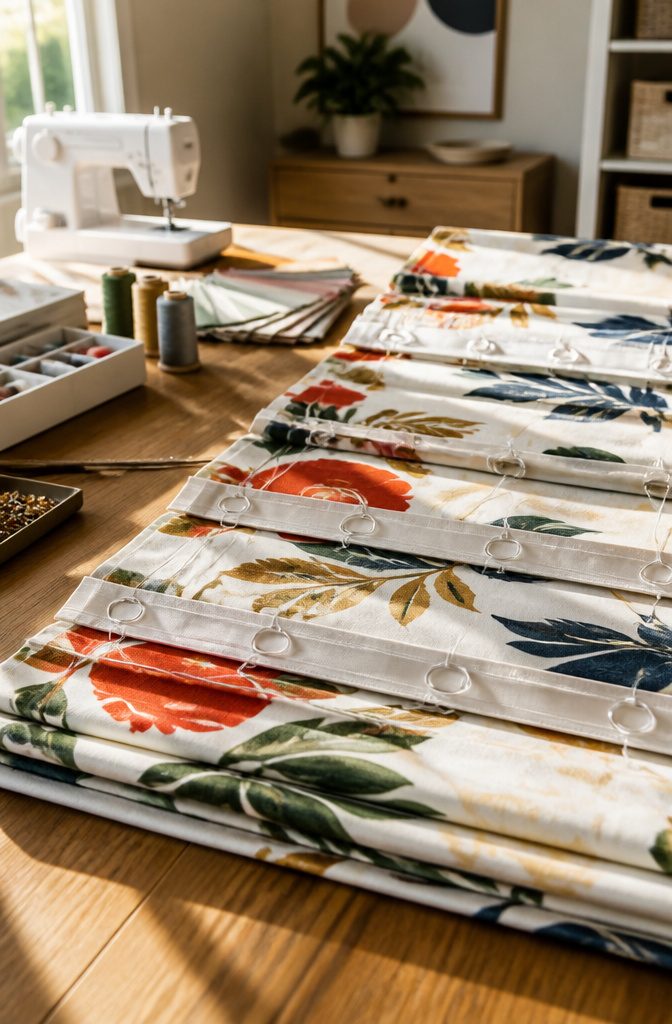
The plastic rings are what make a Roman shade raise evenly instead of sagging into a V, so their placement is worth measuring twice.
I sew them to the back of the shade in vertical rows that line up directly above each dowel pocket.
For a shade under 24 inches wide, three rows are standard: one about 2–3 inches in from each edge and one dead center.
Wider shades need four or five rows so the fabric lifts as a flat plane rather than rippling between cords.
Each ring sits at the back edge of its dowel pocket, spaced roughly 8–10 inches apart up the full length of the shade.
The cord will thread down through every ring in a single row before crossing at the bottom and running up to the headrail, so any ring even slightly out of vertical alignment means the shade will hike up crooked.
Sew through the lining only so the stitches never show on the face fabric, and use strong thread because every pull goes through these rings for the life of the shade.
On the back (liner) side, along each dowel, measure 2 1/2 inches in from the edge and mark with a pencil, then mark the center point on each. Using a needle and thread, attach sewing rings to the liner at each mark (there should be 9 total!).
That nine-ring count is for a three-row layout, which tells you roughly how many dowel pockets the original project used.
Scale up to four or five rows for a wider shade and the math stays the same: three rings per row, spaced evenly.
7. Prepare the Mounting Board
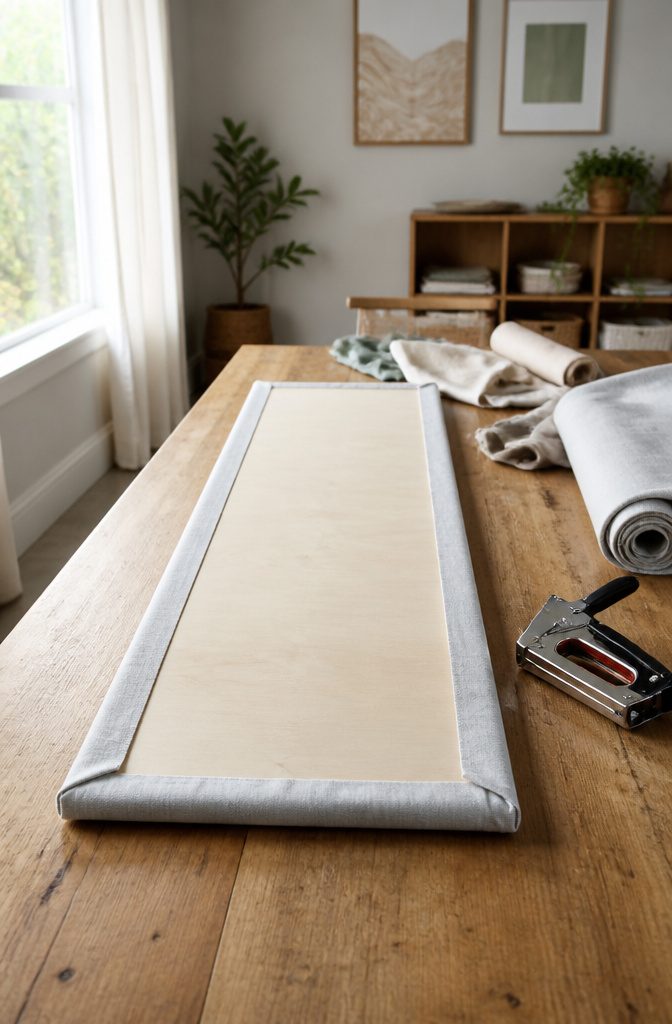
A 1×2 or 1×3 board cut to the finished width of your shade is what I reach for. Anything wider wastes headroom; anything narrower feels flimsy once the fabric weight is on it.
Wrap the board with leftover face fabric, pulling it tight as you staple neatly across the back. Keep the front clean; the wrapped edge becomes the top finished line of your shade.
Staple the unfinished top edge of the shade to the front face of the board, not the top, so the shade hangs straight down with the piping flush against the upper edge.
Trim excess fabric behind the staples so nothing bulks out when you mount it.
For inside mounts, screw the board to the ceiling of the window well with 2-inch wood screws into studs. For outside mounts, the board sits on the wall or frame instead.
Position it so the shade clears the window at the depth you planned; too shallow and light leaks at the sides, too deep and the shade floats in the opening like an afterthought.
Hook-and-loop tape works here instead of staples if you want to pull the shade off seasonally, but staples hold cleaner through daily raising and lowering.
8. Thread the Control Cords
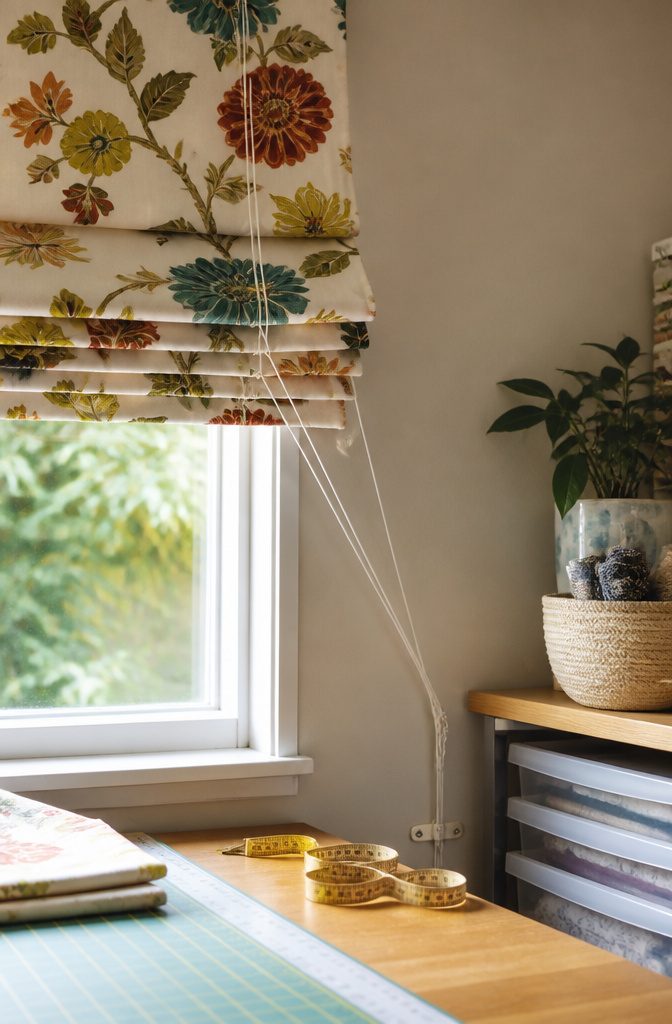
Each lift cord gets tied off at the bottom ring, then threaded straight up through every ring above it.
I like to add 60 inches to the finished width plus finished length when I cut my pieces, so a 36-inch-wide, 78-inch-tall shade needs cord at 174 inches.
That extra length lets me run every tail through the screw eyes in the mounting board and gather them all at one side, which keeps the pulls tidy.
At the top, the simplest approach is a cord cleat mounted at least 5 feet above the floor for child safety.
Wind the cords around it to hold the shade open. A cord lock is the cleaner option if you want the shade to stay put without wrapping, and some makers skip hardware entirely, relying on just the cleat.
You are choosing between convenience and cost: the cleat is cheap and works, the lock is neater but adds a few dollars and another step to the install.
9. Install the Shade
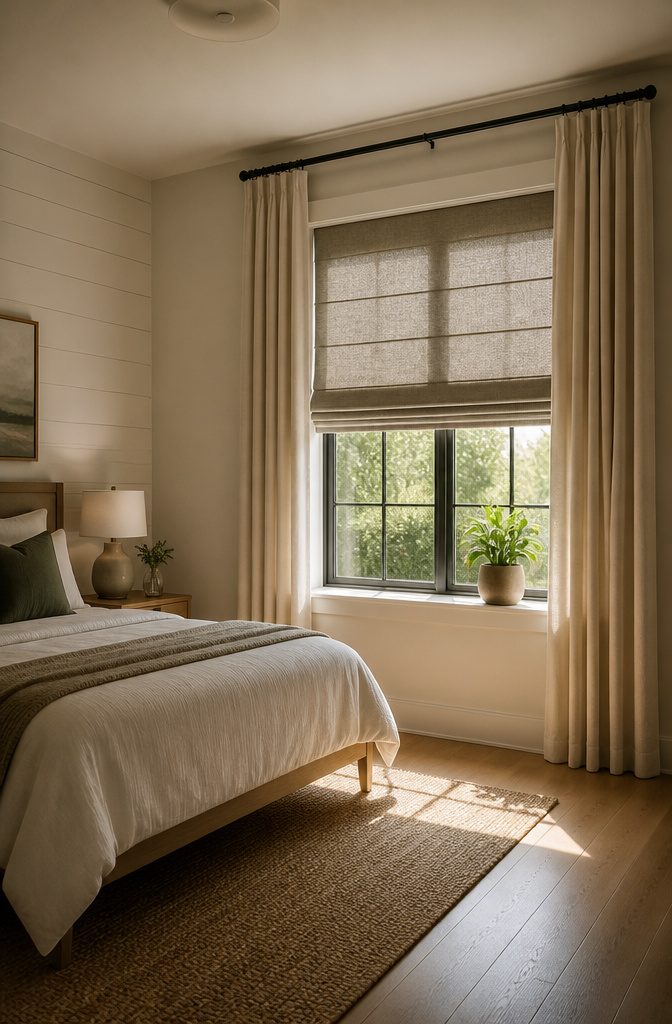
An inside mount needs L-brackets screwed to the underside of the window frame’s top edge, with the mounting board attached so the piping sits flush against the frame’s front.
For an outside mount, 1½" corner braces fixed to the wall at ¾" below your finished height carry the board, and you screw up through the brackets from underneath.
Wide windows want a middle bracket or two, or that board will sag within a month.
Cord tension is what separates a shade that stacks in clean folds from one that lists to one side.
The rings need to sit in straight vertical lines; a ring even half an inch off its column pulls the fabric sideways as the shade rises.
If your folds drape unevenly, check ring alignment first, then whether one cord has stretched or settled shorter than its pair.
The first few raises, the pleats need your hand guiding them into place. After that, the fabric trains to memory and falls where it should.
10. No-Sew Method With Mini Blinds
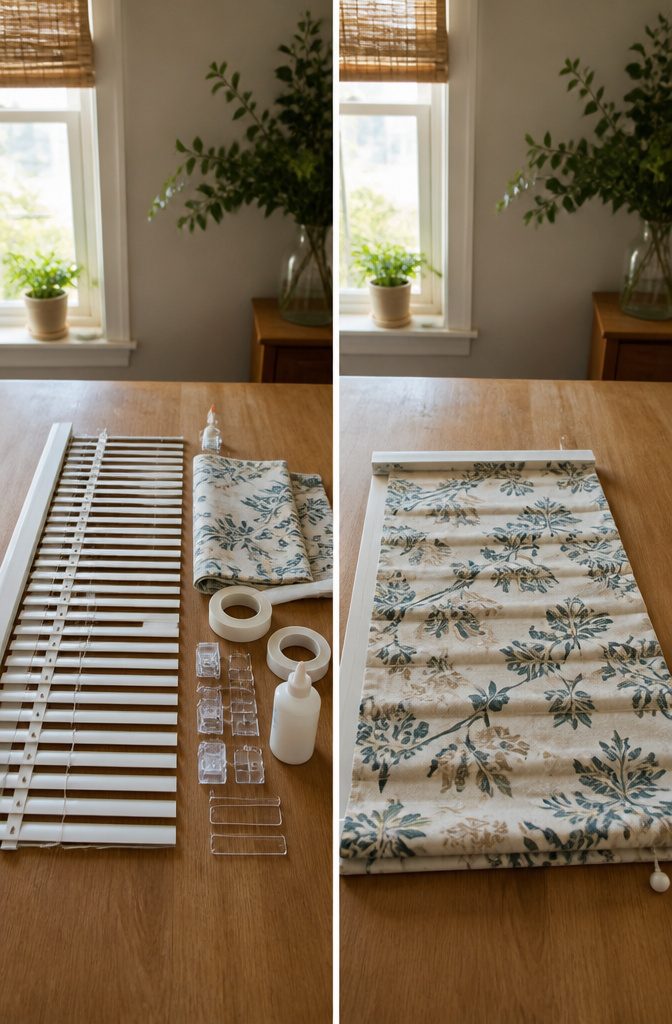
The fastest path to a working Roman shade is a $50 cordless mini blind used as an armature.
Spread the blind on a table, clamp the header if it keeps snapping shut, then strip away every slat except the bottom rail and one or two slats in between.
A window under 40 inches tall needs one slat; anything taller keeps two.
The critical step most people miss: two thicker cords inside the ladder run the lift mechanism. The thinner ladder strings are dead weight, cut them, but leave those two alone or the shade becomes a fixed panel.
For fabric attachment, fusible hem tape or fabric glue replaces the needle entirely. Run tape along the slats you kept, press the fabric down, and the blind’s original tilt wand becomes your raise and lower control.
The method wins on speed, a Saturday morning start to finish, and it sidesteps every renter’s fear of dragging a sewing machine to a third-floor walkup.
This is a real choice and worth naming.
Glue and tape fatigue faster than stitched channels, especially in humid bathrooms or on windows you adjust daily. Medium-weight cotton or linen holds fine; canvas or anything with blackout lining wants the sewn pocket the full tutorial covers.
If this shade lives on a window you rarely open, or you’re testing whether Roman folds suit the room at all, the no-sew route is the right place to start.
11. Faux Roman Shades
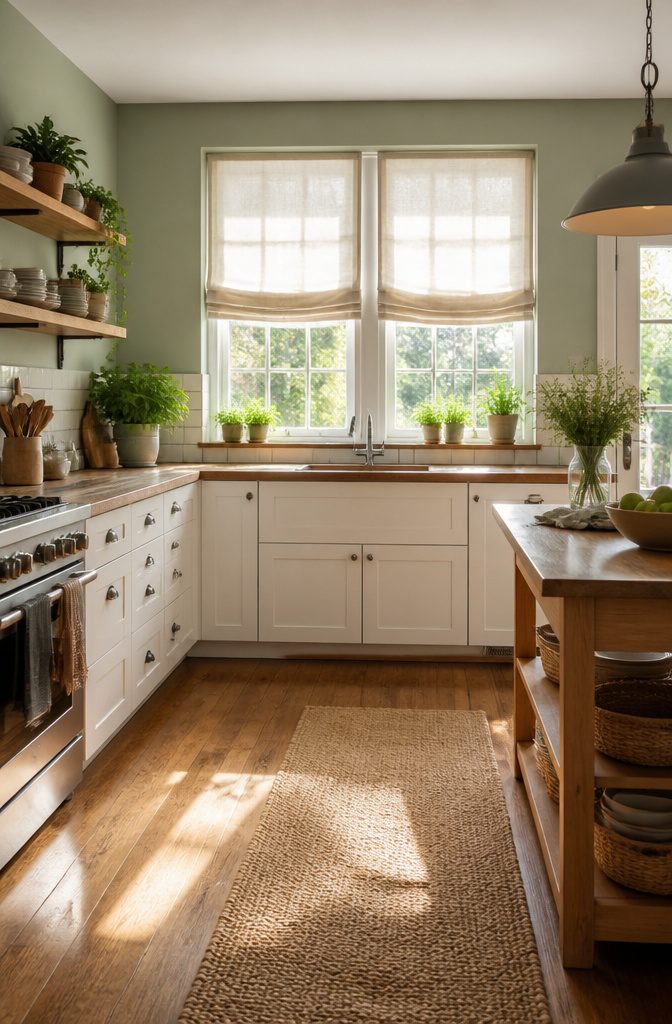
A faux Roman shade is the fastest way to get the look without the mechanics.
These are purely decorative panels mounted on tension rods at the top and bottom of the window frame, held slightly gathered so the fabric holds its stacked fold pattern permanently.
No cords, no rings, no raising or lowering; the shade stays put and the light comes through.
This option makes sense for windows where privacy and blocking light are already handled, like a bathroom with frosted glass or a kitchen above the sink that faces a fence.
Measure the inside width of the frame for the rod length, then cut fabric to your desired finished length plus about 8 inches total for top and bottom hems.
Sew a simple rod pocket at each end, slide the rods through, and wedge them into place at whatever height looks right. The bottom rod adds weight so the fabric hangs with that characteristic Roman fold instead of going limp.
What you give up is real function. A faux shade will not darken a room or give you evening privacy, and the gathered fabric collects more dust than a flat panel because of all the horizontal surfaces.
For a rental or a first project, though, what you get back is a Saturday morning and about twelve dollars in materials.
Inside Mount Versus Outside Mount
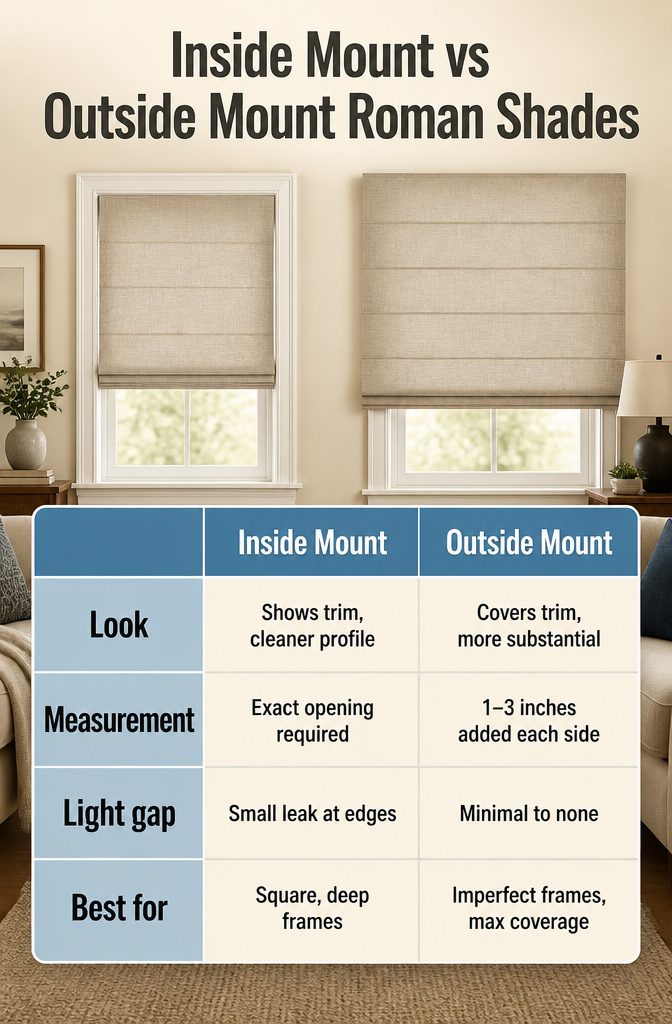
Inside mount keeps the shade within the window frame, so your trim stays visible and the look stays architectural.
Outside mount covers the frame entirely, which gives you more leeway on measurements since the shade does not have to fit an exact opening.
That same overlap also blocks more light; inside mount leaves a small gap at the edges where light leaks through.
Outside mount is the forgiving choice for older frames or any window where the reveal is not perfectly square. Inside mount works best when the frame depth is there and the lines are already clean.
| Attribute | Inside Mount | Outside Mount |
|---|---|---|
| Look | Shows trim, cleaner profile | Covers trim, more substantial |
| Measurement | Exact opening required | 1–3 inches added each side |
| Light gap | Small leak at edges | Minimal to none |
| Best for | Square, deep frames | Imperfect frames, max coverage |
Fabric and Lining Choices
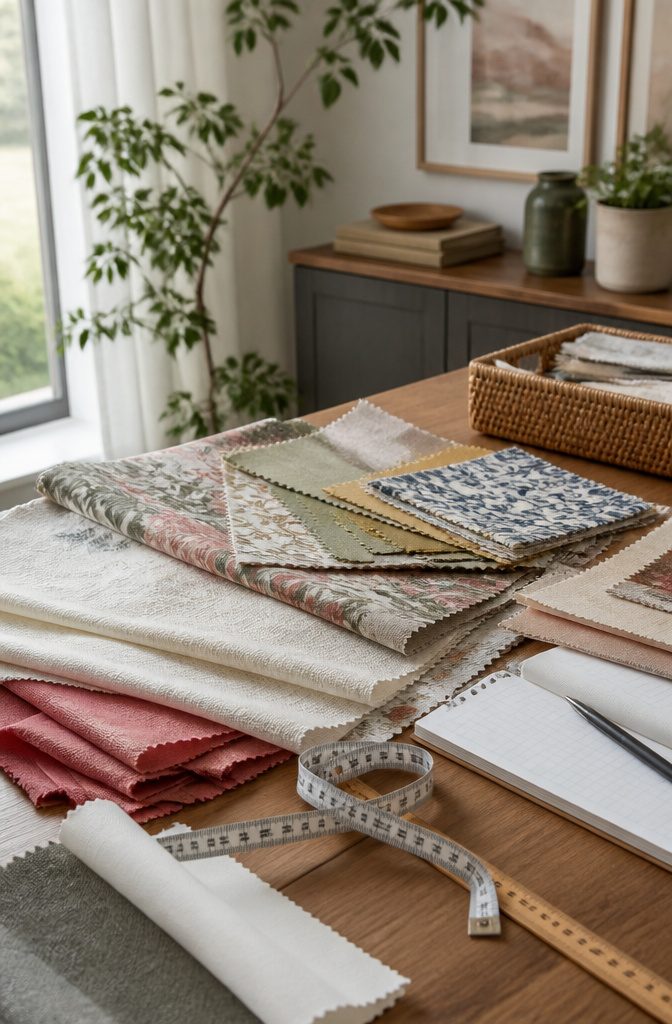
Medium-weight cotton, linen, or canvas give Roman shades the body they need to fold cleanly when you raise them.
I skip anything heavier, like upholstery velvet or denim, because the extra weight strains the cord system and the folds hang stiff instead of soft.
Sheer fabrics are the opposite problem; they collapse into limp gathers and the lifting mechanism shows through.
Lining is not optional if you want the shade to look finished.
It adds the stiffness that keeps the front fabric from sagging between dowels, and it protects the face fabric from sun damage that fades color unevenly. Standard cotton lining works for living areas where you still want filtered daylight.
For bedrooms, I pay the small upcharge for blackout lining; it blocks enough light to let me sleep past sunrise and it gives the shade a cleaner face from the street.
Pattern scale matters more than most people expect. A large repeat looks off if the folds cut through the motif at odd places, so I line up the pattern at the top and bottom edges before I cut.
Small repeats and solids forgive imprecise alignment, which is why I steer beginners toward those first.
Cost Breakdown
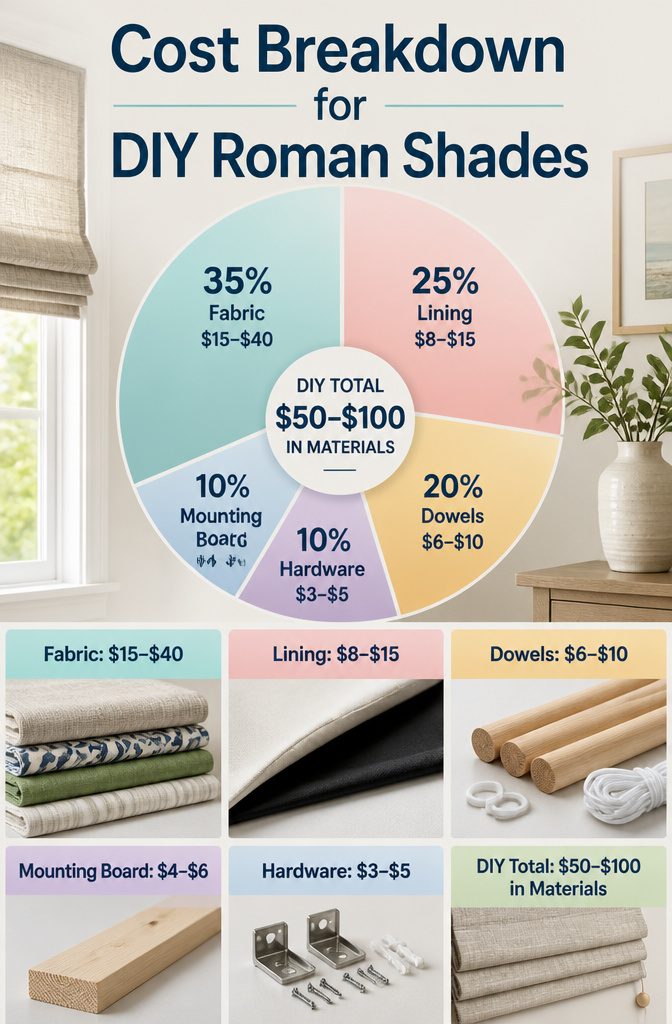
A finished DIY Roman shade runs $50–$100 in materials, against $150–$400 for custom-ordered. Where the savings land depends on what you already own and where you refuse to cut corners.
- Fabric eats the biggest slice at $15–$40. A cotton duck or remnant decorator print from the bolt ends keeps you near the bottom; a full-width linen or anything with a directional repeat pushes you toward the top. I spend here last, not first.
- Lining runs $8–$15. Blackout lining sits at the high end but pays back in sleep quality and fabric protection. Skimp on lining and the shade looks like a craft project in afternoon sun.
- Dowels at $6–$10 and rings plus cord at $5–$8 are non-negotiable structure. The 3/8-inch dowels spaced 8–12 inches apart are what give the shade its fold; going thinner risks sag.
- Mounting board ($4–$6) and hardware ($3–$5) are your smallest line items. A 1×2 inch board cut to finished width is standard; hardware-store staff will usually make that cut free.
The real win is labor you trade for time. Two days of weekend work replaces a $300 minimum custom order.
A sewing machine you already own makes the math work. Without one, the no-sew methods shift the cost toward mini-blinds but still land under half the custom price.
Safety and Maintenance
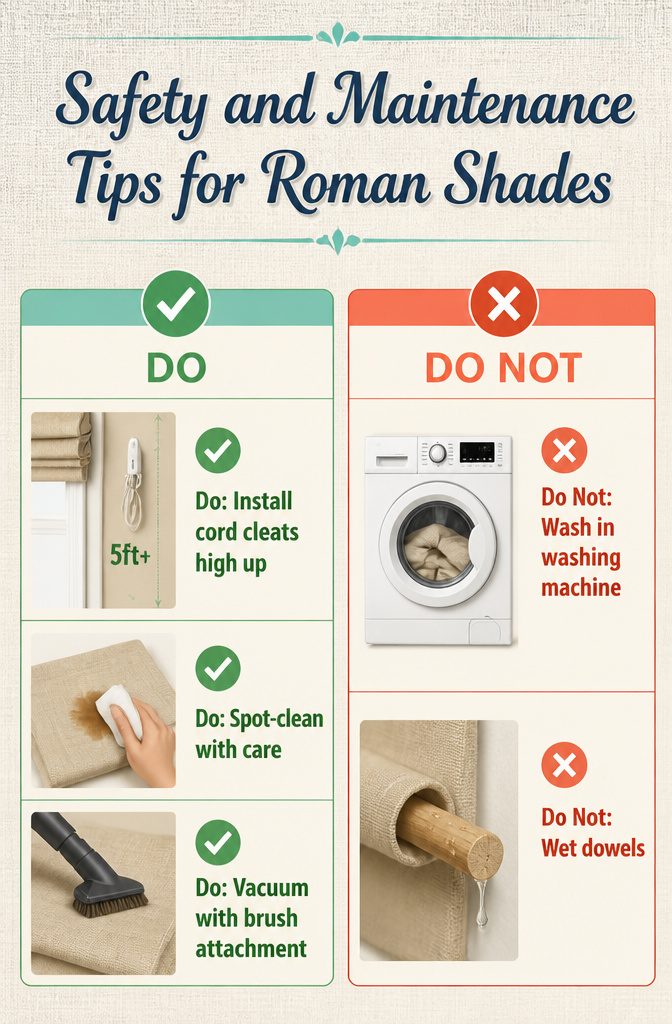
Cord cleats belong at least 5 feet off the floor, high enough that a curious toddler can’t reach the looped cord.
In a home with small children, the safer route is a cordless retrofit kit, which replaces the lift cords entirely and removes the strangulation hazard that keeps window coverings near the top of child-injury statistics.
Maintenance is straightforward but not hands-off.
A vacuum’s brush attachment lifts dust from the folds without catching the fabric. Spot-clean stains with the method your fabric tolerates, but keep water away from the dowels inside the pockets; moisture warps wood and rusts metal over time.
If the shade starts to sag after a few years, take it down and re-staple the fabric to the mounting board with fresh tension.
What you should not do is run an assembled shade through a washing machine; the cords tangle, the dowels shift, and the shape rarely recovers.
Frequently Asked Questions
How do I measure my window for Roman shades?
For inside mount, measure the width at the top, middle, and bottom of the frame, then use the smallest number and subtract 1/8 inch. Measure the height at left, center, and right, keeping the longest figure.
For outside mount, add 2–3 inches to the width for side overlap and 4–5 inches to the height so the shade clears the frame top and bottom. The common mistake is measuring the glass itself instead of the frame you want covered.
What fabric works best for Roman shades?
Medium-weight cotton, linen, or canvas give Roman shades the body they need to fold cleanly when raised. Skip anything heavier like upholstery velvet, which strains the cord system and hangs stiff, or sheer fabrics that collapse into limp gathers.
Lining is not optional if you want a finished look; standard cotton lining works for living areas, while blackout lining suits bedrooms.
Can I make Roman shades without a sewing machine?
Yes. The fastest no-sew method uses a $50 cordless mini blind as an armature, attaching fabric with fusible hem tape or fabric glue instead of stitches.
You can also hand-sew seams and use fusible tape for straight edges, though sewing creates a more durable result. Glue and tape fatigue faster than stitched channels, especially in humid rooms or on windows you adjust daily.