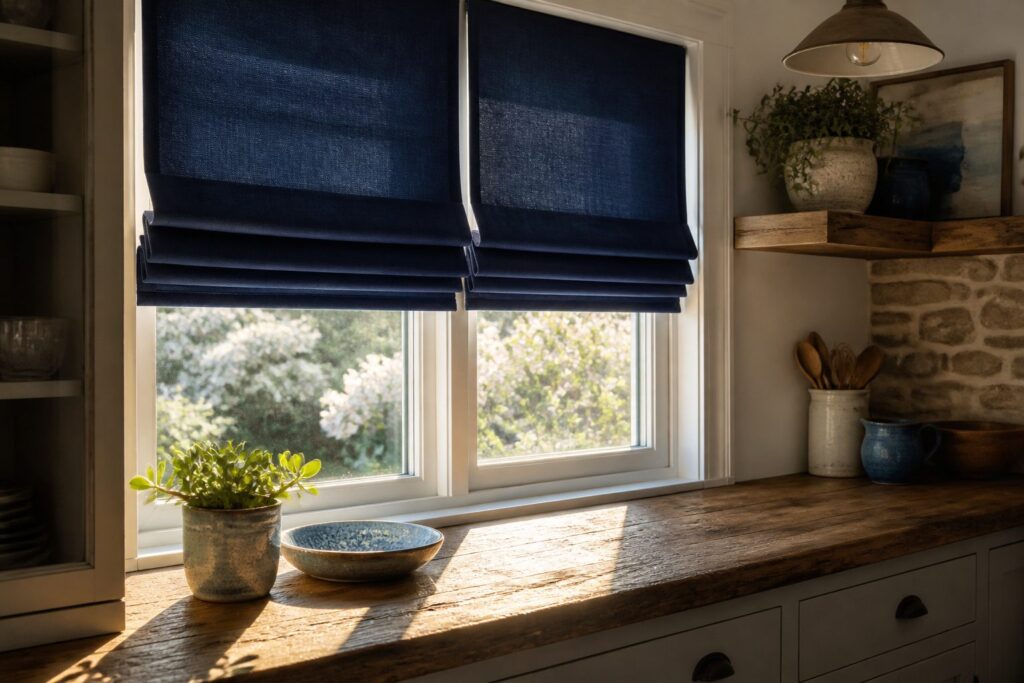
A finished set of diy custom blinds takes about one weekend, a sewing machine, and roughly three yards of medium-weight fabric at 250 gsm.
The place most builds fail is the measuring: use the narrowest of your three width readings, even if the gap is only a quarter inch, because a shade cut to the widest spot will scrape the frame every time you raise it.
1. How to Measure Your Windows
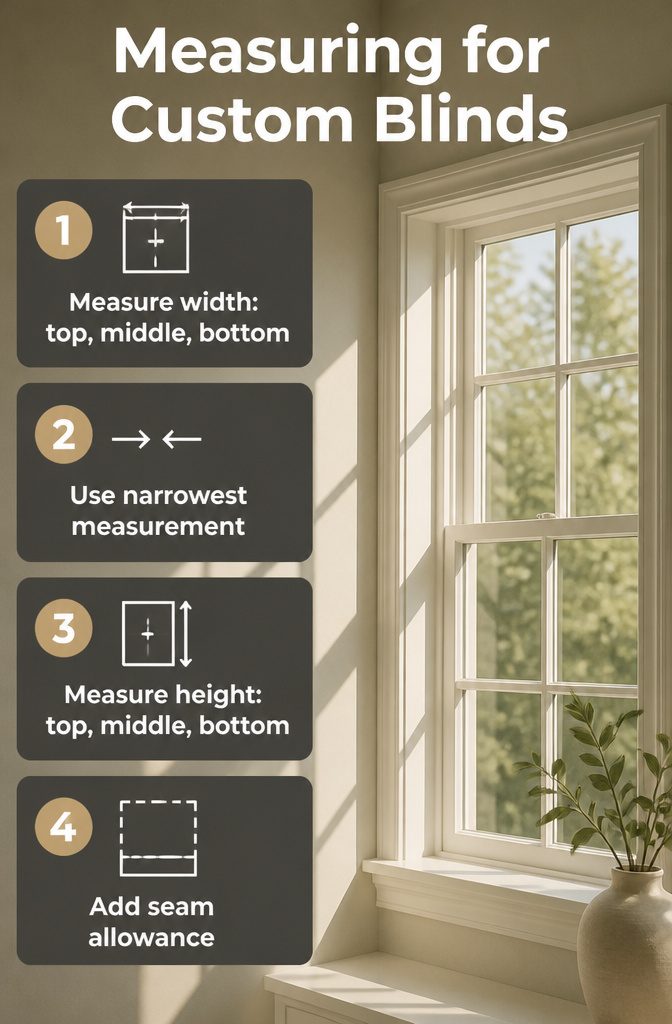
- Measure the width of your window casing at three points: top, middle, and bottom. Use the narrowest of the three measurements, even if the difference is only a quarter inch. A shade cut to the widest spot will scrape the frame on every raise and lower, or leave a light gap that shows at sunrise.
- Repeat the same three-point check for height. Again, the smallest number wins. Window frames settle out of square more often than you’d expect, especially in rentals and first homes built in the last twenty years.
- Add seam allowance before you buy fabric. The Roman shade standard is 1.5 inches on each side and 3 inches for the bottom hem. That bottom weight matters: a 3-inch hem gives the shade the heft to hang straight and feel finished, not like a stretched tea towel.
2. Choose Your Fabric
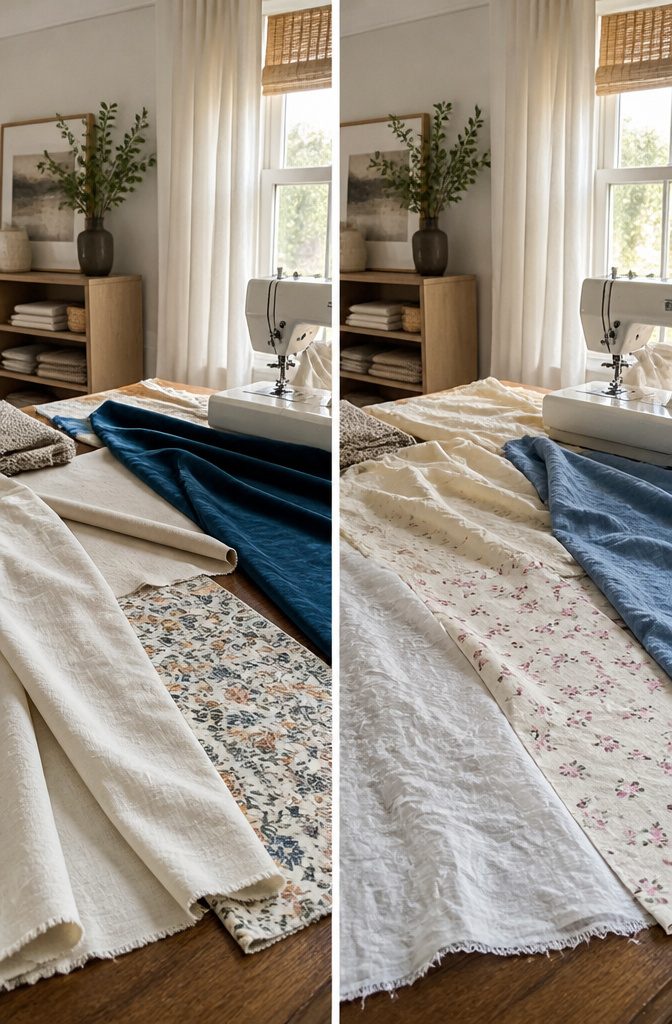
Medium-weight fabric gives you the light diffusion and privacy a blind actually needs. Quilting cotton may tempt you with its prints, but it is too thin for a shade that has to hold its shape against a window all day.
For a blind that lasts, I look for a linen-cotton blend of at least 250 gsm. That weight has enough body to drape cleanly and enough density to block the view without turning the room into a cave.
The fabrics that work here are straightforward: medium-weight cotton, linen, canvas, and velvet. Cotton and linen blends stay crisp for flat Roman shades.
Canvas handles high-traffic windows where fingers tug twice a day. Velvet brings the heft for rooms where you want real darkness, though its pile can swallow more light than you expect and it shows every handling mark.
Each one folds differently, hangs differently, and ages differently. The choice is less about matching a room’s color and more about whether the fabric’s hand, the way it moves and holds a crease, suits the shade style you are building.
3. Cut the Fabric
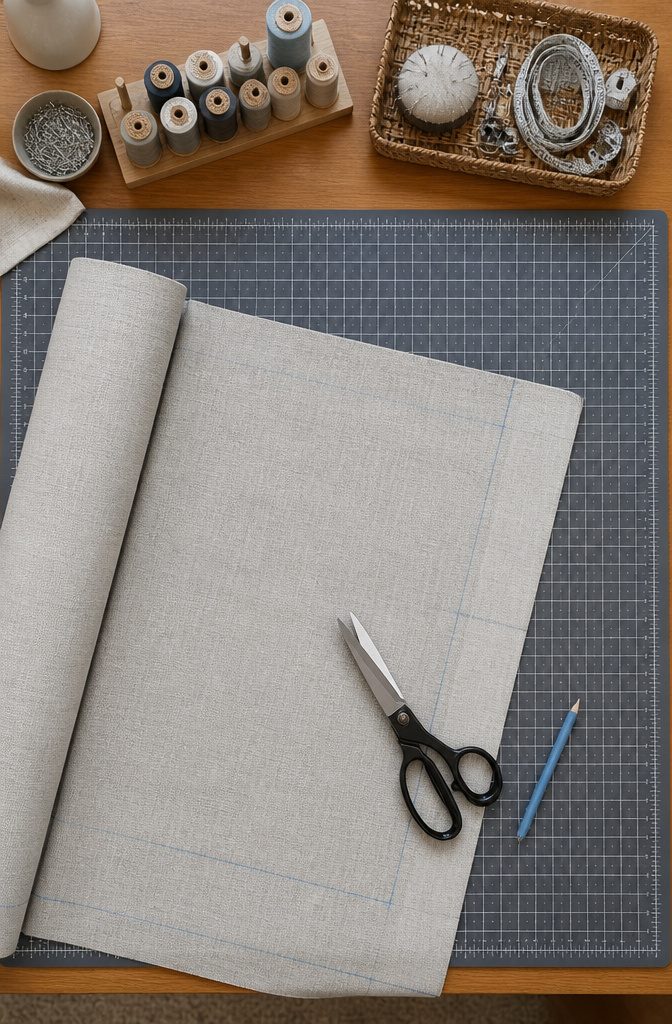
- Lay the fabric face-down on a clean floor or table you can walk around. A rotary cutter gives the cleanest edge, but sharp fabric scissors work fine if you cut in one long motion rather than sawing.
- Measure the finished width you want the shade to hang at, then add 1.5 inches on each side for the seam allowance. That extra fabric folds into the channel that holds the tension rod or mounting hardware.
- For the length, add 3 inches to the bottom for the hem. That folded weight keeps the shade from curling or drifting in a breeze, and it gives the bottom edge the crisp line that reads as store-bought rather than homemade.
- Mark with a fabric pencil or chalk, not a ballpoint, and cut one face piece and one lining piece to identical dimensions. If your pattern has a directional print, check now that both pieces run the same way up.
4. Assemble the Shade
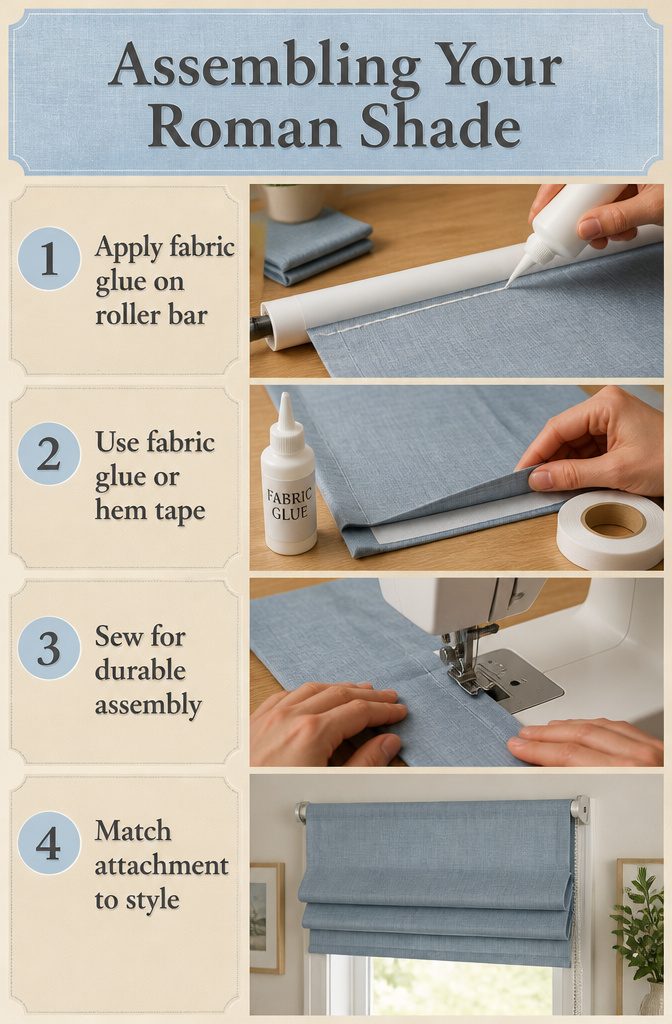
- Run a bead of fabric glue along the top of the roller bar, or lay down a strip of double-sided tape. Press the top edge of your fabric into place and smooth it flat while the adhesive sets; wrinkles here will telegraph through every time the shade rolls down.
- Fabric glue and iron-on hem tape carry the day if you do not sew. I keep a bottle on hand for Roman shades and tie-up shades, where the fabric hangs stationary and never feeds through a mechanism. For roll-up shades that see daily use, the heat and tension eventually win: sun-softened adhesive lets the hem drop, usually in mid-July when humidity spikes.
- A sewing machine is the honest long-term play for any shade that moves. A straight stitch on the back side takes maybe twenty minutes and hides imperfect tension forever. Real thread handles the pull of a tied Roman cord or a rolled barrel better than any tape.
- Match the attachment to the style. Roman shades with their fixed folds forgive no-sew methods; the fabric never shifts. Tie-up shades, same logic. Roll-up shades demand either a clean glue bond to the roller or a machined channel, because that barrel turns hundreds of times a year.
5. Add Finishing Touches
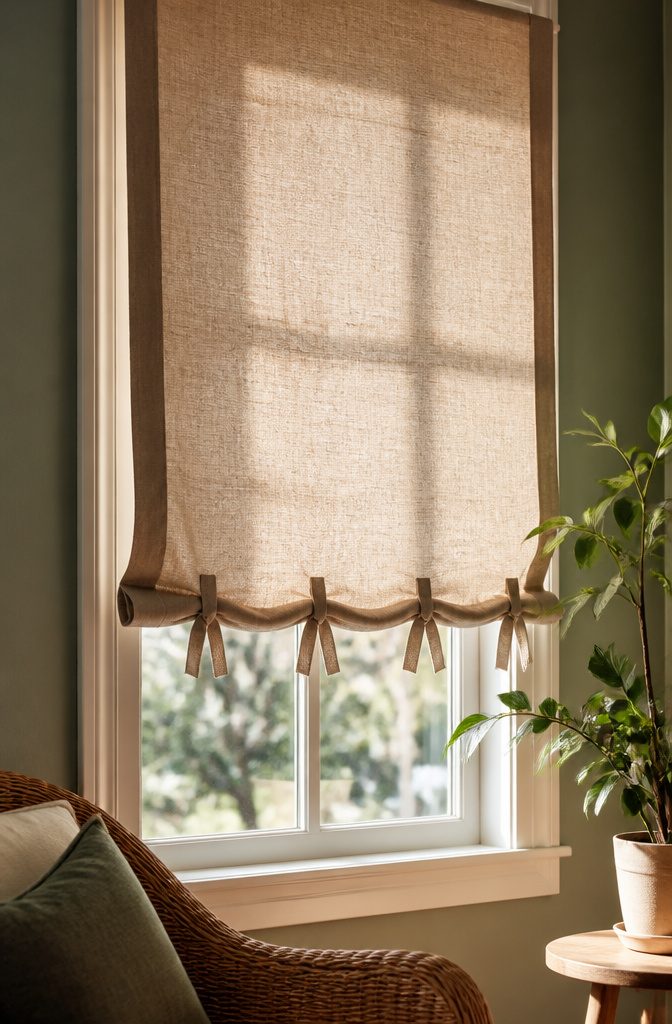
A narrow hem along each edge keeps the shade from fraying and gives it the weight to hang flat. I use a sewing machine for this, not iron-on hem tape.
The tape works for a guest room window that stays closed, but on a working shade the adhesive weakens in summer heat and the hem drops. A straight stitch takes twenty minutes and survives humidity and daily use.
Ribbons, trims, and ties are where the shade stops looking handmade and starts looking finished.
A grosgrain ribbon along the side edges covers the seam and adds structure. For tie-up shades, four fabric ties attach to the bottom piece, two on each side, placed 3 1/2 inches from the edges.
The ties get three seams: one to join the top and bottom pieces, a second 1/4 inch below for security, and a third catching the edge of the hem to lock everything flat.
A fabric pull at the bottom rail makes raising and lowering easier, and it doubles as another place to add personality.
Leather, braided cord, or a self-fabric tab each read differently. The trim is the last thing you see when the shade is down, so pick something that reads against the wall color rather than disappearing into it.
6. Install the Shades
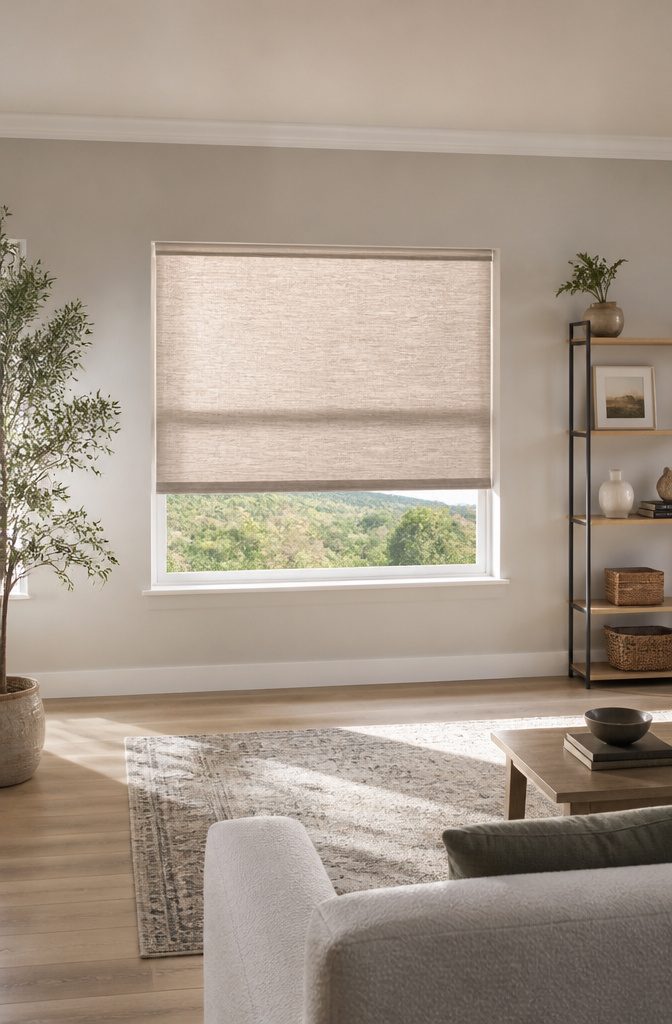
- Screw the brackets into the window frame following your roller shade kit’s instructions, keeping them level across the top. A crooked mount means a crooked shade every time you roll it down.
- For an inside mount that looks built-in, wrap a 1×2 pine board in leftover fabric and staple the shade’s top edge directly to it. Screw this header board into the top of the window frame so the messy cord work hides behind the fabric.
- Thread the roller mechanism into the brackets. Most kits use a pin on one end and a spring-loaded pin on the other; compress the spring end, hook the fixed pin, and let it snap into place.
- Test the shade before you walk away. Raise and lower it fully, checking that the fabric rolls straight and the tube spins freely. If it wobbles or the fabric tracks to one side, loosen the brackets and re-level by no more than an eighth of an inch before tightening again.
7. Maintain the Shades
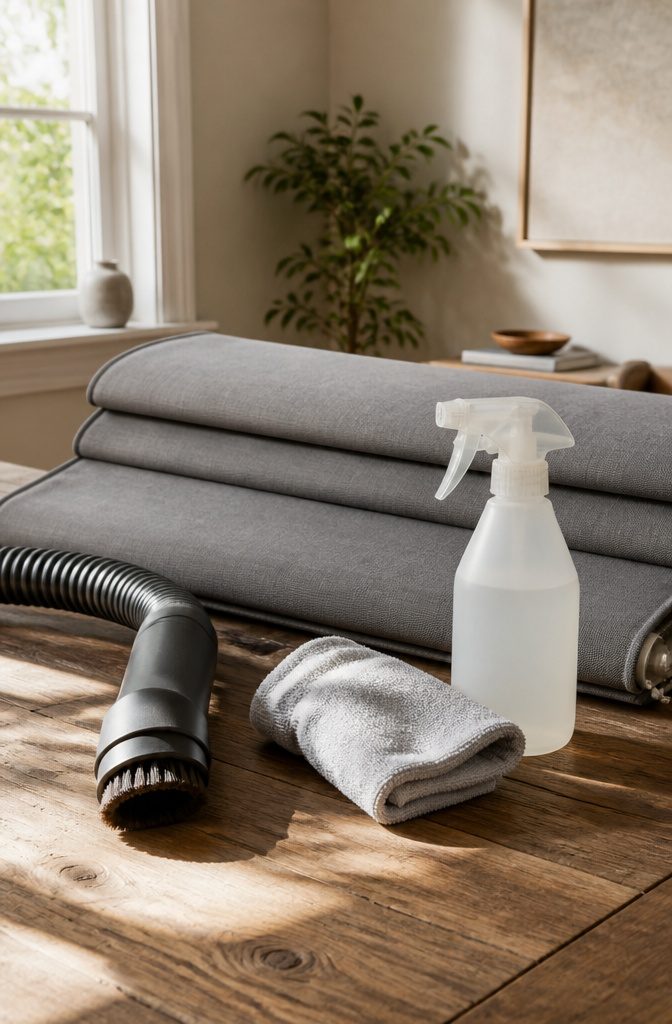
Fabric shades collect dust faster than you’d think, especially the folds where light filters through. A vacuum with a brush attachment once a month pulls it out before it settles in deep.
I run the brush along the grain of the pleats, top to bottom, working slow enough that the suction actually lifts the particles rather than just stirring them.
Spot cleaning takes a gentler hand.
Upholstery cleaner works on most woven fabrics, though I’d test it on the back corner first. The shade’s stapled to a header board, so you can’t pull it off and soak it.
Work the cleaner into the stain with a soft cloth, then blot dry with another. Don’t saturate the fabric: water wicks up along the weave and leaves a ring bigger than the original mark.
Prolonged direct sunlight fades most dyes over time.
If your window faces south or west, rotate which shade stays lowered on the brightest afternoons, or add a sheer curtain behind it. Properly maintained fabric shades outlast neglected ones by years, and the difference is mostly this ten-minute routine.
Tools You Need
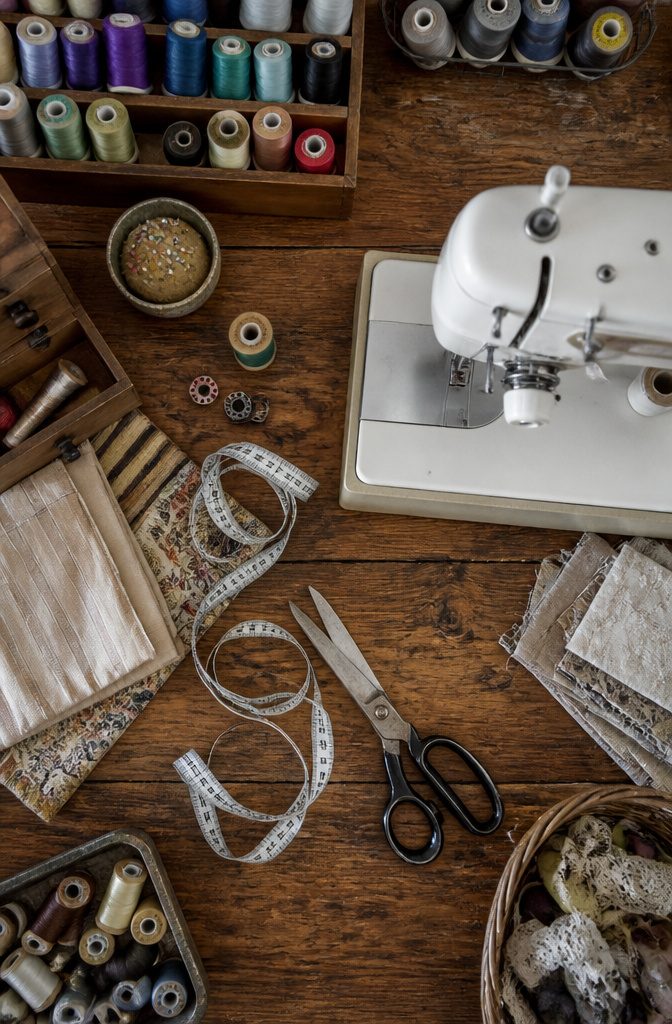
The right tools arrive in two waves: what gets the shade built, and what gets it hung.
For the build, a measuring tape and sharp scissors handle the raw cuts. Fabric glue or double-sided tape attaches the cloth to the roller, though I would skip both if the shade will see daily use.
Heat and humidity weaken adhesive over time, and a dropped hem is not a repair you want at mid-July.
A sewing machine with a straight stitch takes twenty extra minutes and solves the problem permanently; the back of the shade hides any wobbles in your line.
For installation, the roller mechanism and its brackets come first. Pre-drill your holes for a clean finish, especially if you are working with wood or trim you do not own.
Tension rods are the quick rental-friendly option, but they read as temporary. A 1×2 pine board wrapped in matching fabric, screwed into the top of the frame, gives the flush inside-mount look that actually looks built in.
Shade Styles Compared
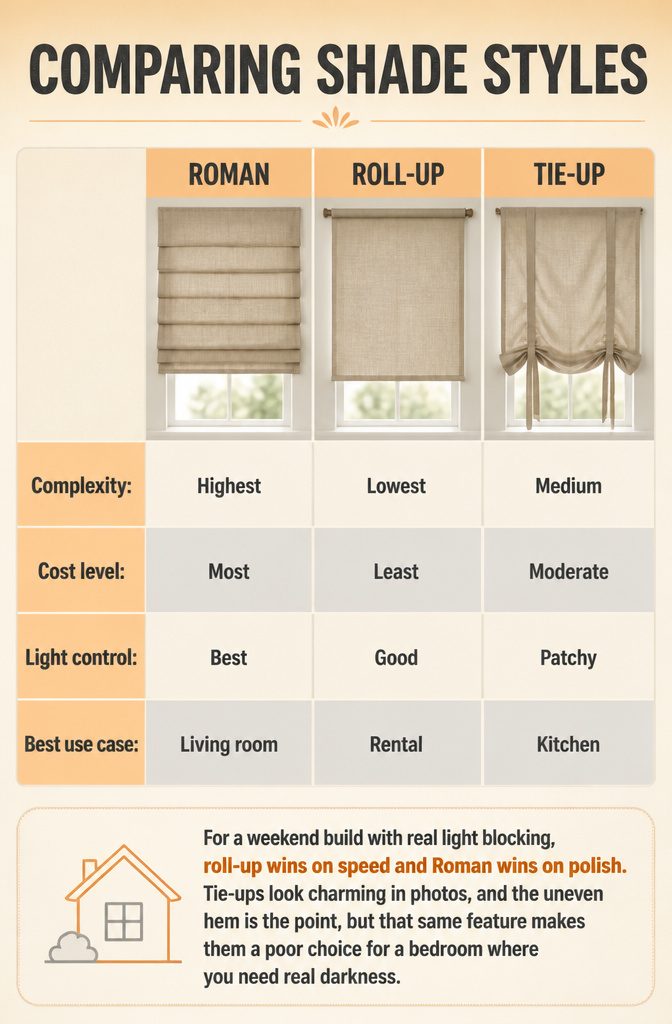
Roman shades fold into clean horizontal pleats and give the most finished look of the three, but that structure needs dowels or ribs inside, more sewing, and a lining that holds its shape.
Roll-ups skip the internal hardware entirely; fabric wraps around a simple batten and drops straight down, which makes them the fastest build and the easiest to take down when you move.
Tie-ups land in the middle, literally, with fabric that gathers in thirds and ties at two points, no rods required, though the uneven bottom edge blocks light less predictably than the other two.
| Roman | Roll-up | Tie-up | |
|---|---|---|---|
| Complexity | Highest: lining, dowel channels, ring tape | Lowest: single panel, batten, cord | Medium: hems and tie placement only |
| Cost level | Most fabric, hardware adds up | Least material, minimal hardware | Moderate fabric, no extra hardware |
| Light control | Best: fitted shape, optional blackout lining | Good if fabric is heavy | Patchy: gaps at the tied gathers |
| Best use case | Living room, bedroom, anywhere you stay long | Rental, high-traffic window, first project | Kitchen, casual space, pattern you want to show off |
For a weekend build with real light blocking, roll-up wins on speed and Roman wins on polish.
Tie-ups look charming in photos, and the uneven hem is the point, but that same feature makes them a poor choice for a bedroom where you need real darkness.
Fabric Weight and What It Changes
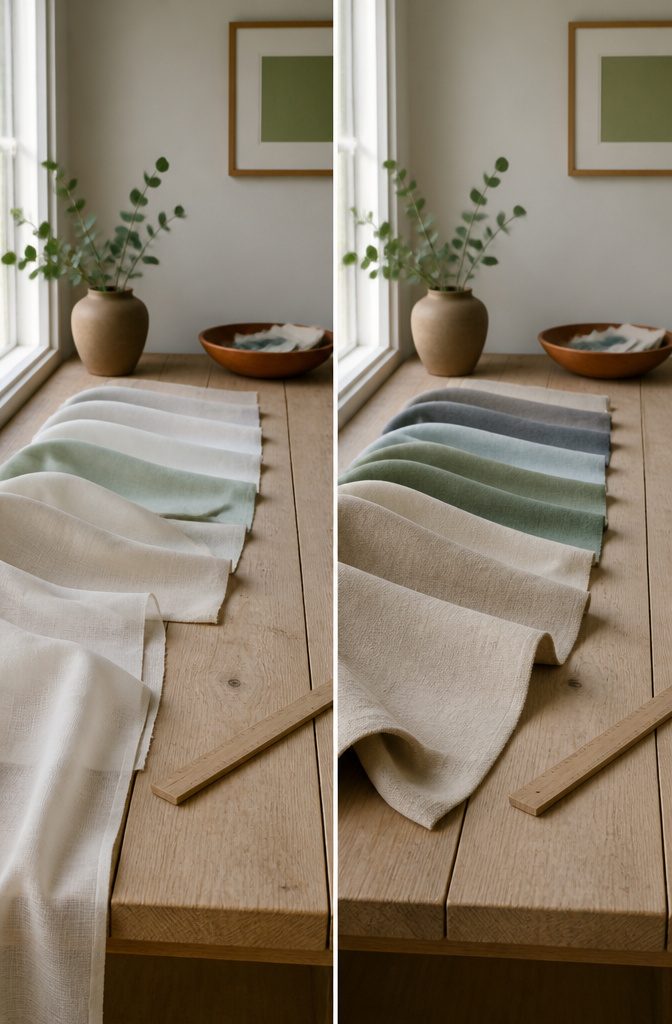
The weight of your fabric decides how the shade behaves long before you hang it.
I reach for medium-weight cotton or linen around 250 gsm as the floor for anything that will see daily use; below that, the material fatigues at the tension points and the shade sags within a season.
| Attribute | Lightweight (<200 gsm) | Medium-weight (250–350 gsm) |
|---|---|---|
| Durability | Fades, stretches, tears at grommets | Holds tension, resists UV breakdown |
| Light diffusion | Glows like a lantern; silhouettes show | Diffuses to a soft haze; shapes blur |
| Privacy | Barely there after dark | Functional at night |
| Best for | Roman shades in low-traffic rooms, layered under curtains | Roller shades, flat Romans, any stand-alone blind |
Lightweight fabrics work if you are dressing a window that already has a curtain for backup, or if you want that filtered, almost Japanese-paper quality and do not mind the trade-off.
For a blind that operates alone, the heavier cloth wins on every count that matters to a renter who wants to finish on Saturday and not revisit the project next spring.
Frequently Asked Questions
What is the best fabric for DIY custom blinds?
A linen-cotton blend of at least 250 gsm is the best starting point. That weight gives the shade enough body to hang straight and enough density to block the view without darkening the room.
Medium-weight cotton, canvas, and velvet also work, but each folds and hangs differently, so match the fabric’s hand to the shade style you are building.
How do I clean my homemade shades?
Vacuum with a brush attachment once a month, running the brush along the grain of the pleats from top to bottom.
For spots, test upholstery cleaner on a back corner first, then work it in with a soft cloth and blot dry. Do not saturate the fabric; water wicks up the weave and leaves a ring larger than the original stain.
What are common mistakes to avoid when making DIY blinds?
The most common errors are taking the widest width measurement instead of the narrowest, and using lightweight fabric that sags within a season.
Window frames settle out of square, so measure width and height at three points each and use the smallest number. Skipping the 3-inch bottom hem is another frequent shortcut; without that weight, the shade curls and drifts.
What material can you use for a roller blind?
Medium-weight cotton, linen, canvas, or velvet all work for a roller blind. The fabric wraps around a simple batten and drops straight down, so it needs enough body to roll cleanly without creasing permanently.
A 250 gsm linen-cotton blend is the practical floor; lighter fabrics fatigue at the tension points and will not hold a straight edge over time.
Does Home Depot offer custom blinds?
A DIY build lets you match exact window dimensions and fabric choices that off-the-shelf sizes rarely accommodate, especially in older homes or rentals with settled frames.
Where can I find the cheapest blinds online?
Making your own is often the cheapest route for odd-size windows, since you are not paying for custom cutting fees.
A roll-up shade needs only fabric, a batten, and a simple cord kit; total material cost runs lower than most pre-made options once you factor in shipping and sizing premiums.
How to make wooden blinds at home?
For a wood look with simpler construction, wrap a 1×2 pine board in matching fabric and use it as the header board for an inside-mounted fabric shade; it gives the flush, built-in appearance of custom wood blinds without the slat hardware.