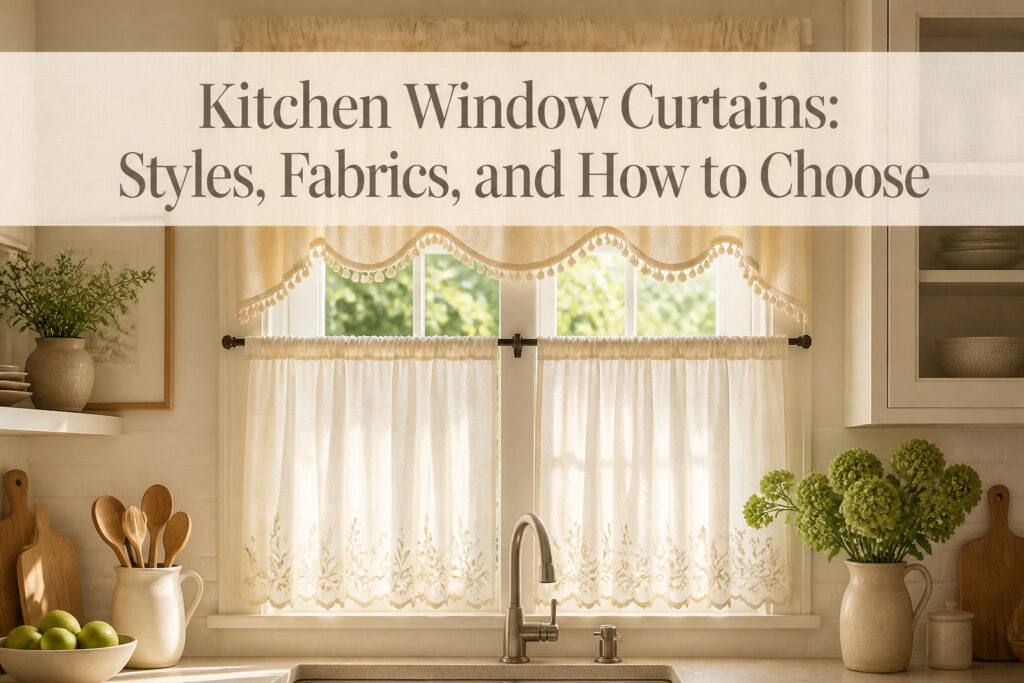
Kitchen window curtains are short fabric treatments, usually tiers, valances, or panels, hung over the glass above a sink or counter.
The catch is that most kitchens need privacy at standing height without blocking daylight from above, which is why a 24-inch tier on a low window can feel skimpy while a 36-inch tier on a small window swallows it.
A standard double-hung window runs about 36 inches tall from sill to top sash, so measuring from the planned rod placement down to the sill, and rounding to the nearest inch, is the two-minute step that prevents either mistake.
Tiers and Cafe Curtains
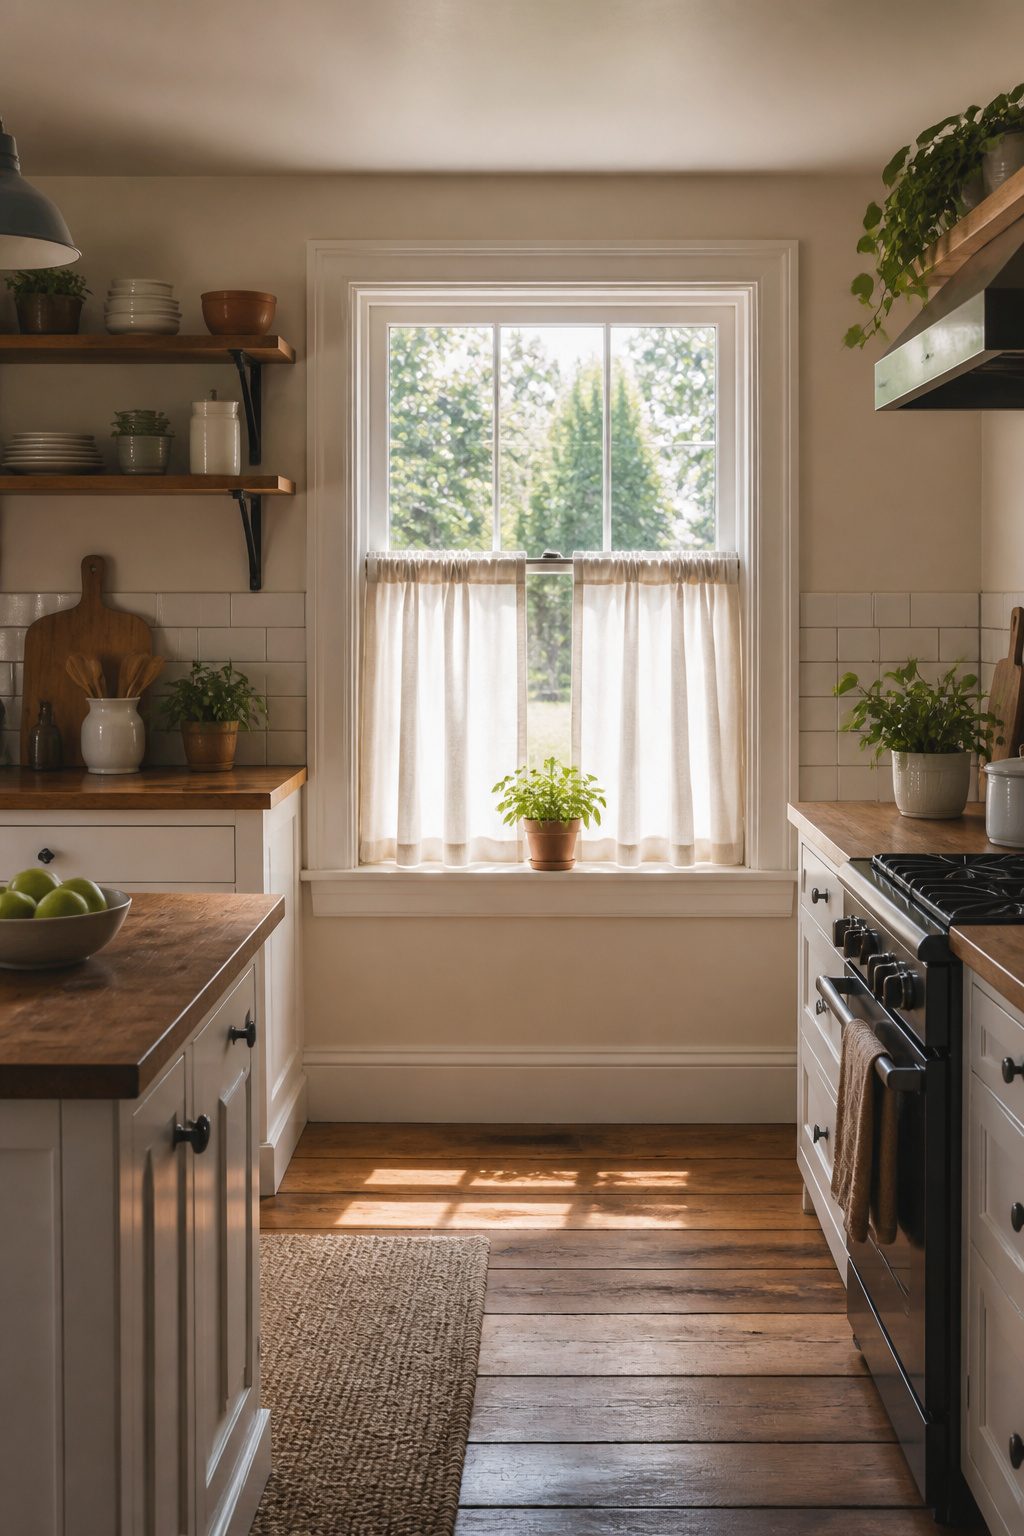
Tiers and cafe curtains are the same idea in two sizes: a single short panel or a pair of them, running 24 to 36 inches, that covers the lower half or lower two-thirds of a window while the top stays open.
In a kitchen, this layout matters because the glass above the sill still pulls in daylight, but anyone walking past on the sidewalk sees fabric instead of your dishes or the back of your head bent over the sink.
The trade-off is real; you get privacy at standing height, not full coverage, so a taller neighbor on the second floor or someone on your porch steps still has an angle in.
A standard double-hung window, the kind most rentals and starter homes have, is roughly 36 inches tall from sill to top sash. That maps neatly: a 24-inch tier lands near the midpoint, a 36-inch tier climbs to about two-thirds.
Measure from where you want the rod, usually at the halfway point or slightly above, down to the sill, and round to the nearest inch.
Historically these came out of European cafes, which is where the paired "cafe curtain" name stuck, and they still make sense in kitchens because they stay clear of counters and sinks and never drag where water splashes.
A 24-inch tier on a low window can feel skimpy; a 36-inch tier on a small window can swallow it, so the measurement step is worth the two minutes.

Tier and Swag Set: Get a full window look all-in-one with the Coffee Window Curtain Tier and Swag Set. This set includes a swag and two tiers that will filter out light beautifully.

Ready Made: Includes 2 tier panels and 1 coordinating valance. Rod pocket top installs easily on most curtain rods.
Valances and Swags
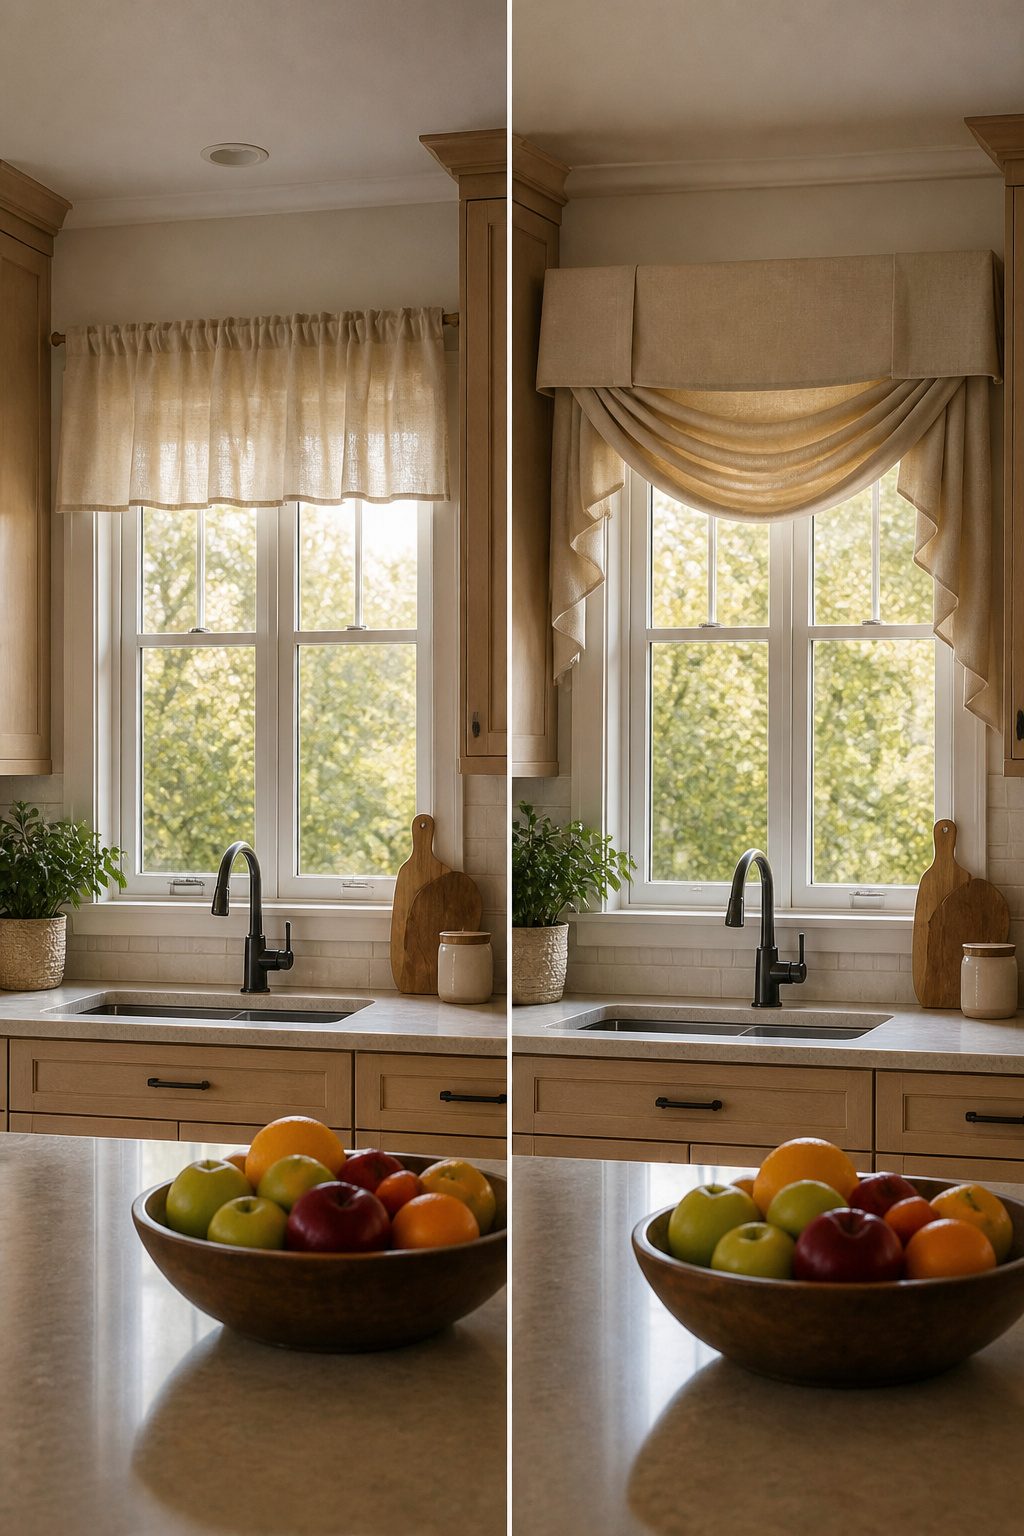
Valances sit flat across the top of the frame, usually with some internal structure, a rod pocket or board-mounted shape that holds a crisp line.
In a rental kitchen, that structure reads as finished, almost built-in, which can feel like you are dressing up a space you do not own.
The visual weight sits high and heavy, so they work best layered over something else: blinds, a roller shade, or tier curtains below. Alone, a valance over a bare window looks like a hat without the person.
Swags drape instead of holding a shape, fabric looping from two points and falling in soft folds. They need roughly double the fabric width you would guess from the finished look, since the drape eats yardage in those cascading curves.
That extra cloth makes them read warmer, less formal, but also bulkier at the sides where the folds stack. In a small kitchen window, the volume can crowd the actual glass.
For a weekend project with a few yards of fabric, swags are more forgiving if your measurements are slightly off; the drape hides unevenness where a valance would show every quarter inch.
Either treatment works over existing blinds, which saves the cost of a full curtain setup and leaves the functional layer in place when you move.

Size & Quantity: Each pack contains 2 tier curtains, each 30" wide and 36" long, total width is 60", total length is 37.5" including 1.5" header. The rod pocket applicable to curtain rods no wider than 1", the bottom hem rod pocket fits for curtain rods no wider than 1"

Rich Linen: The cross-woven design blended with real linen and polyester provides our natural linen curtain a unique subtle pattern compared with conventional plain curtain, which also makes these drapes soft and durable.
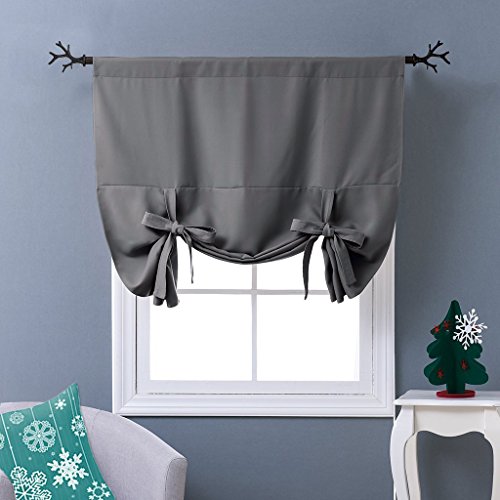
READY MADE: Package includes 1 panel Tie Up Shade with 46" width x 63" length (117cm x 161cm), same color as front. 3" pocket fits various standard or decorative curtain rod/pole.
Panels and Sheers
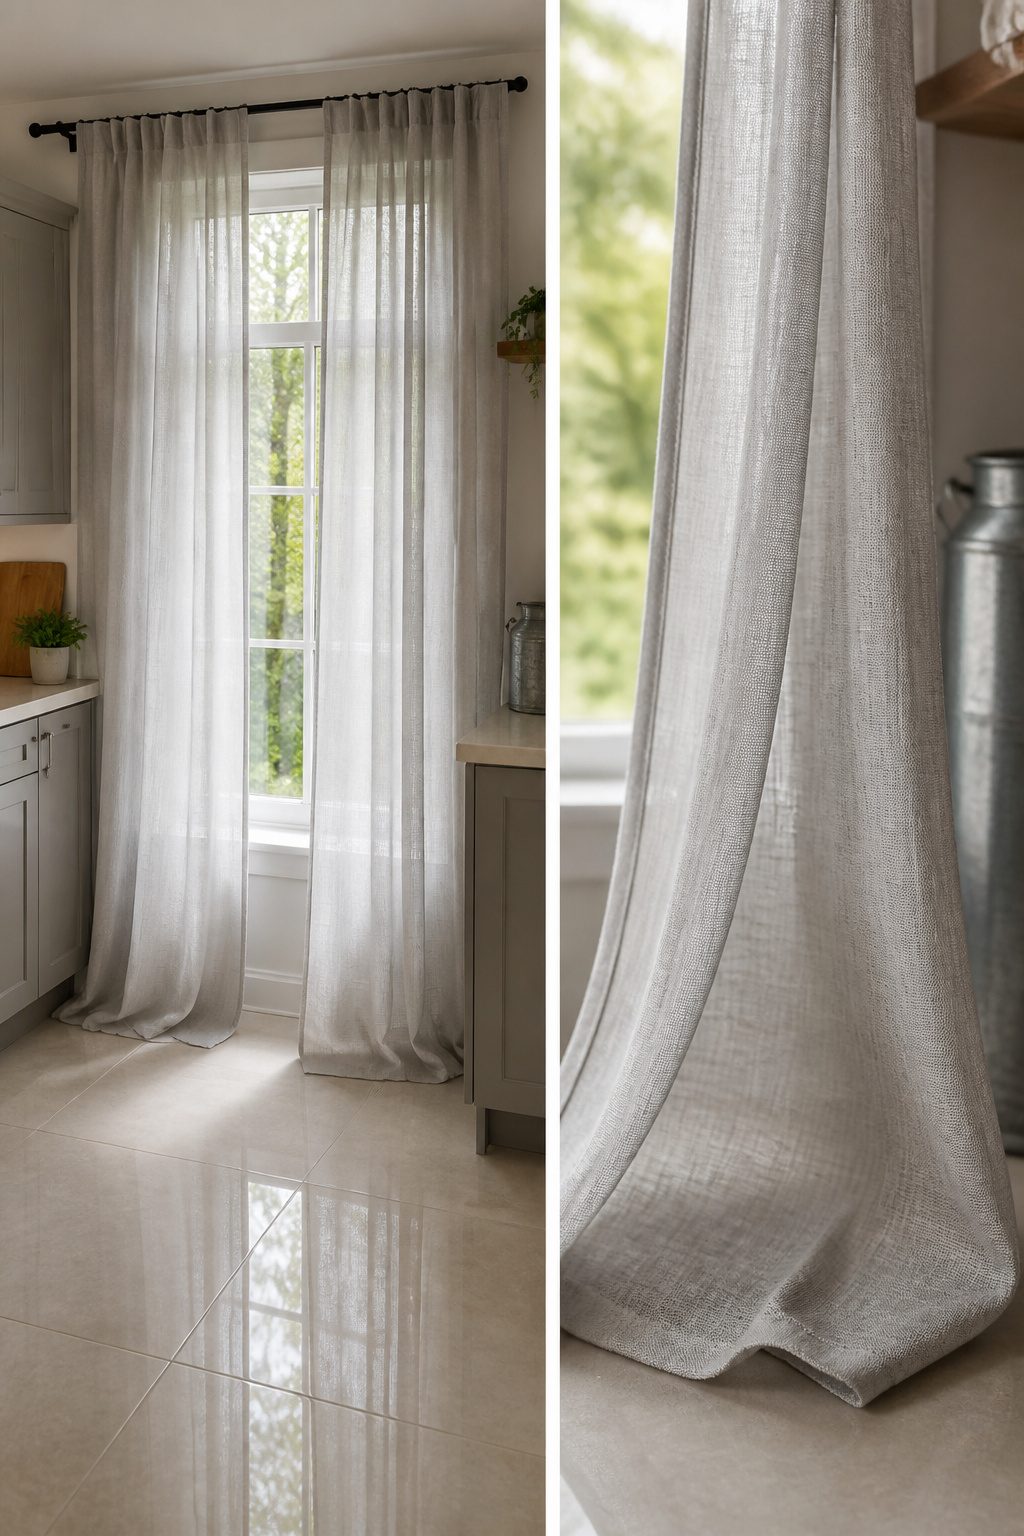
Full panels in a kitchen are a statement, but they are usually the wrong one. The fabric pools near the sink, picks up splatter, and holds onto cooking odors in a way that shorter treatments do not.
Most renters I know who inherited them ended up tying the panels back permanently or replacing them within a year.
Sheers handle the grease and humidity better than you might expect.
Polyester or poly-blend sheers wash cold and dry fast, and the mesh lets enough air circulate that condensation does not sit against the glass the way it can behind heavier fabric.
They also give you daylight without the fishbowl feeling, which matters on a street-level unit.
That said, a sheer alone on a ground-floor apartment window is a nighttime privacy problem. After dark, with the kitchen light on, anyone walking past can see shapes move inside.
If panels are your only option because of a lease or an existing rod placement, pair them with a bottom-up shade or keep a tension rod with a roller blind tucked behind.
The panel frames the window; the second layer does the actual work.

STANDARD CONSTRUCTIONS: 1 piece per package, each piece measures: 52 inch width by 18 inch length, constructed with 2" header and 3" rod pocket, perfect be hung from a standard basic or decorative curtain rod / pole

RUSTIC LODGE KITCHEN VALANCES FOR WINDOWS - Consists of one farmhouse valance curtain that measures 72 inches by 14 inches for a lovely everyday casual window accent for the dining area, bathroom or other rooms bringing the great outdoors into your home
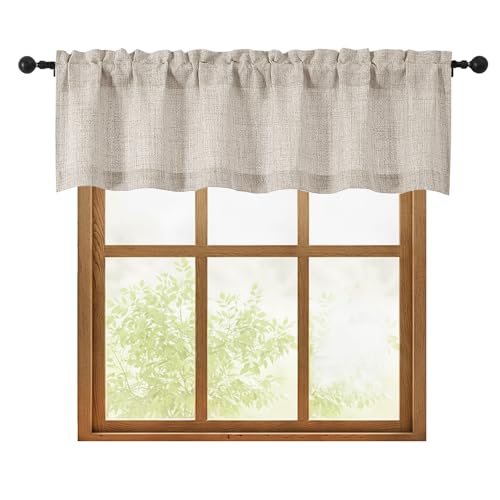
Premium Fabrics: Crafted from 100-percent high quality polyester, OWENIE light filtering valance curtains are very soft, durable elegant thick fabric. 1 panel per package and each panel measures 60 inch wide by 14 inch long dual rod pocket valance((The curtain length not include top 1.5" header). Top 3 inch rod pocket window valances can fit most standard curtain rods
Grommet and Rod Pocket Construction
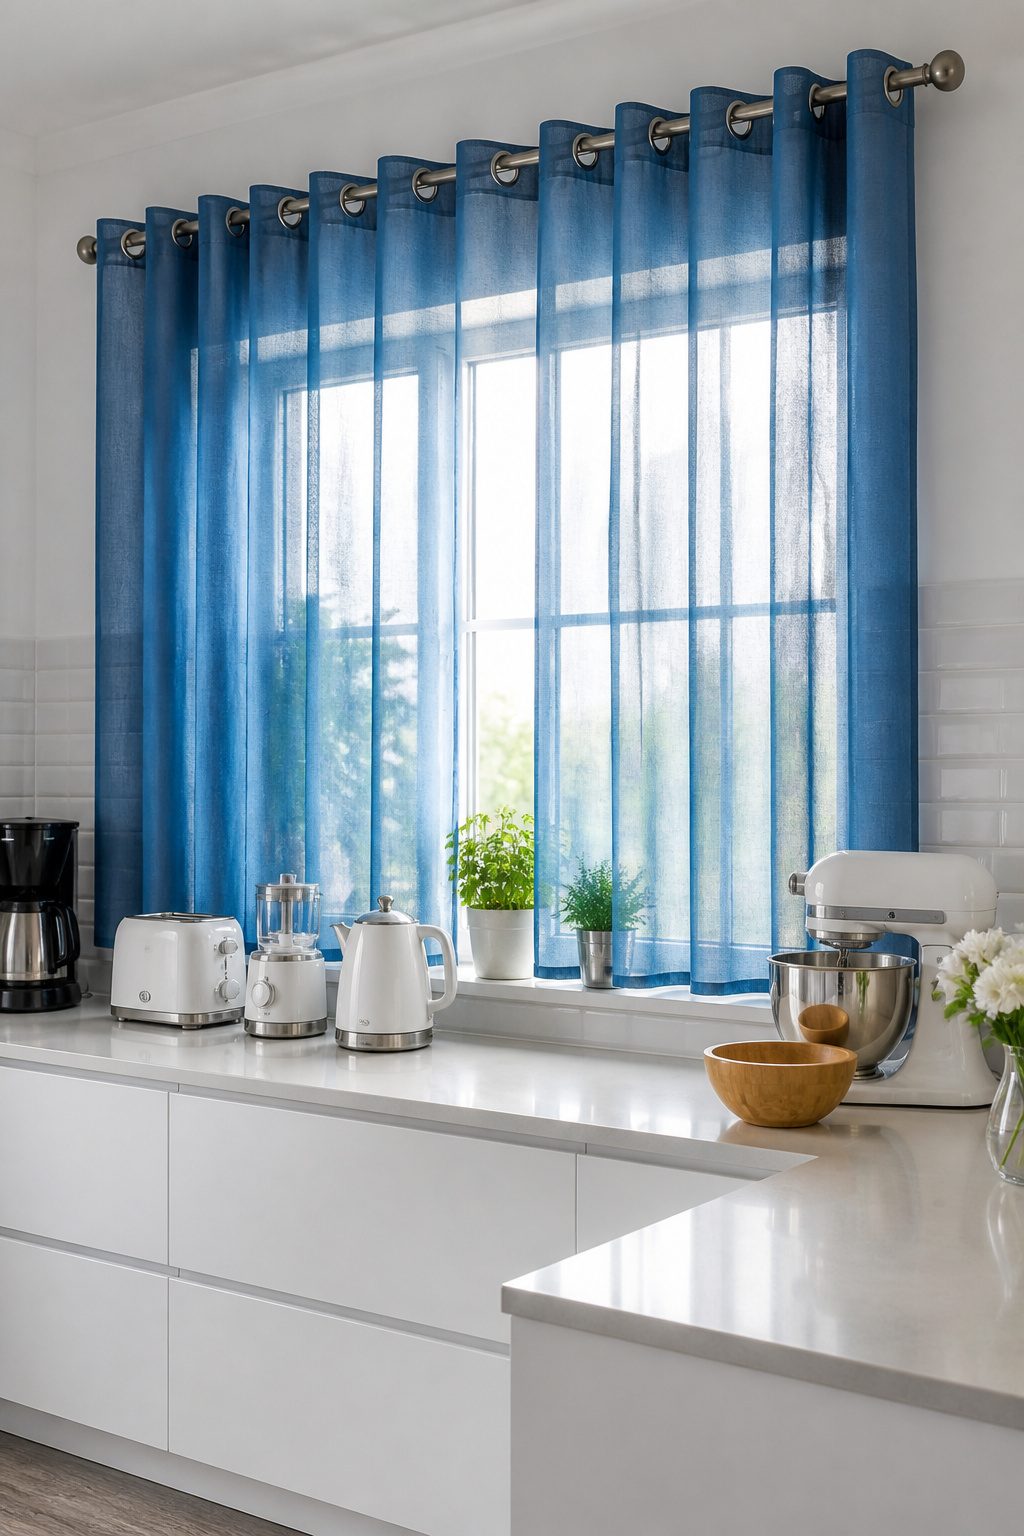
Grommet curtains slide on metal rings punched straight through the top hem, so the whole panel moves as one unit across a wide window.
That rigidity is what makes them glide; the rings keep the fabric in strict pleats and you can shove the stack to one side in a single motion.
Rod pocket curtains thread the pole through a sewn sleeve instead, which lets the fabric bunch tighter when you want the glass clear.
The sleeve collapses accordion-style and takes up less wall, though you pay for it in friction: pulling four yards of cotton along a metal rod by its hem is a two-hand job.
The pocket fit depends on the rod diameter more than most people check.
A sleeve sewn for a ¾-inch rod will sag and gap on a 1-inch pole, and the opposite, jamming a thick rod through a narrow pocket, wrinkles the header permanently.
Grommets need clearance; rod pockets need tolerance. I order pockets at least half an inch larger than the rod I own, or I end up fighting the fabric every morning.
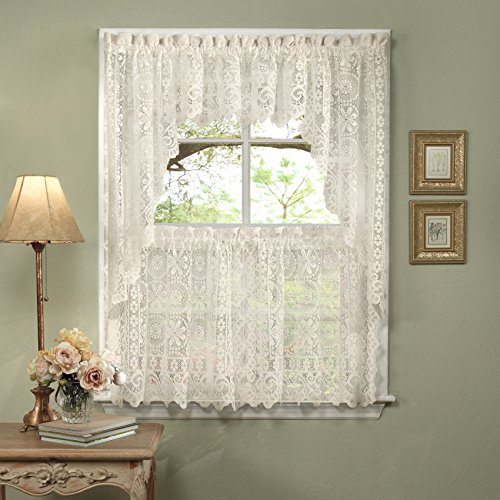
✅ This option selected is for a Swag Pair. You will receive Two swags that are 38" Long by 30" wide each.
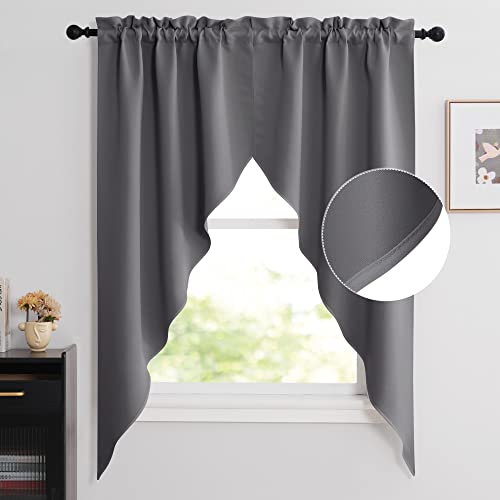
Ready Made: The package includes 2-rod pocket Scalloped Swag Curtains, each panel measuring W36 x L63 inches and the length in the center is 18 inches. Rod Pocket (2.8" diameter) fits for all standard curtains rod and updates the look of your window in an instant.

Complete 3-Piece Window Set – Includes one embroidered valance and two matching tier panels. Perfect for kitchen, bathroom, laundry room, and café-style windows.
Semi-Sheer and Layered Options
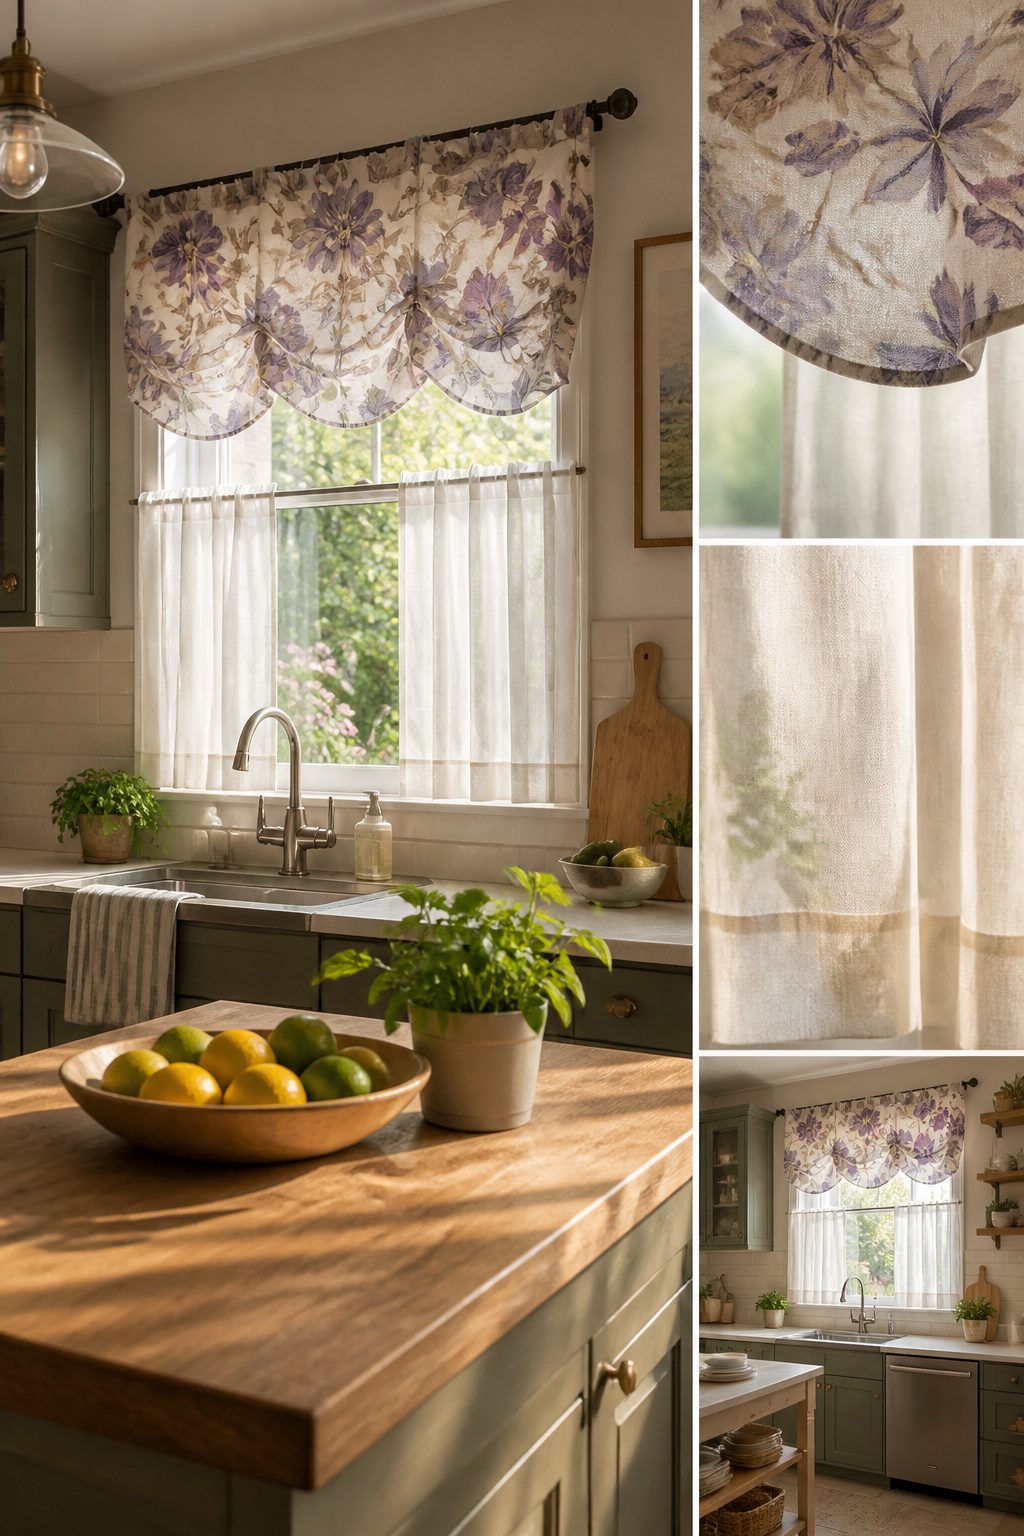
Semi-sheer fabric lands in that useful middle space where morning light still comes through but a neighbor walking the dog doesn’t get a full view of your sink full of dishes.
Polyester-cotton blends in this weight usually run $15–30 per panel, which matters because layering means buying twice.
The standard combination is a sheer or semi-sheer base with a valance or short tier on top. A valance over tier setup cost me about $70 total in my last apartment, versus $45 for one set of mid-weight lined panels.
The two-piece route won because I could wash the grease-catching valance every month without taking down the whole window. The sheers stayed put, got vacuumed with the brush attachment, and only came down for the yearly deep clean.
Sheer-under-panel layering works the same way for larger windows, though the math gets worse: four panels instead of two, and finding rods that play nice together without looking like a hardware store display.
I used a double rod, cheap white steel, and accepted the half-inch gap where the brackets showed. In a rental, that compromise felt fair.
If you own the place and plan to stay, one lined curtain is cleaner looking and costs less upfront. The break-even on laundry convenience takes about two years of regular cooking, which was longer than I stayed in that unit.

This option is for the 24 inch Tier Pair only, 2 tiers are included.

Ready Made: One package includes 2 panels, each panel measures 24" width by 36" length(Total width is 48"). And 3" rod pocket slot top with 1" header,universal fit to most of rods.
Rich Linen: The cross-woven design blended with real linen and polyester provides our natural linen curtain a unique subtle pattern compared with conventional plain curtain, which also makes these drapes soft and durable.
Cotton, Linen, Velvet, and Satin
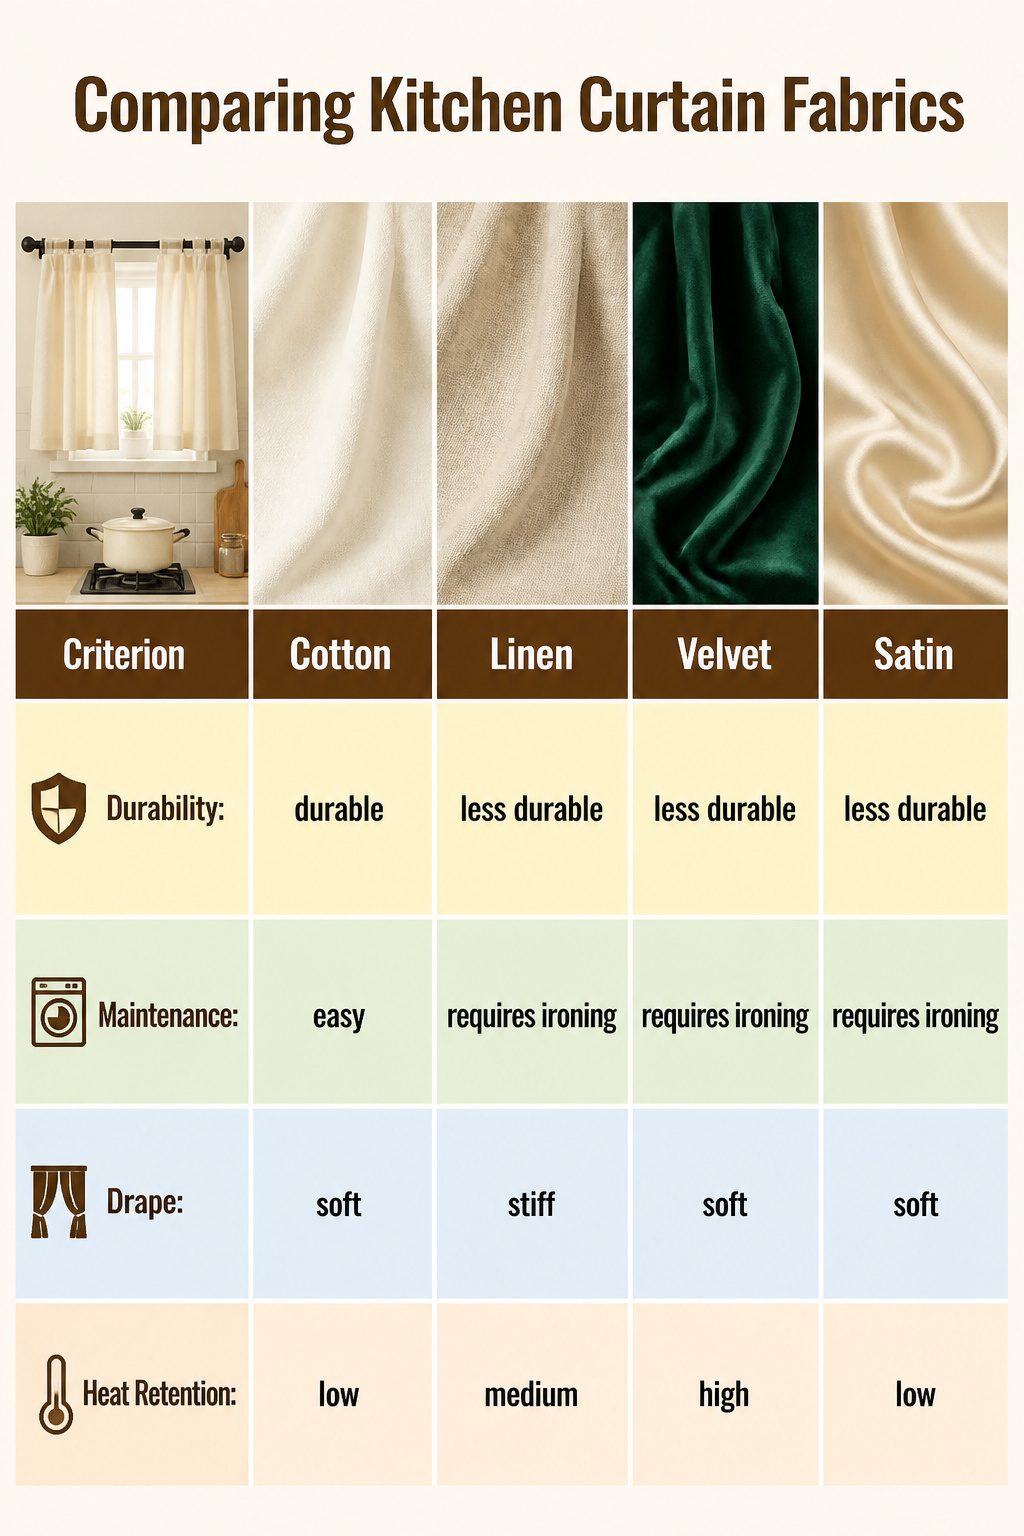
Cotton hung above my stove for a full year before I swapped it out, and that durability is why renters keep reaching for it.
The fabric washes clean, takes dye well, and softens with each cycle, though the creases never quite relax without an iron.
Linen looks crisper on the rod, stiffer in the hand, and the fibers loosen with repeated washing until the drape turns almost floppy.
I sent a linen set back after two weeks when the hem started sagging unevenly above the sink.
Velvet’s weight holds folds beautifully, but that density traps heat and humidity from boiling pots. In a kitchen with poor ventilation, the pile flattens and can develop a musty smell where steam collects.
Satin slides against the rod with barely any friction, which means it gaps open at the slightest draft, and water spots from splashing or condensation show immediately on that reflective surface.
Cotton is the only one of the four I’d hang within three feet of a cooktop again.

Hand Block Printed - These cafe curtains are hand block printed by local craftsmen, giving them a unique and authentic touch making these curtains a beautiful addition to your home. Available in a selection of

Ready Made: Includes 2 tier curtain panels and 1 matching valance for complete small window coverage. Rod pocket header fits most standard curtain rods.

Color, Pattern, and Matching the Room
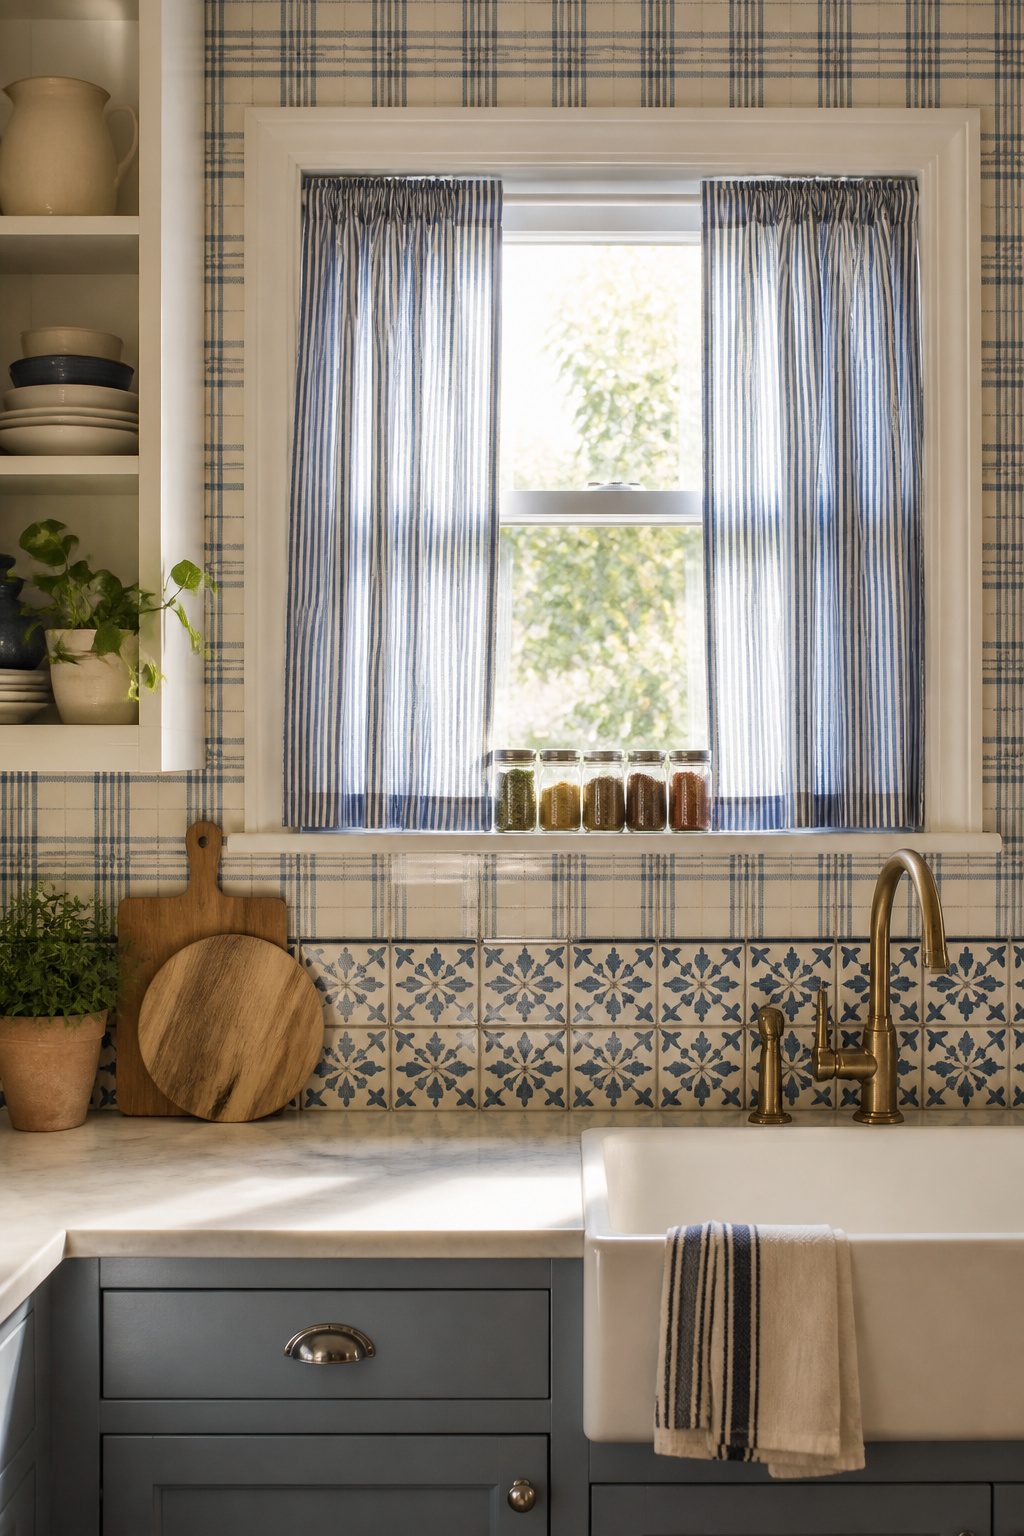
A small kitchen window can handle a bold pattern only if the walls around it stay quiet.
I learned that the hard way with Buffalo Check Rod Pocket tiers in red and black, hung against wallpaper that already had its own geometry going.
The two patterns fought for attention every time I walked in, and not in a charming way.
After three months of visual noise, I swapped them for Ticking Stripe Rod Pocket curtains in a soft blue. The stripe still had personality, but it read as texture from across the room rather than a second wallpaper layer.
Solids and near-solids do the forgiving work here. Jane’s Plain and Simple Rod Pocket tiers, or the Woodland Hills Rod Pocket style in its muted palette, let a busy backsplash or vintage linoleum stay the star.
Florals work the same middle ground if the scale is small enough to read as a wash of color from a few feet back.
The rule I follow now: one patterned element per sightline, and the curtain is rarely the one that wins.
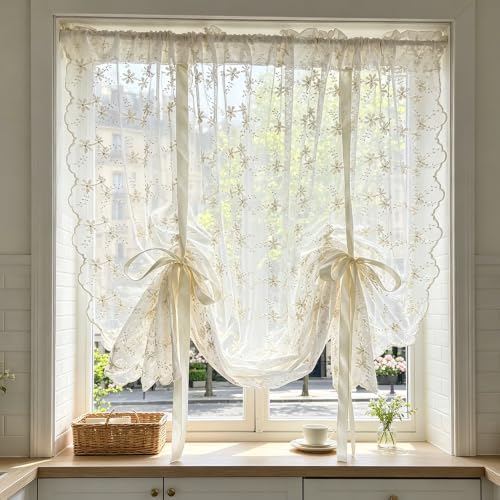
Ready to Hang:Sold as 1 Panel. Lightweight cream sheer fabric fully covered with tiny beige flower embroidery, soft translucent texture softens harsh sunlight for gentle natural indoor lighting.

Pair Sold: Each package includes 2 tier curtains for kitchen (30" W x 24" L), designed as kitchen curtains sets for windows or cafe curtains. Perfect for small window curtains or layered valances for windows (rods up to 1.5" diameter). Dual hanging options (rod pocket/clip rings) adapt to short curtains needs in kitchens, bathrooms, or cozy cafes

Pair Sold: Each package includes 2 blackout curtain panels, each measuring 30" W x 36" L, compatible with curtain rods up to 1.5" diameter. These blackout curtain offers 2 hanging options - rod pocket & clip rings(not included).
Measuring from Rod to Sill or Floor
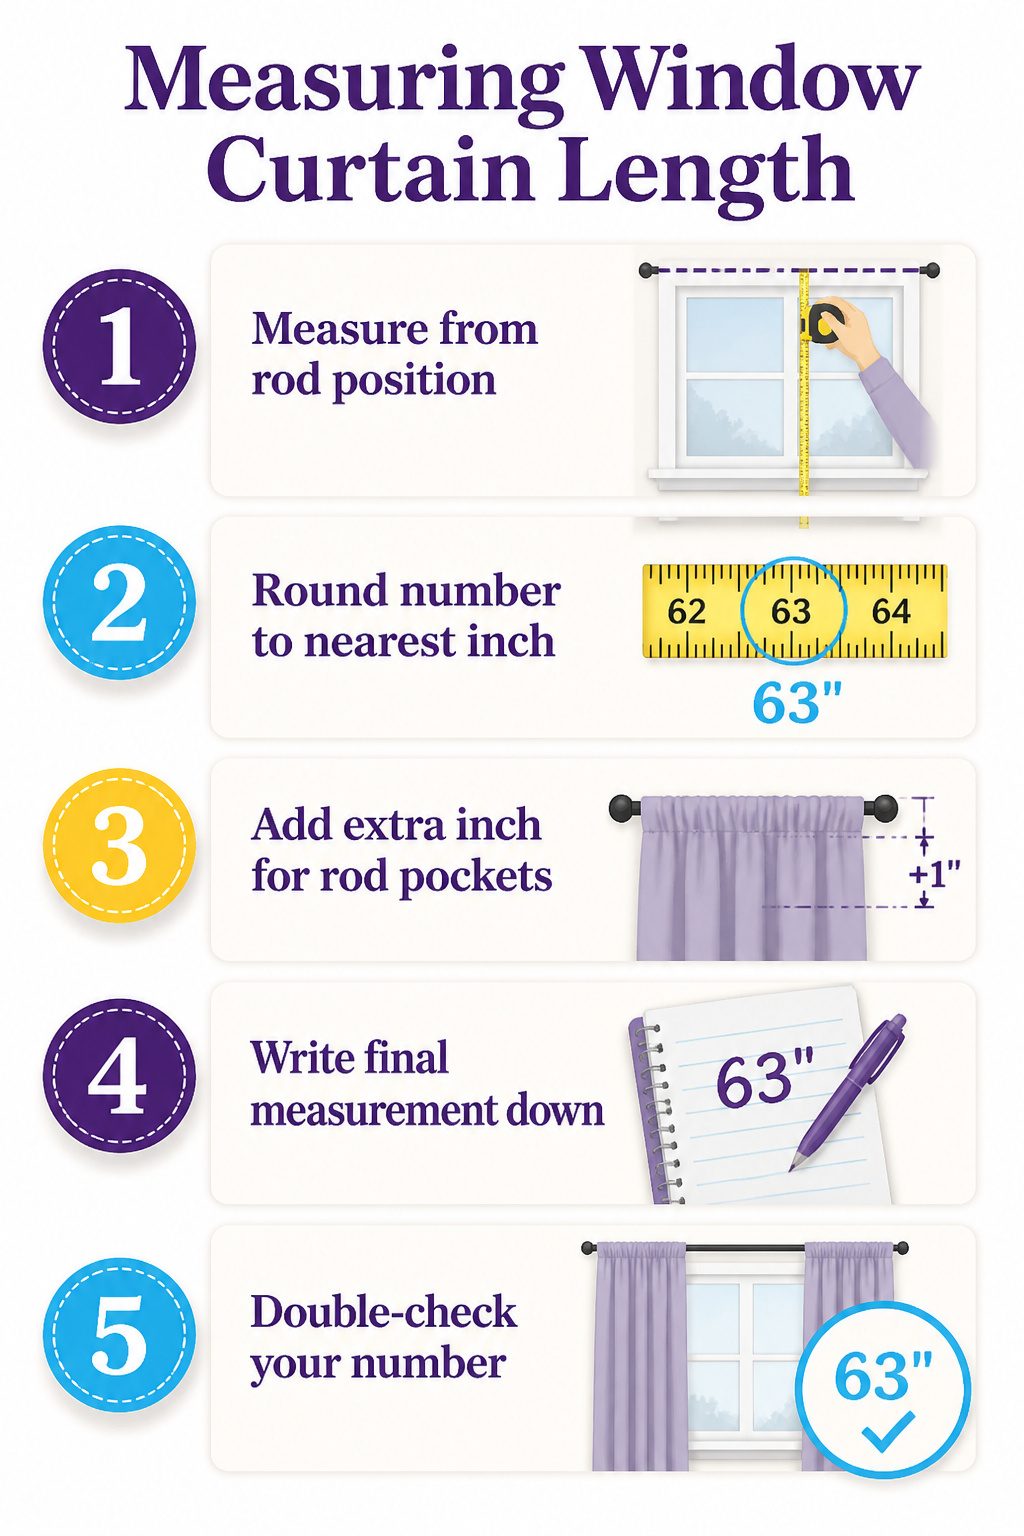
- Measure from the exact spot the rod will sit, not from the top of the window frame. With no rod up yet, hold a tape where you plan to install it, usually a few inches above the glass to let light in, and run straight down to the sill or floor depending on your style.
- Round that number to the nearest whole inch before you order. I learned this the hard way with a rod pocket panel I rounded down on. The fabric shrank after its first wash, and the hem floated a half-inch above the sill like it was afraid to touch. Rod pockets take about an extra inch in length once the casing gathers on the rod, so add that inch now or live with the gap later.
- Write the final number down twice. Measuring once when you are tired is how 63 inches becomes 36 on the order form.

1 Piece: Each package contains 1 blackout curtain panel measuring 60" W x 14" L, ideal for small window curtains or kitchen window curtains. Compatible with rods up to 1.5" diameter, these Light Filtering curtains offer dual hanging options (rod pocket or clip rings) to fit window treatments like valances for windows or standard setups. Perfect for compact spaces in kitchens, campers, or trailers
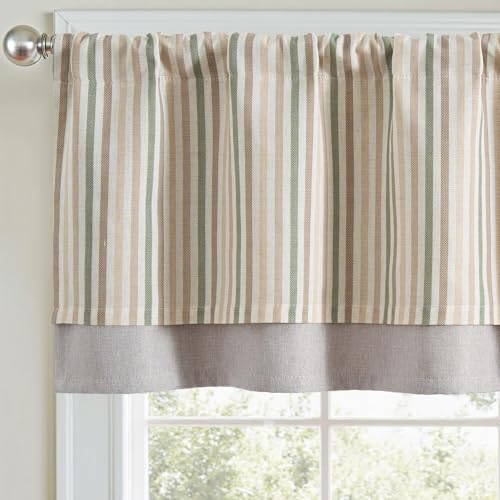
Linen Valance for Windows: A package comes in one double layer valance measuring 50 inch width by 18 inch length. Featuring a 3-inch pole pocket, the valance accommodates cafe curtain rods under 1 4/5" diameter. It is recommended to use a rod with a diameter of 1 1/5 inch or less
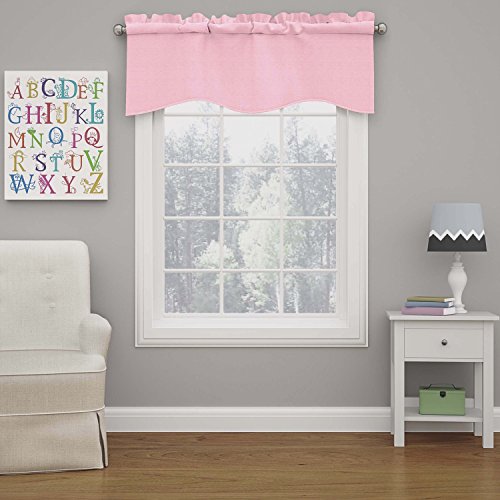
PREMIUM QUALITY - Masterly crafted 100% Polyester Valance curtains. Sold as a single valance (Measures 42" wide and 18" long).
Rods, Clips, and Hooks
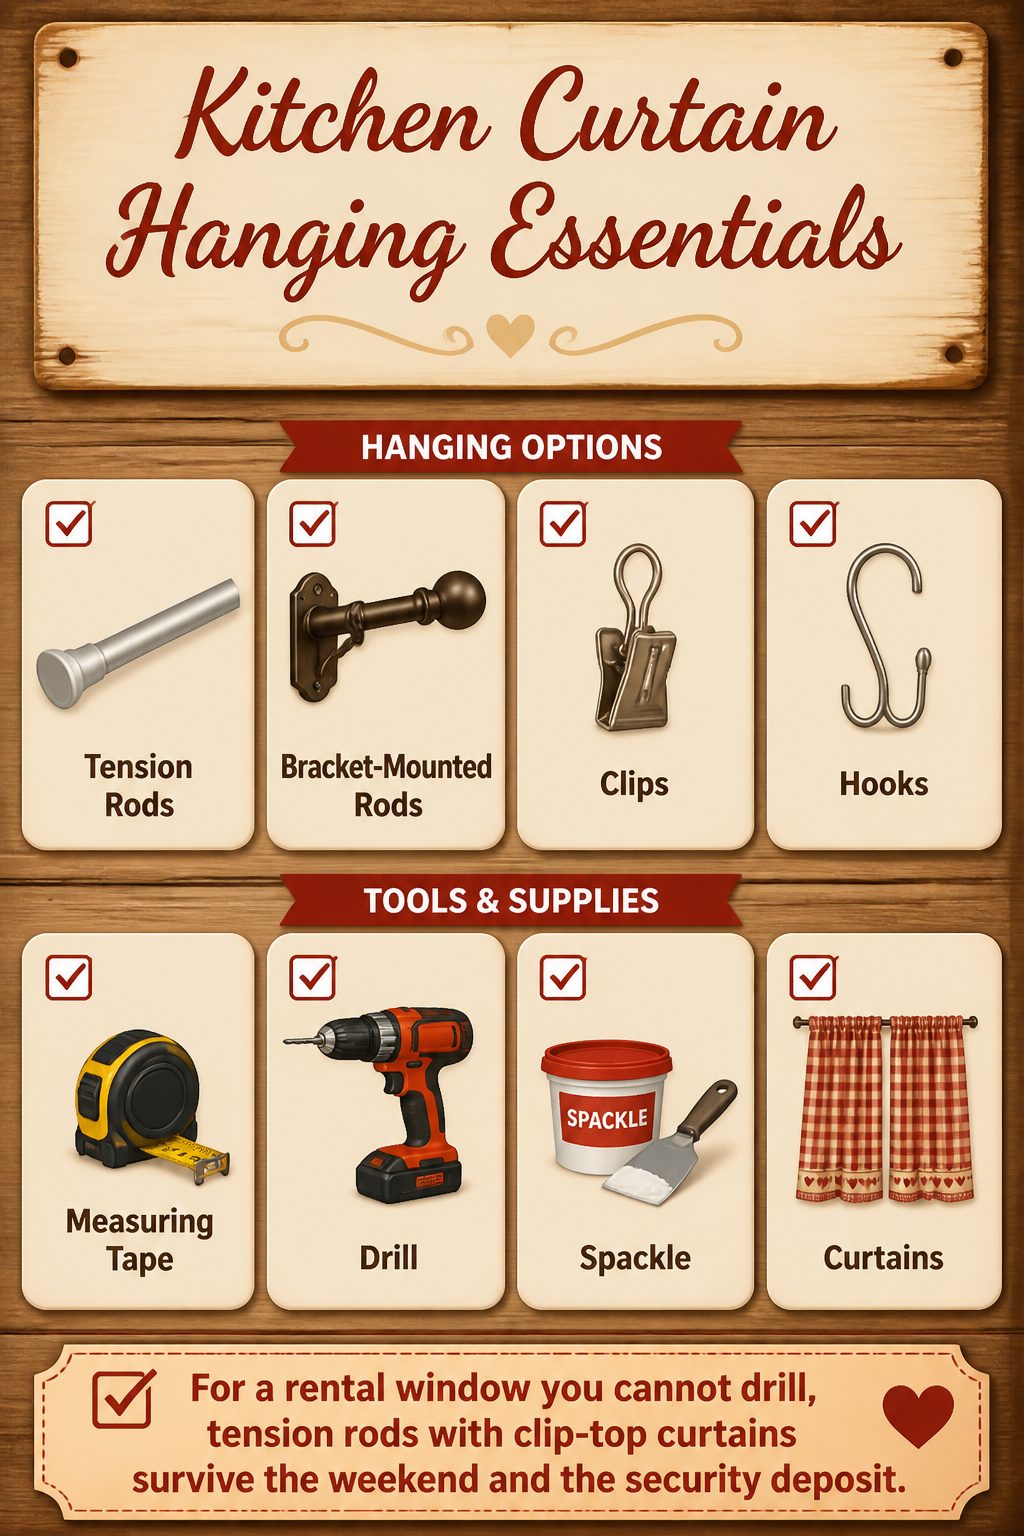
Tension rods press inside the window frame and leave zero holes, which is why they were the only option my landlord’s lease allowed in a vinyl-frame rental.
The rubber ends grip for a while, but a wet curtain after washing adds enough weight that the rod slips. I learned to let the fabric dry flat first, then hang it.
Bracket-mounted rods sit above the frame and need two drilled holes, maybe four if the span is wide.
A landlord spots those instantly during move-out, and spackle on painted drywall rarely disappears. In my own place now I use them anyway, because they hold steady when I yank the curtain back to check the stove.
Clips pinch the fabric from the front. They work on any curtain without a rod pocket, and they pop off for washing without unthreading anything.
Hooks that pierce or thread through the header make a cleaner line from the street, but the pin holes fray cotton after a few cycles through the machine.
For a rental window you cannot drill, tension rods with clip-top curtains survive the weekend and the security deposit.

Swag Valance for Windows: This set includes one botanical swag valance, measuring 56 inches wide by 36 inches long, feature a standard 3 inch rod pocket to matches both regular and decorative drapery rods. Spring summer floral swag kitchen curtains are a classic country style featuring angled drapes to frame your window while leaving a triangular space open for additional natural light. You can also use swag curtains alone for small windows.

Red delicious printed apples kitchen curtain set; Semi-sheer; lightweight polyester; creates just the perfect amount of light in your room

Rod Pocket: The size is 29X36 inches, 2Pc. Designed in the 3 inches rod pocket, these kitchen valance are easy to install and remove.
Custom and Lined Orders
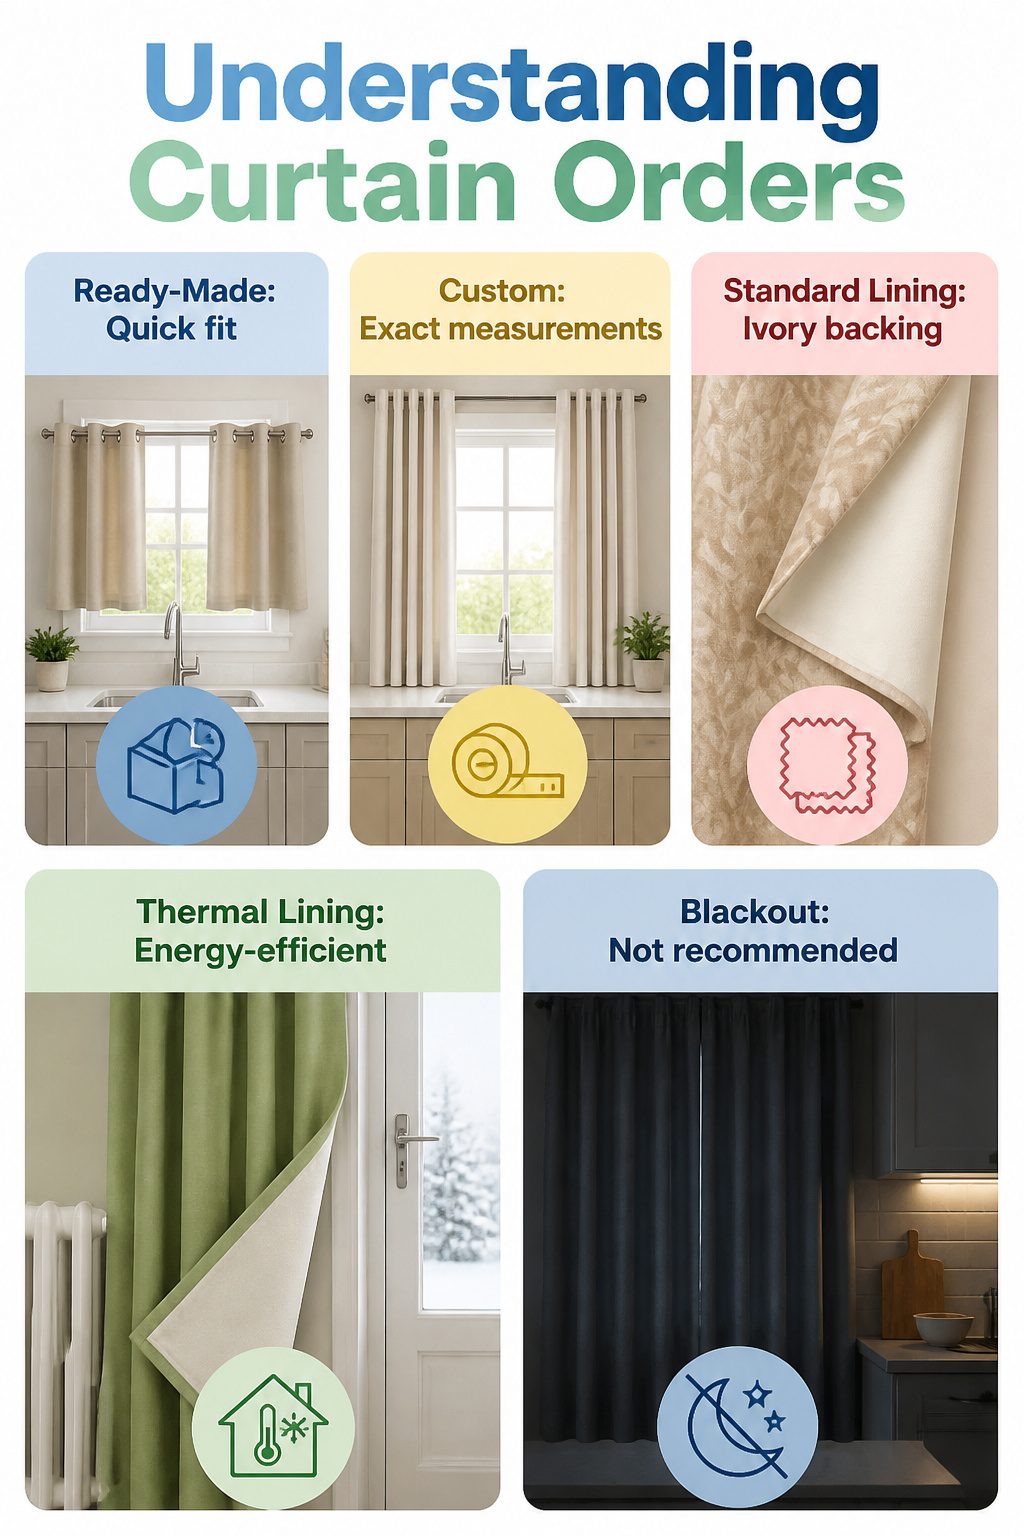
Ready-made panels fit the windows they fit.
Everything else, an exact measurement gets sent off and curtains come back sewn to that width and drop. The price roughly doubles, which stings until you try masking an off-center sink window with a 54-inch panel meant for 36.
Standard lining backs the main fabric in ivory, filters daylight, and keeps the front cloth from sun-fading.
Satin lining does the same in white or ivory with a heavier drape. Either is fine for a kitchen that sees morning light.
Thermal lining is the move over a radiator or a drafty back door.
The same heavyweight layer blocks light and holds heat in winter, keeps summer sun from cooking the room. Graham Brown sells it as one piece, not two separate products, which saves you from overthinking the label.
Blackout in a kitchen is rarely worth it.
You are not sleeping there. The heavy face looks wrong above a counter, and full dark at 6 pm turns meal prep into a cave expedition.
Spend the upcharge on custom width for that odd half-size window instead, or on interlining if you want the panels to hang fuller and feel more finished.

✅ This option selected is for a 24" Tier Pair, Swag Pair, and Valance Set. You will receive two tiers that are 24" Long by 30" Wide each, two swag that are 38" Long by 30" Wide each, and one Valance that is 12" Long by 60" Wide.
✅ This option selected is for a 24" Tier Pair, Swag Pair, and Valance Set. You will receive two tiers that are 24" Long by 30" Wide each, two swag that are 38" Long by 30" Wide each, and one Valance that is 12" Long by 60" Wide.

✅ This option selected is for a 36" Tier Pair, Swag Pair, and Valance Set. You will receive two tiers that are 36" Long by 30" Wide each, two swag that are 38" Long by 30" Wide each, and one Valance that is 12" Long by 60" Wide.
Frequently Asked Questions
What length should kitchen curtains be?
Tiers and cafe curtains run 24 to 36 inches, covering the lower half or two-thirds of a standard window.
A 24-inch tier lands near the midpoint of a typical 36-inch double-hung window, while a 36-inch tier climbs to about two-thirds. Measure from where the rod will sit down to the sill, and round to the nearest whole inch.
How do I measure for kitchen curtains?
Start from the exact spot the rod will sit, not the top of the frame, and measure straight down to the sill or floor.
Add an extra inch for rod pockets, since the casing gathers on the rod and shortens the hanging length. Round to the nearest whole inch and double-check your number before ordering.
What fabric is best for kitchen curtains?
Cotton holds up best near heat and moisture, washing clean and softening over time.
Linen looks crisp but loosens with repeated washing; velvet traps humidity and can smell musty; satin shows water spots immediately. Polyester or poly-blend sheers also work well, since they dry fast and let air circulate behind them.