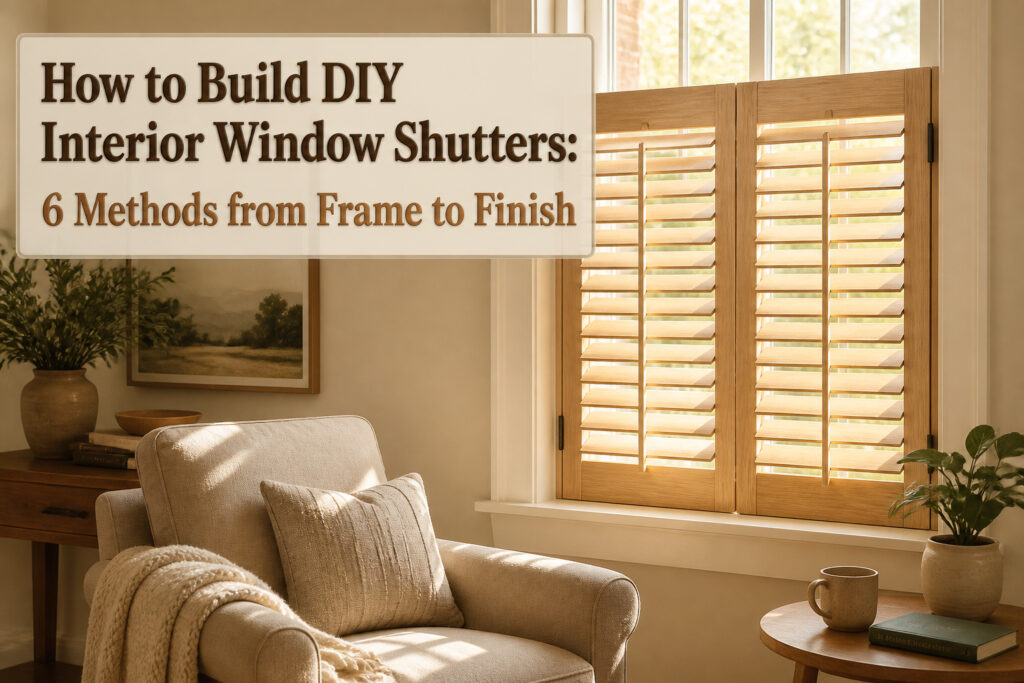
A pair of DIY interior window shutters runs about $150 in birch plywood and a weekend of work, or closer to $400 in cedar if you want the grain to show through stain. The stage most first-timers botch is the measuring: older jambs bow, and a shutter cut to the average width will scrape or wedge before the glue is even dry. The ⅛ inch clearance that saves you starts from the smallest of three width readings and three height readings, not the middle and certainly not the largest.
1. Measure the Window
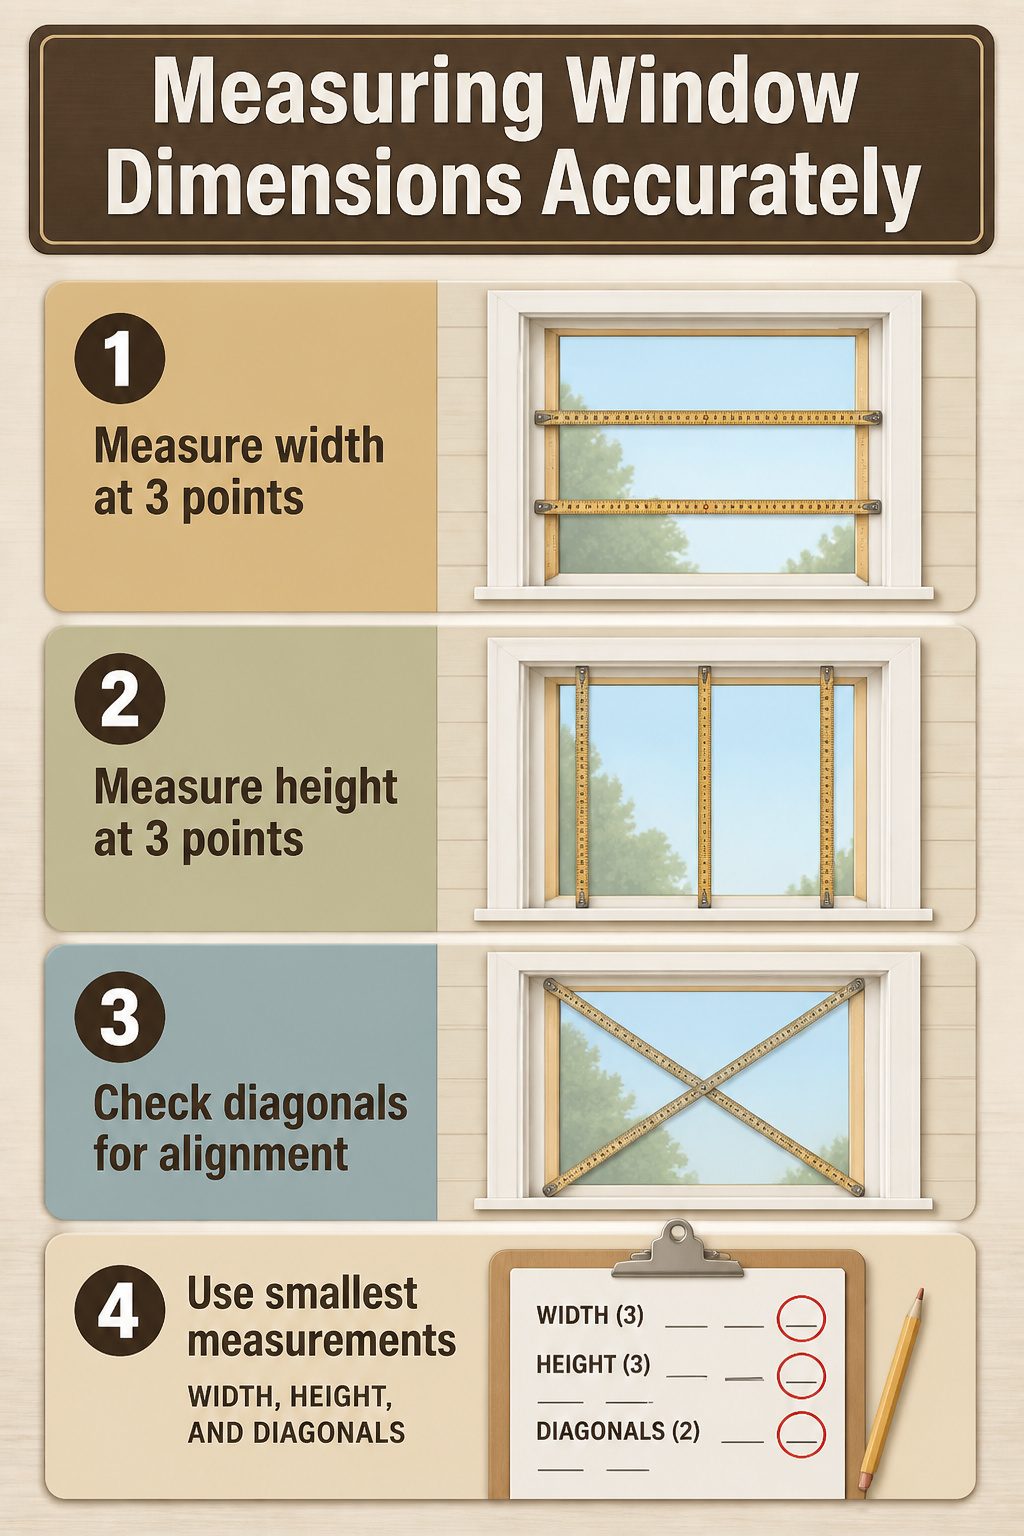
A folding rule with a sliding extension beats a tape measure for this job. The rigid edge stays flat across the jamb while you read the number, and the hook on a tape can tilt and add an eighth inch you do not want.
- Measure the width at three points: top, middle, and bottom of the window opening. Older houses especially will hand you a surprise here; the jambs bow or settle, and the largest gap means nothing if the shutter has to swing past the tightest one. Write all three down and circle the smallest.
- Measure the height the same way: left, center, and right. Again, keep the smallest number.
- Check both diagonals corner to corner if the window looks suspect. A frame that racks will bind a shutter no matter how pretty the math looked at the bench.
The ⅛ inch total clearance the Art of Doing Stuff builds in starts from these smallest measurements, not the average and certainly not the biggest. A shutter cut to the middle width will scrape on the bottom or wedge at the top, and you will find out after the glue is dry.
Enough to use: you will receive 15 pieces shutter repair spring pins, 15 pieces repair pins, 15 pieces collar pins and 40 pieces shutter louvers staples in 2 size; Sufficient quantity that will satisfy your various using and replacing needs, you can also share them with your friends and families

15lb Single Magnetic Catches White/Zinc
Modern and Elegant: Our interior window shutters feature a unique design with no front tilt rod and hidden gear, that creates a seamless, modern and elegant appearance while making the blinds easier to clean and maintain.
2. Choose the Wood
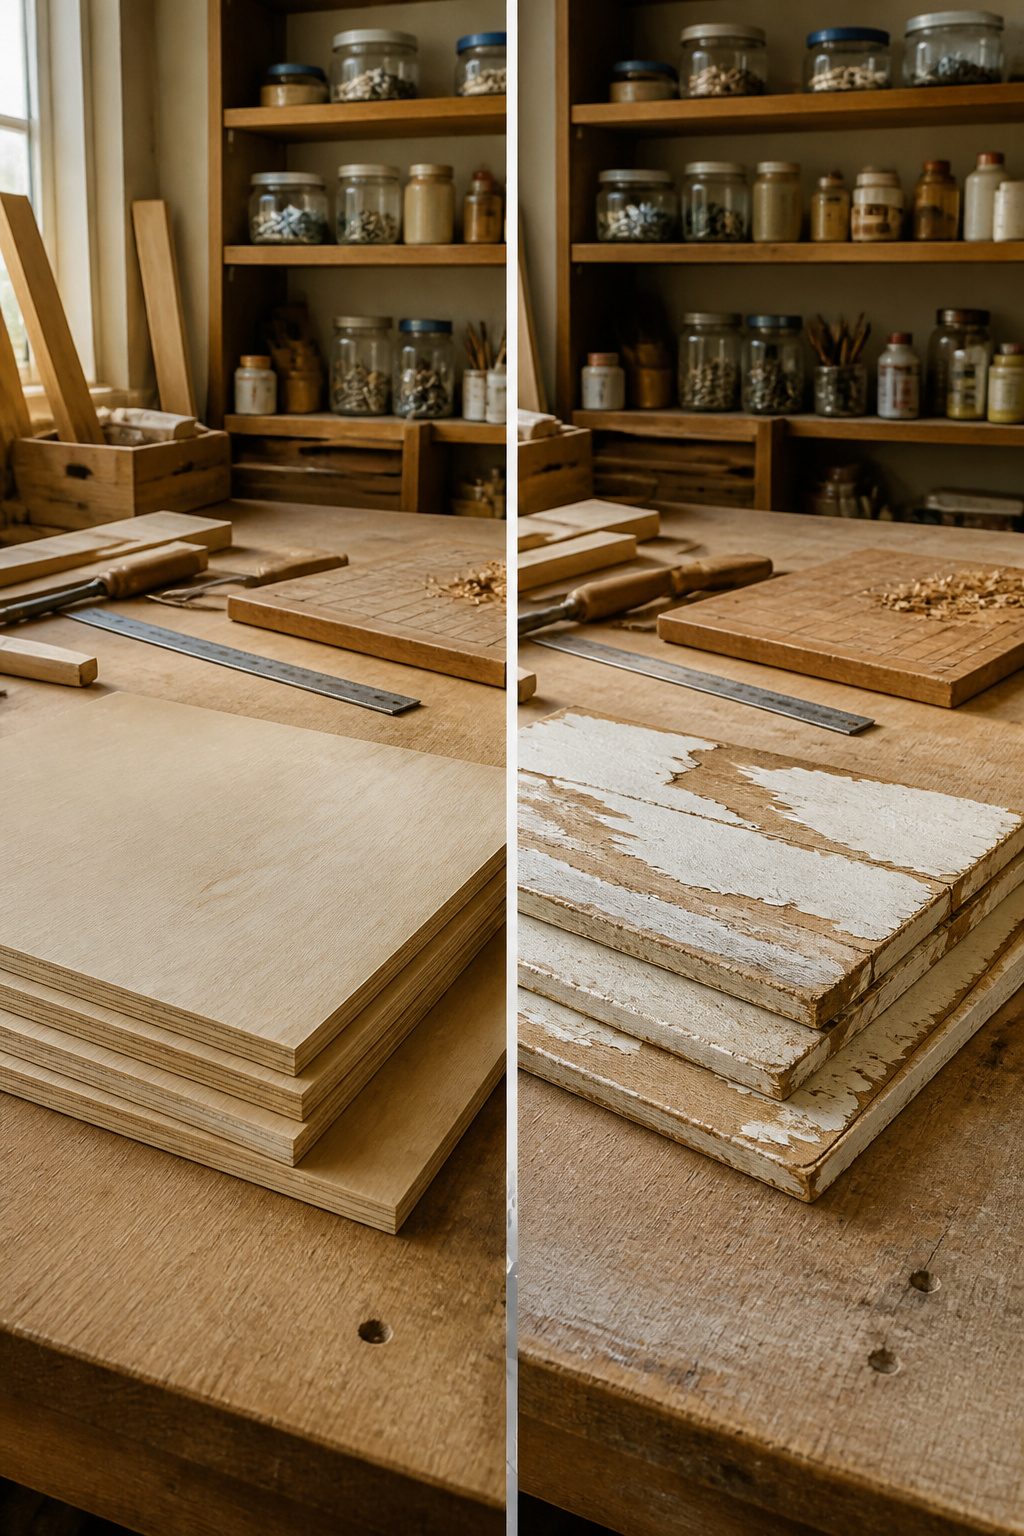
Birch plywood at ¼ inch, good both sides, runs about $150 per standard window and takes paint without soaking it up like a sponge. That sanded face saves hours of prep, which is why I reach for it on anything that will end up white or off-white. The ¾-inch stuff pushes closer to $200 but adds weight I do not need for an interior panel that never sees weather.
Poplar lands in the same $200 neighborhood and works either way, painted or stained light. The grain stays quiet enough that a clear finish does not fight you, though it will never give you cedar’s depth. Cedar starts around $300 and climbs toward $400 if the window is wide, but stained shutters want cedar or you are fighting the wood instead of working with it. The tannins do the coloring for you; a single coat of oil and the figure pops.
Painted shutters on a tight weekend call for birch plywood. Stained shutters with time to let oil cure call for cedar. Poplar only makes sense when the hardware store is out of birch and you are already driving home.
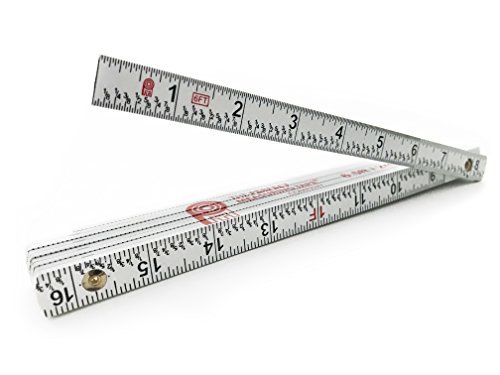
EASY-READ - Features easy-read inch fractions (e.g. 1/8, 1/4, 1/2) for simple, error-free measurement recording without neck craning and eye strain

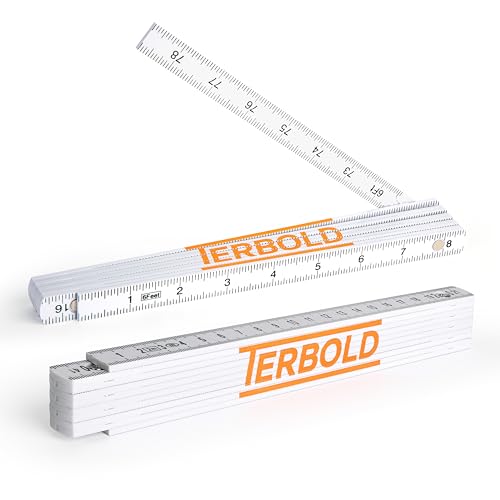
DUAL MEASUREMENT CONVENIENCE | Offers both metric and imperial units for versatile measuring needs.
3. Cut the Pieces
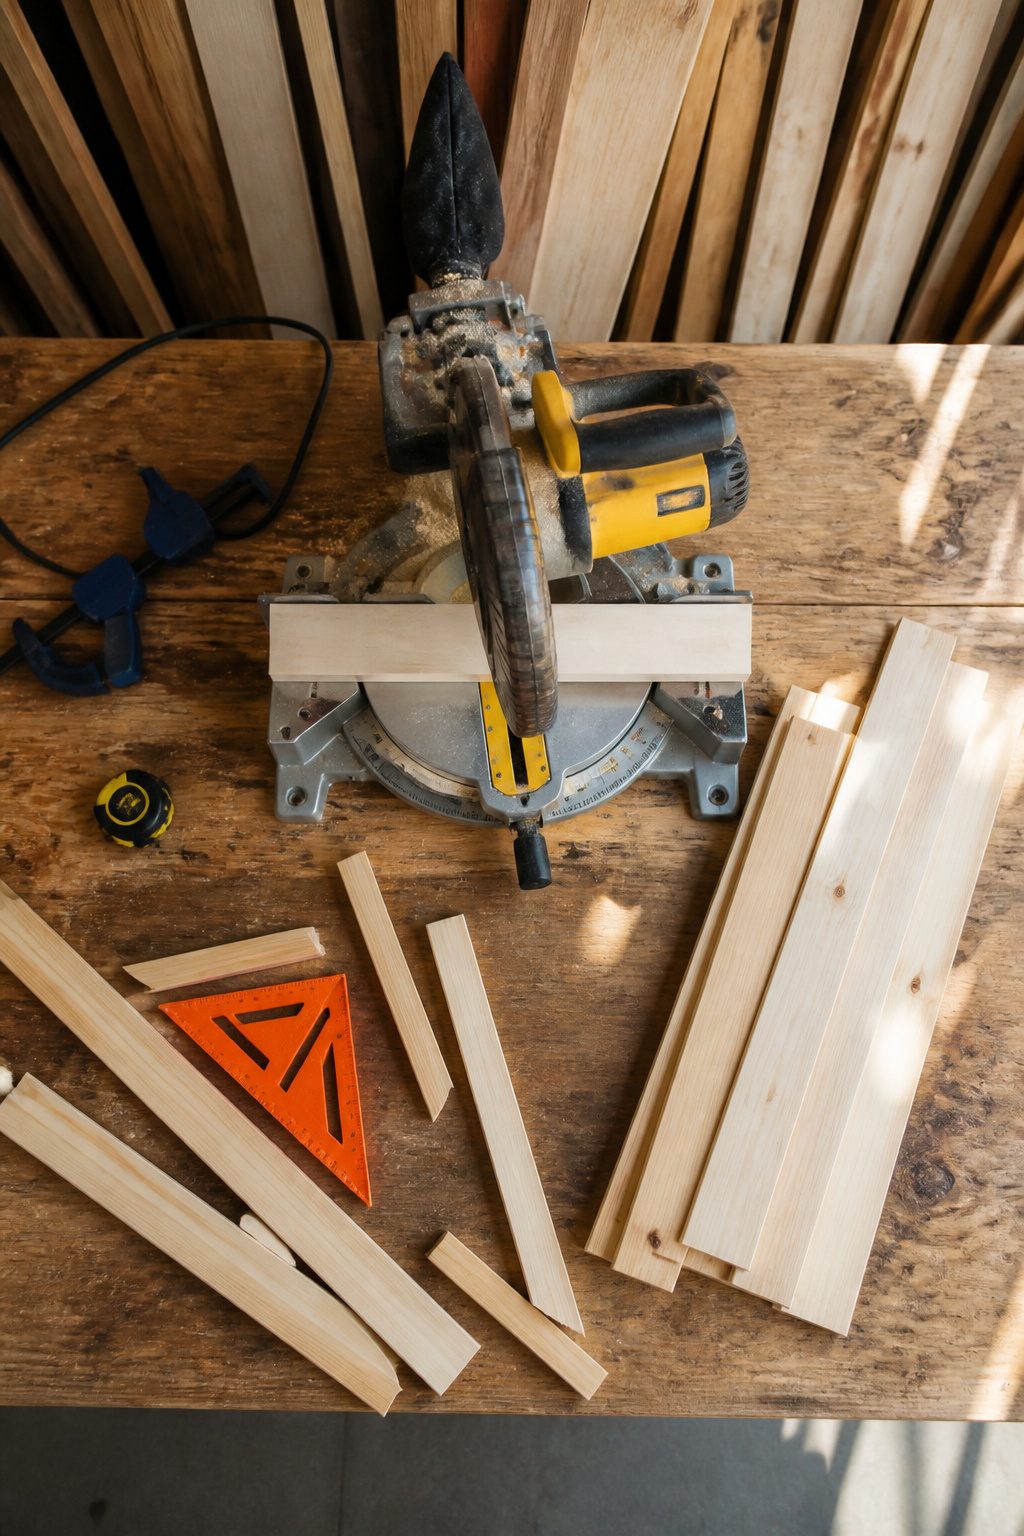
- 1×2s make the end frames, 1×6s form the shutter panels, and 1-1/2" trim pieces finish the brace ends. A pair of shutters for a typical window runs about 44-1/2" long by 13-5/8" wide once assembled.
- A miter saw handles the crosscuts cleanest, though a circular saw with a guide works if the blade is sharp. The table saw only comes out for ripping the 1×6s down by half an inch, keeping that cut parallel to the grain.
- Cut order matters for keeping the grain running the same direction through every piece. Start with the 1×2 side rails at full length, then move to the 1×6 panel stock, then the shorter brace pieces last. This way the same face of each board stays oriented toward the room, and the panels do not read as mismatched once hung.

[RUSTIC ARCHED WOOD WALL DECOR] Use this stunning arched carved wood panel with shutters design to effortlessly showcase your farmhouse style and add a touch of rustic charm to any room. Whether you hang it on a prominent wall or use it as a focal point, this wall panel will instantly enhance the aesthetic appeal of your home.
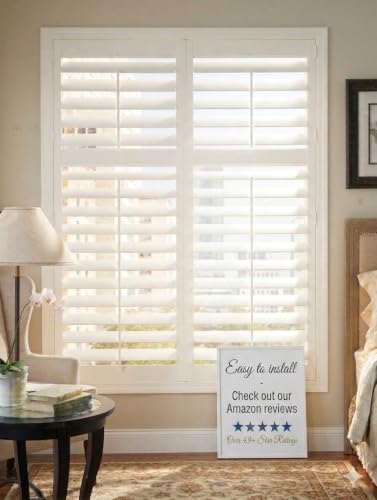
*Elegant White finish - CUSTOM MADE TO FIT YOUR WINDOWS

Safe Cordless Lifting System: Our wooden window blinds feature cordless design, giving you peace of mind and completely eliminating the safety hazards associated with hanging ropes, creating a safer environment for children and pets. The convenient push-pull lifting mechanism allows for smooth and precise height adjustment, resulting in a sleek and aesthetically pleasing appearance while meeting the latest safety standards.
4. Assemble the Frame
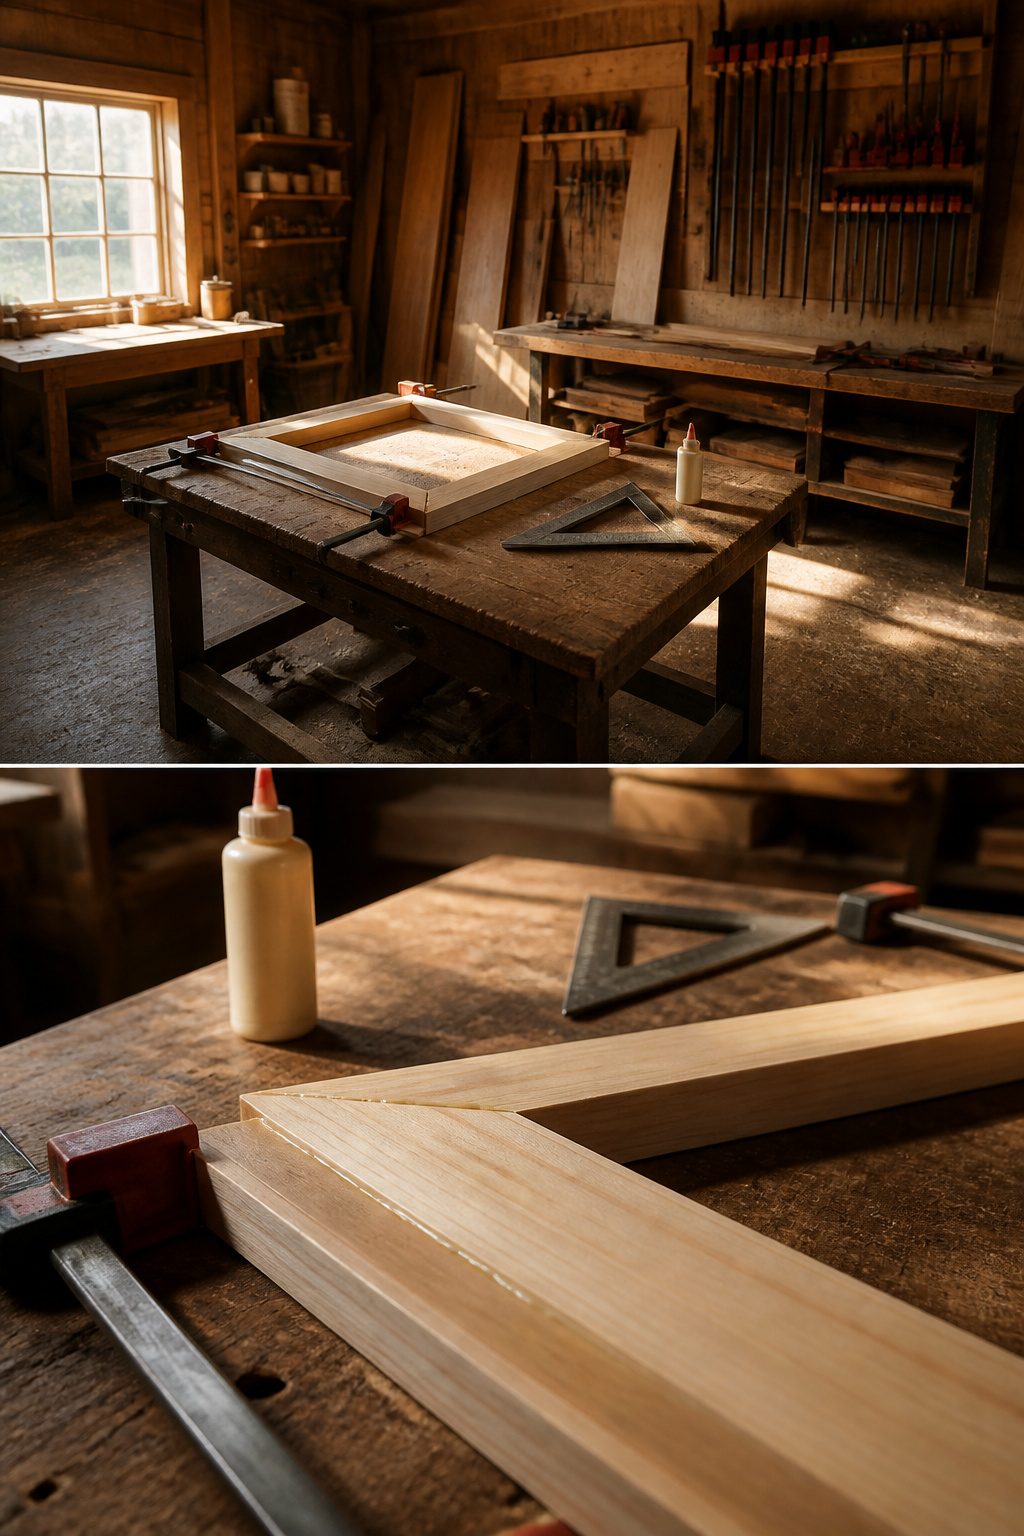
- Wood glue does the real work. Spread it on every joint before any fastener goes in: the boards, the braces, the crosspieces. I learned this from a shutter I built dry, just to see what happened. The brad nails held fine until the second dry season, when the frame racked just enough that the thing would not seat flat against the casing. Glue gives the joint surface area; nails only pin it while the adhesive cures.
- Clamp the assembly and check for square before the glue skins over. A racked frame will not close flush no matter how pretty the boards look from the front. I use a framing square at each corner and measure diagonally corner to corner; when those two numbers match, the frame is square. Tighten the clamps evenly, alternating sides so you don’t pull the assembly out of true.
- Let the glue dry at least 30 minutes before you handle the frame, and a full hour before you start attaching louvers or driving more fasteners through the joint. Titebond III lists a longer clamp time, but for an interior shutter carrying no real load, 30 minutes gets you past the danger window. Rushing this step is how you end up with a permanently twisted shutter and no way to force it straight.
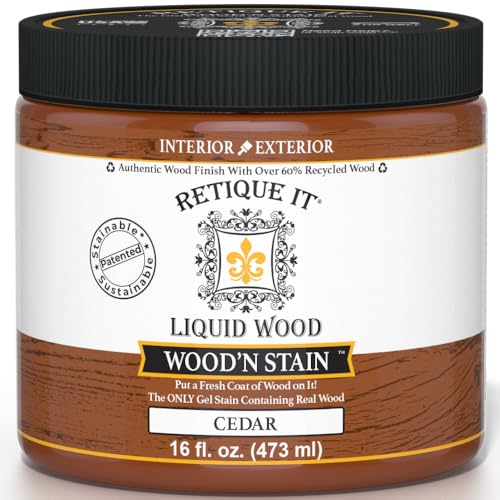
Combines liquid wood and stain in one easy-to-use product
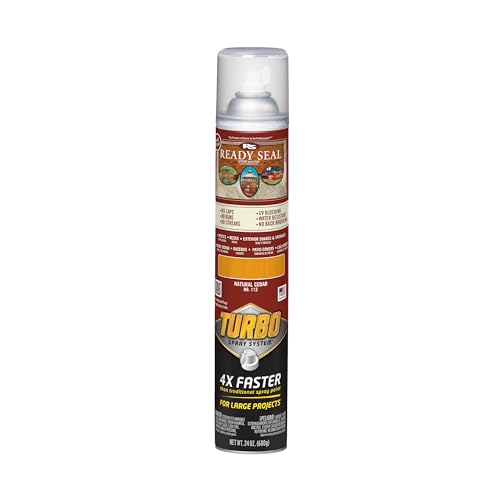
NO LAPS, RUNS OR STREAKS: Goof Proof, oil-based formula now equipped with the powerful Turbo Spray System; ideal for exterior wood projects

READY-TO-USE DECK STAIN & SEALER: Olympic WaterGuard woodland cedar semi-transparent wood stain and sealant combines color and waterproofing in one water-based, ready-mix coat.
5. Add Louvers or a Solid Panel
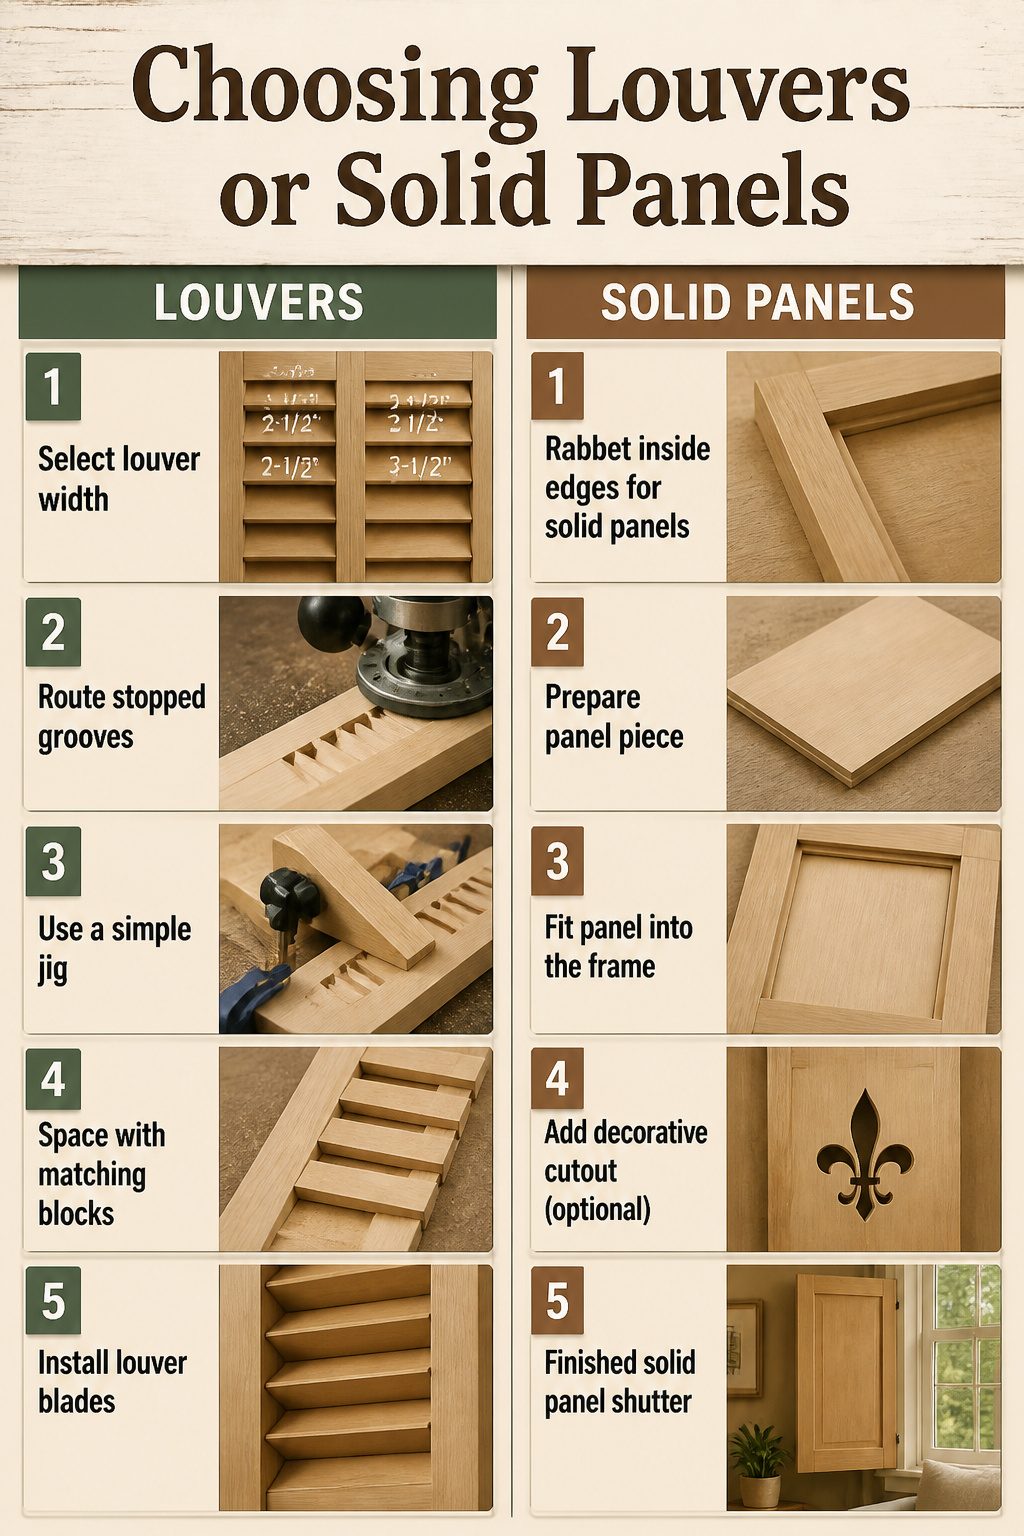
- Louver width sets the whole look. Traditional shutters use 2-1/2" louvers for a tighter, colonial feel, while 3-1/2" louvers open up more view to the outside and read more plantation-style. I would go wider on any window where you actually want to see past the slats when they’re tilted open.
- Cutting the slots means routing stopped grooves into the stiles at your chosen angle. Most fixed louvers sit around 30 degrees. A simple jig clamped to the stile keeps the angle identical on every cut, and matching spacing blocks laid between slots as you work beats measuring each time.
- For solid panel shutters, skip the louvers entirely and rabbet the inside edges of your frame instead. Drop in a tongue-and-groove panel or even a flat plywood piece cut to fit. Solid panels block more light and insulate better, and you can add a decorative cutout if the plain surface feels too heavy for the room.

By Crafters, For Crafters: Crafting and building with wood is our number one priority. Bringing you more of the wood craft supplies you love is our job Versatile...
6. Attach the Hinges
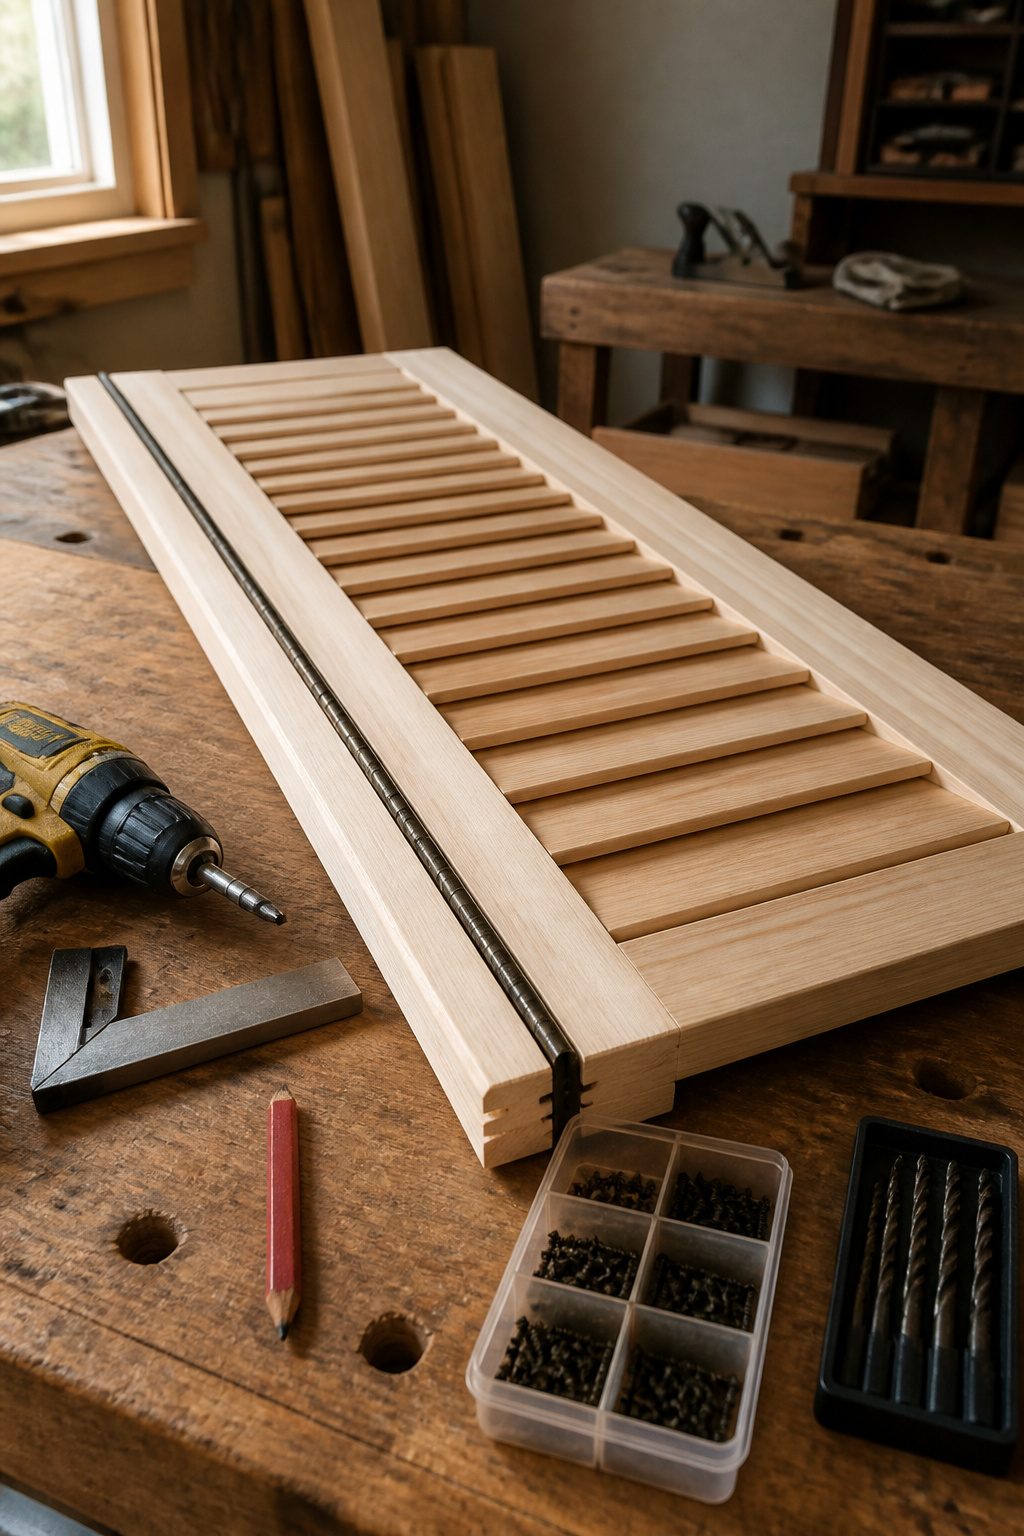
- Set the shutter panel on edge with the hinge edge facing up, then mark screw holes by holding each 1" narrow hinge flush to the edge and tracing through with a pencil.
- Drill pilot holes at every mark before driving screws; this keeps the plywood from splitting and saves the panel if your first hole lands a hair off-center.
- Plan on 4–6 hinges per window, spacing them so the shutter swings clear of the casing without rubbing the stop molding.
- Mortising, cutting a shallow pocket for the hinge leaf to sit flush, gives the cleanest gap but takes patience and a sharp chisel you’ll wish you owned.
- Surface-mounting with non-mortise hinges skips that entirely; the barrel sits proud of the wood, and for a first-timer the time saved outweighs the slightly visible barrel.
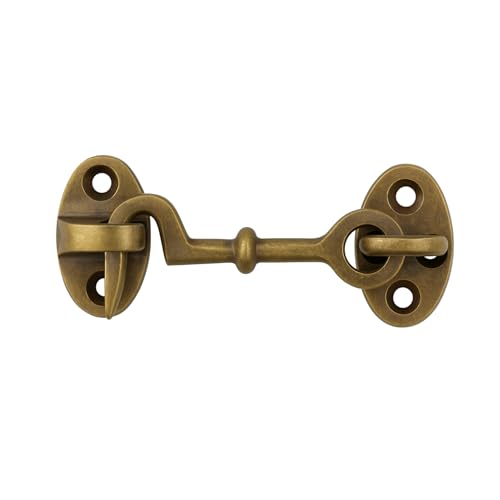
Compact 2.75-Inch Brass Cabin Hook – Ideal for cabinets, small doors, window shutters, and lightweight barn doors

Bulk Pack Advantage: Our package includes a generous quantity of 18 vinyl shutter fasteners ensuring you won't run out in the middle of your project. These fasteners can be applied for installing any type of vinyl shutter on a variety of siding materials such as wood, aluminum, vinyl, stucco, brick, masonry, or cardboard

Light-duty T-hinges for doors, with a length of 3 inches and a thickness of 1.2 mm, load-bearing capacity support 33+ Lbs (15kg)Per Pack, offer a balance of sufficient support and lightweight performance. This set of classic T-strap hinges is specifically designed for home DIY enthusiasts, craftspeople, and woodworking beginners. It includes four identical hinges, black compact T-shaped design not only embodies a modern style but also provides enhanced stability, securing the door or lid more firmly to the frame
7. Mount to the Window
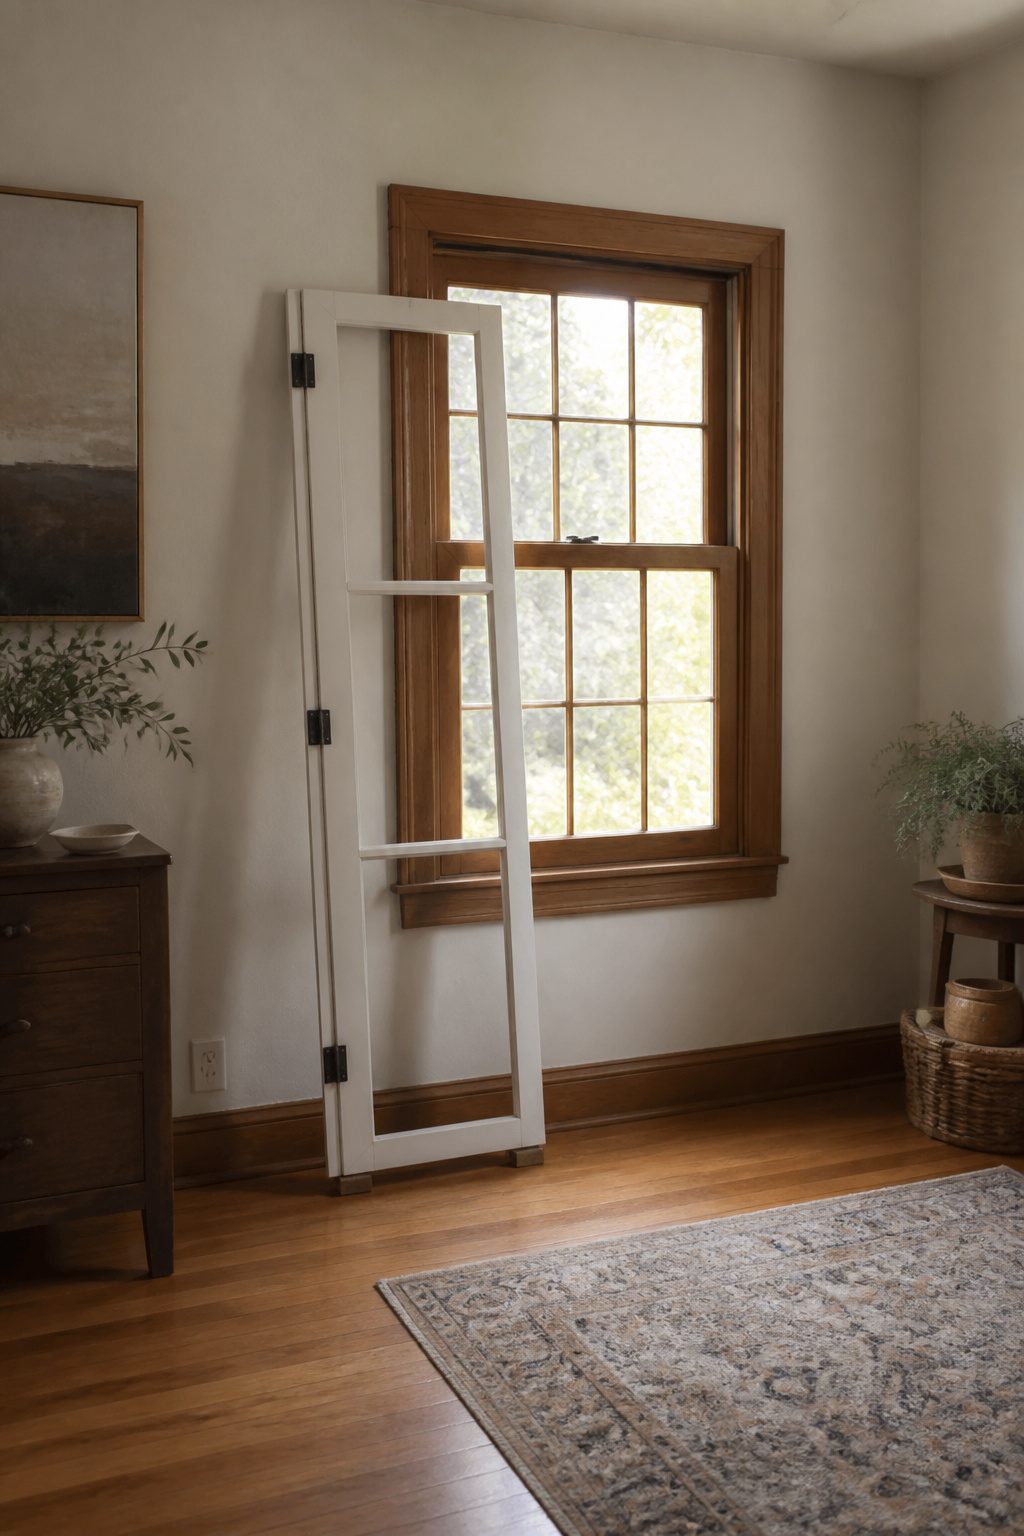
- Inside mount keeps your trim visible, which matters in older homes where the woodwork is the point. The frame needs enough depth so the louvers or panels swing without hitting the glass. Outside mount bolts to the wall around the window instead, and that is the only choice when the frame is shallow or the opening is out of square.
- Shimming is where the work lives. A carpenter’s level across the frame will show you the gaps. Cedar shims, the thin kind sold in bundles, let you nudge the hinge strip until the shutter hangs plumb. Tack the shim with a brad, check again, then sink your final screws.
- The test swing comes before those final screws. Open the shutter to its full arc and let it hang free. I learned this the hard way on a bathroom sill where I mounted the frame flush to the trim, no gap. The bottom rail scraped paint off the sill on the first swing. A paint stir stick slipped under the shutter during fitting, like a temporary floor, would have caught it. Half an inch of clearance at the bottom is the safer rule.
- For an outside mount, the hinge barrel needs to protrude past the casing so the panel folds flat against the wall, parallel, not half-open like a door you forgot to close. A frame built to the opening, rather than hinges screwed straight to drywall, makes that geometry possible.

Package Dimensions: 1.9 L x 8 H x 0.7 W (inches)

High Quality - Made of high quality tough birch with environmentally friendly coating, this rule is durable, stable, wear resistant for long time use.

High Quality - Made of high quality tough birch with environmentally friendly coating, this rule is durable, stable, wear resistant for long time use.
8. Sand and Finish
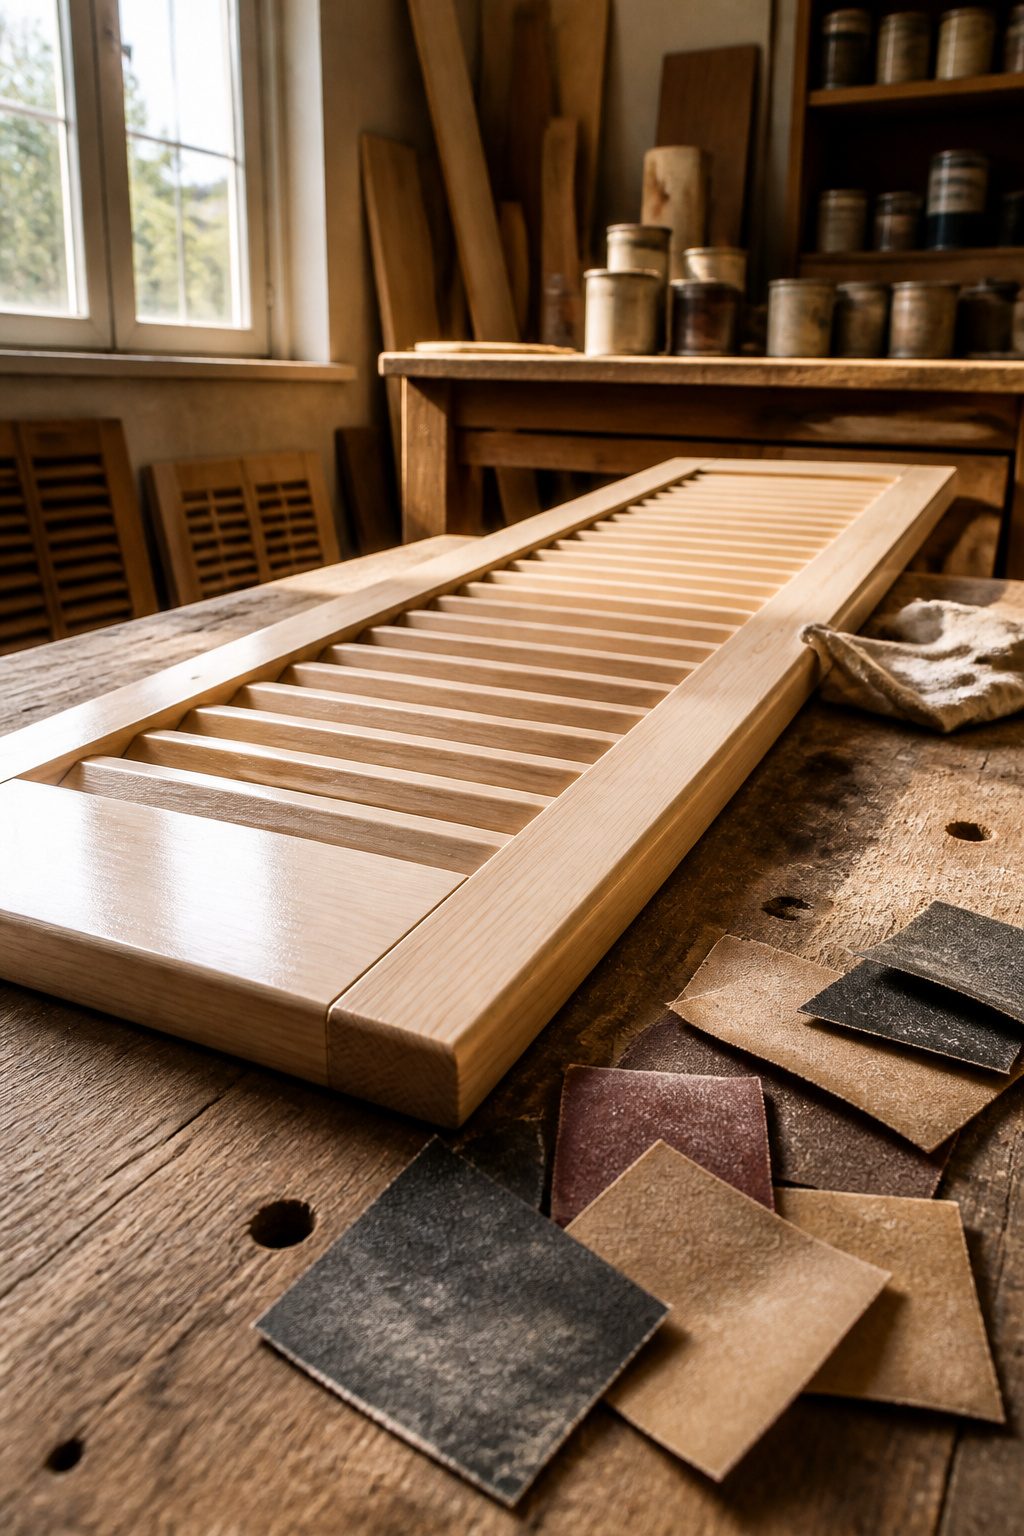
Sanding starts at 120 grit on the flat surfaces and drops to 80 if the joints need leveling, but 80 leaves scratches that 120 won’t touch, so the step back costs you an extra pass. Work up to 220 on the show faces; the louvers only need 150 since light hits them at an angle and hides the difference. A tack cloth between every grit change picks up the dust that sandpaper drives into the grain, especially on pine. Skip it and the finish fisheyes where the dust meets the binder.
For paint, exterior-grade acrylic holds up in bathrooms where the exhaust fan runs half the year. On bare pine, oil-based primer under latex stops the resin from bleeding through in six months; I learned that on a set I rushed with self-priming latex and had to sand back to wood. Stain needs the same tack-cloth discipline, but the real trouble comes after. I once brushed polyurethane on a humid July weekend and the surface stayed tacky for three days, then dried cloudy where moisture got trapped underneath. Now I check the forecast like a farmer: below sixty percent humidity, or the project waits.

Solid Wood: KIFFUN interior plantation shutters are crafted from high-quality wood, with stained and painted finish options to suit cottage, colonial, farmhouse, coastal and minimalist style homes.

Solid Wood Slats: This 2-inch wood blinds cordless are made of solid wood with 2-inch wide smooth slats, the blades do not fade in long-term sun exposure and are not easy to deform and crack, ensuring that in extreme temperature and humidity conditions can still maintain a stable performance, providing users with a healthy and safe use of experience.

【Material Features】Made of premium basswood, these blinds feature fine consistent grain and a lightweight, solid build. The wood stands up well to moisture and changing temperatures, and is less likely to bend or crack. It works perfectly in bedrooms, living rooms, bathrooms and other rooms. Our wood produces no unpleasant smell. Expertly sanded and finished with quality paint, the smooth surface keeps the natural texture of wood.
9. Hinged Shutters
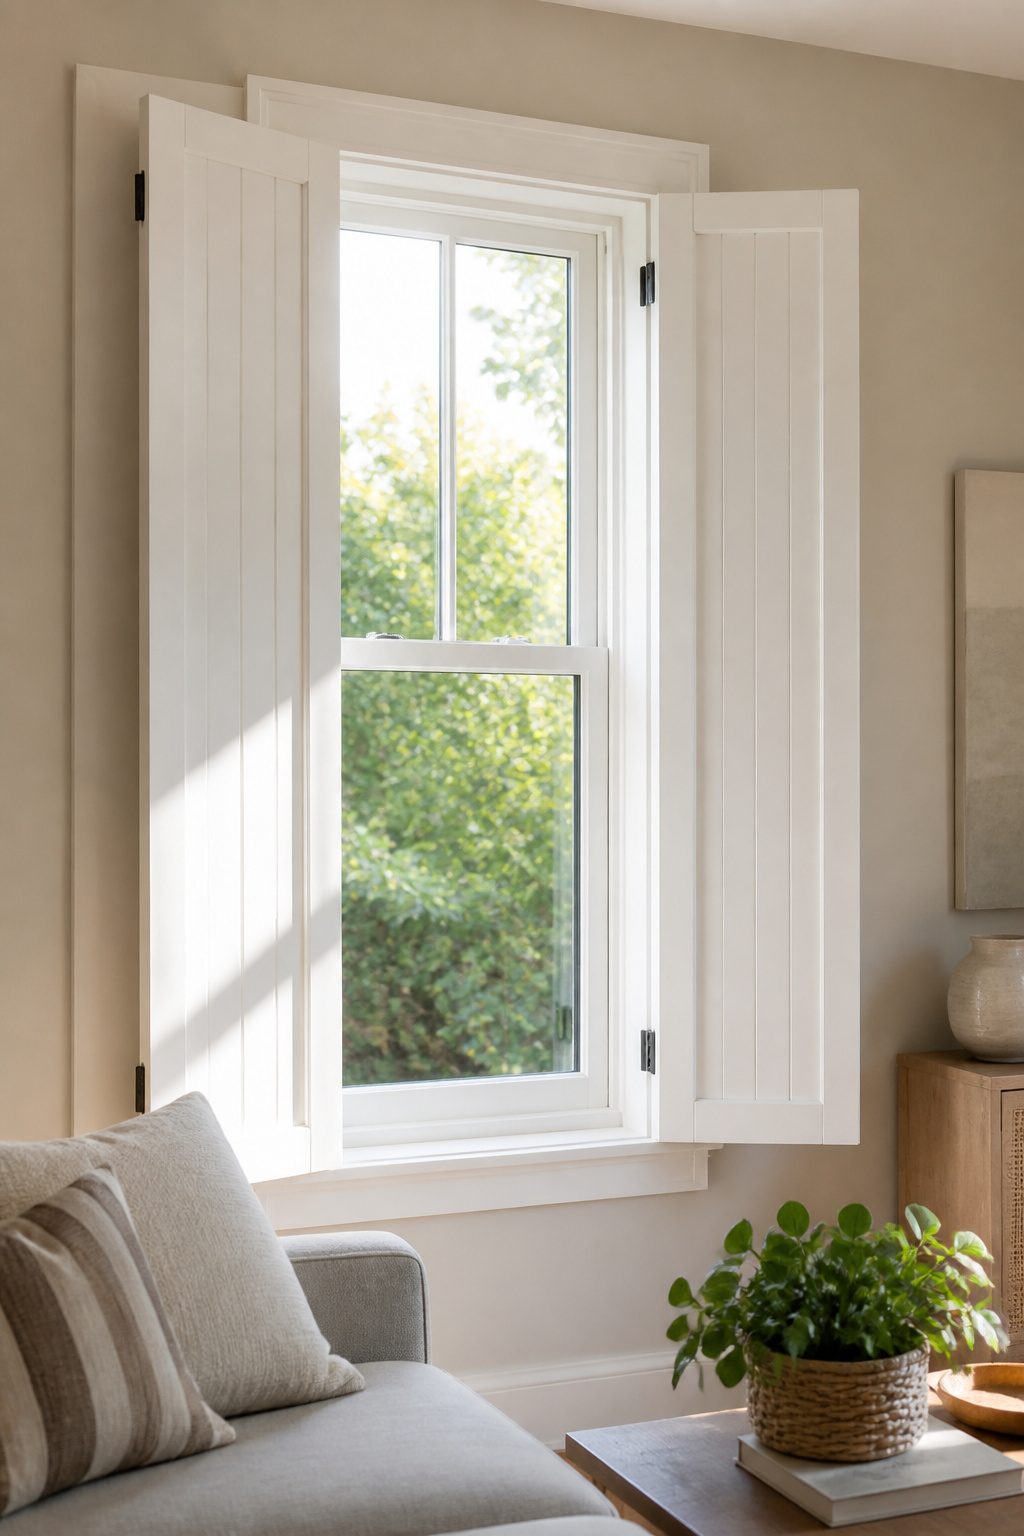
Hinged shutters are the style most people picture first. They swing outward from the window on side-mounted hardware and fold back flat against the wall when you want the light.
Full-height shutters run from sill to top rail in one solid frame. They suit rooms where you want a clean vertical line and the option to swing the whole panel open for an unobstructed view. Living rooms and bedrooms usually call for this style, especially on taller windows where anything broken into sections would look busy.
Tier-on-tier splits the panel horizontally. The top half opens independently from the bottom, so you can fold back the upper louvers for morning light while the lower section stays closed for privacy. Street-facing windows and ground-floor rooms get the most use out of this arrangement; bathrooms and bedrooms facing sidewalks are where the split earns its keep.
The hardware matters more than most first-timers expect. You need enough reveal gap between the shutter frame and the window casing for the hinge barrel to sit without binding. A quarter inch is usually plenty for standard butt hinges, though wrap-around hinges that mount to the front face of the casing can save you that space if your window sits tight to the trim. Measure the folded thickness of your shutter plus the hinge knuckle before you cut anything, or the panel will kiss the casing and stop short of folding flat.
Full-height panels need two or three hinges depending on height; tier-on-tier needs separate sets for each section, which doubles your hinge count and your precision. The break between tiers has to line up exactly with your horizontal rail, or the panels will ghost each other when both are closed.

DESIGNED FOR HOME /DIY WOODWORKING LOVERS - Our water based wood stain preserving its natural grain details and It’s perfect for refreshing faded furniture and customizing it to your favorite color, letting you revitalize beloved pieces without harsh fumes disrupting your living space.

PROTECT WOOD - Cabot Wood Toned Stain + Sealer is specially formulated with a unique blend of resin and oil to provide a superior natural finish for bare wood. It’s a wood protector against the sun and weather elements.
10. Bifold Shutters
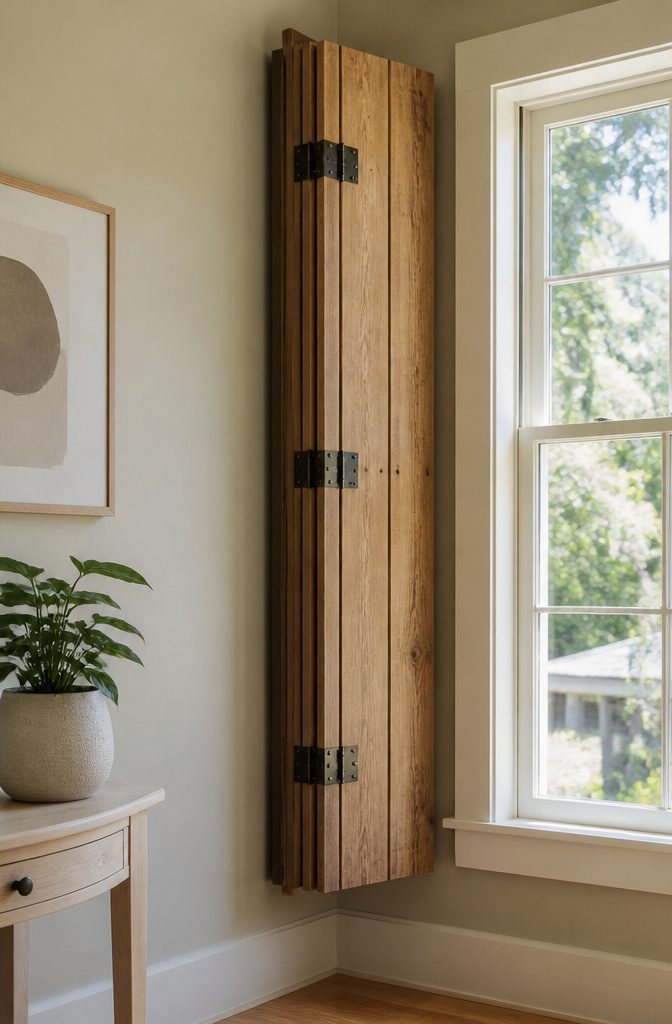
Bifold shutters fold two panels together so the stack hugs the wall instead of swinging deep into the room. That flat profile makes them worth considering for narrow hallways or any spot where a chair or bed sits close to the window. The catch is the hardware: you need three hinges per panel, not two, because the middle hinge carries the full fold load and the outer ones keep the frame from racking over time.
The track option runs the panels on a simple upper rail, like a barn door flipped vertical, so gravity does half the holding work. A pivot hinge set into the floor and head jamb keeps the look cleaner but means your cuts have to be square; any twist and the panels bind in the opening. Most people overthink which system to use. What actually matters is whether your window is wide enough to split evenly; an odd number of panels leaves one hanging loose or forces an asymmetrical fold that looks like a mistake.
If the math works out, reclaimed bifold closet doors cut down to fit can skip most of the joinery. The rails and stiles are already proportioned, the hinges are factory-set, and the hollow-core ones are light enough to hang on standard casing without extra blocking. Solid wood closet doors weigh more but feel less like a temporary fix when you touch them. Either way, check that the existing hinge mortises line up with your window height before you commit; filling and re-cutting them is fussy work that eats the time you saved.
11. Solid Panel Shutters
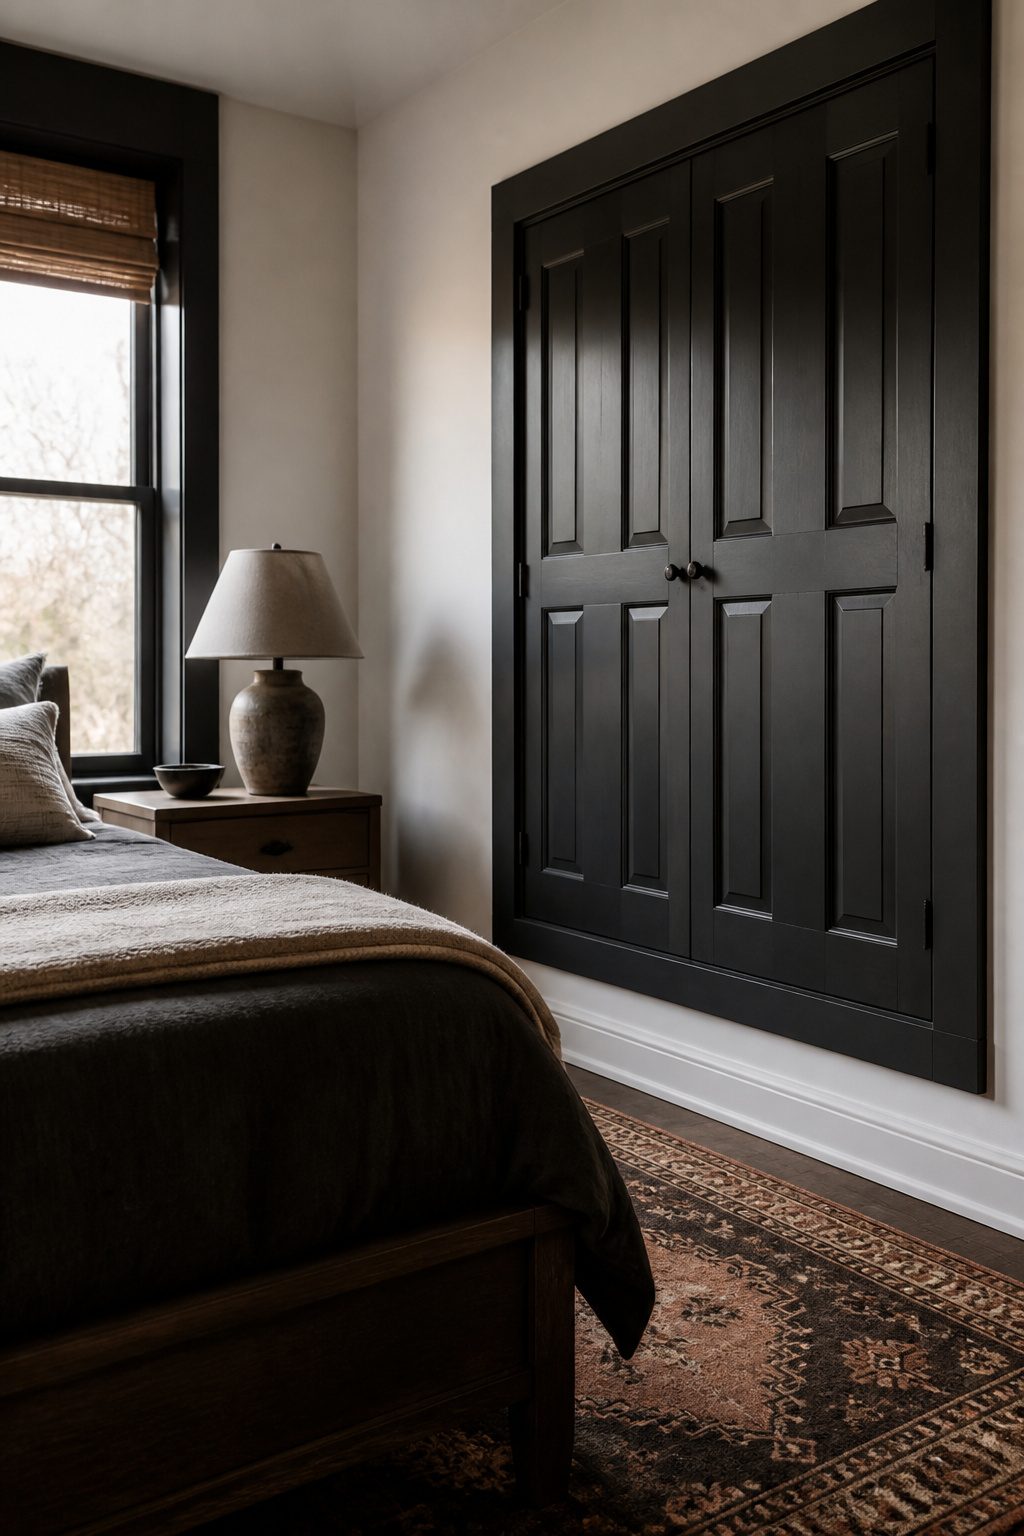
Solid panel shutters give you complete blackout when you need it, no tilt rods or louver gaps to let light through. The tradeoff is weight: these boards run thicker than louvered styles, usually an inch or more, and that mass wants a frame built to match. Raised panels read traditional, almost colonial, with their beveled center field catching shadow. Flat panels sit quieter, more farmhouse, and they save you a router pass or two in build time.
Privacy is total here, which makes these the choice for bedrooms and street-facing windows where you want the room gone after dark. The extra thickness also damps sound better than slatted shutters, something you notice if you mount them on a window above a busy sidewalk. Hardwood moves seasonally, so a flat panel floats in its groove to keep the frame from twisting. Skip that detail and you will see joints gap by winter.
12. Plantation Shutters
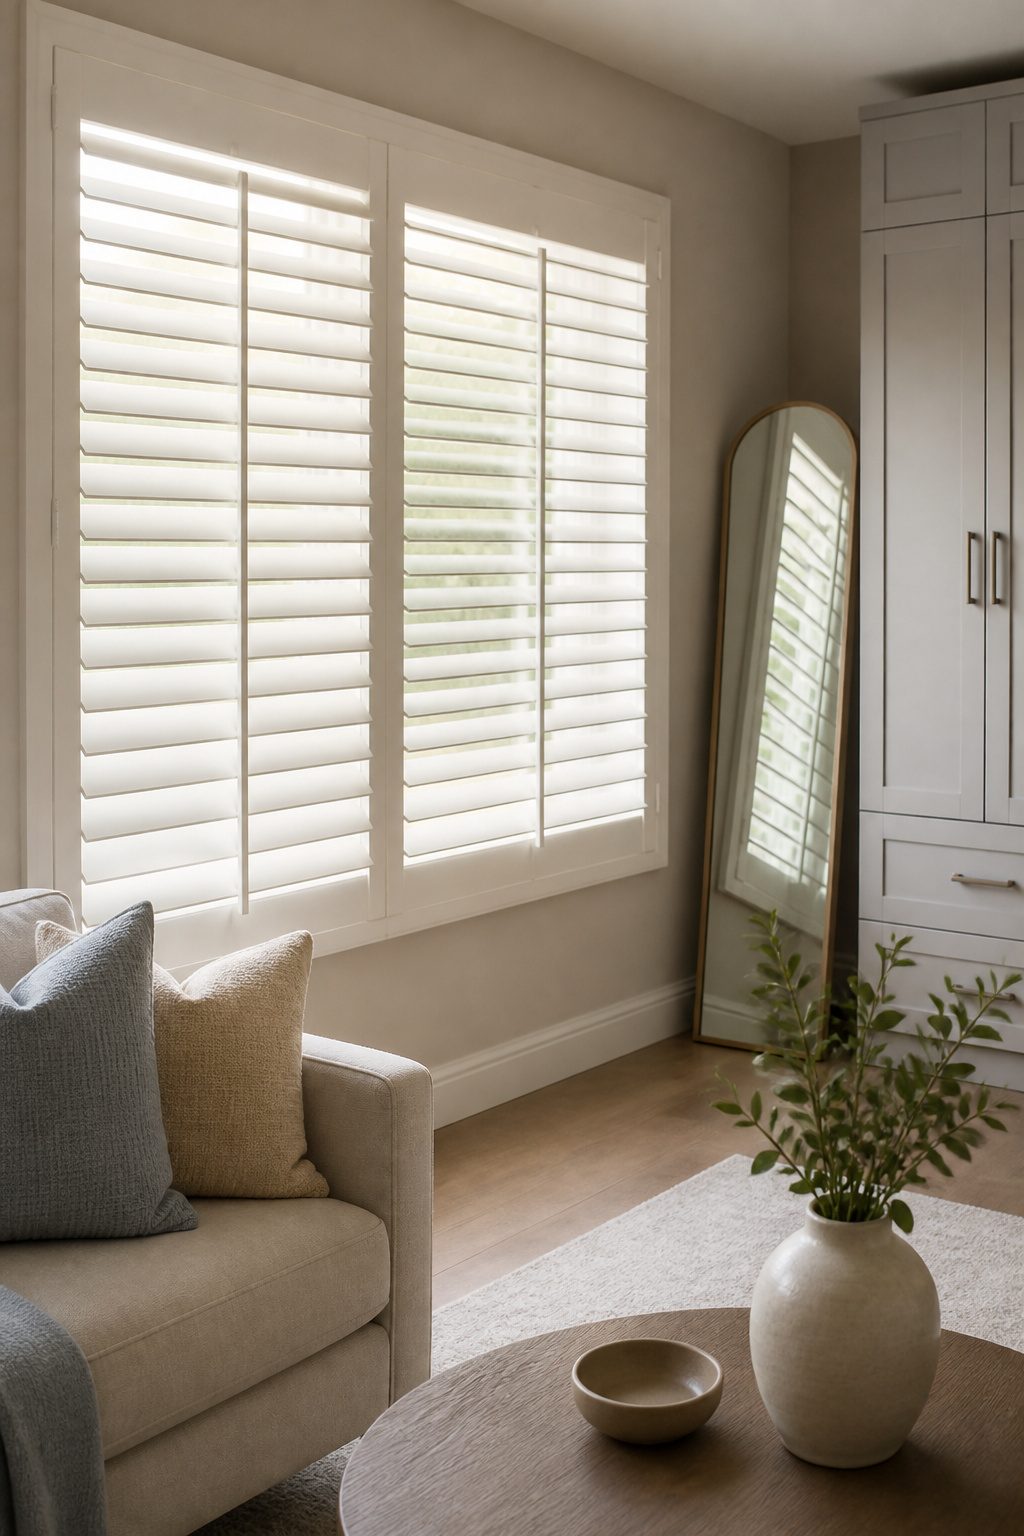
Plantation shutters carry the widest louvers, either 2-1/2" or 3-1/2", and they usually come with a front control bar running down the center. That bar is what you grab to tilt the slats open or shut, and on most DIY kits it sits in a pair of decorative cutouts called mouse holes.
The hidden tilt rod, sometimes called Hide-A-Tilt, moves that same bar to the back side of the panel. The view through the window clears up, and wiping dust off the louvers gets simpler since you are not working around a front bar. The catch is the math: a 3-1/2" louver needs more overlap between neighboring slats to block light when closed, so the spacing interval changes compared with a 2-1/2" louver. If you are cutting your own stiles and rails, check the tilt hardware specs before you drill any holes. The wider the slat, the more sensitive the whole assembly is to a gap that is off by even a sixteenth.
13. Cafe Shutters
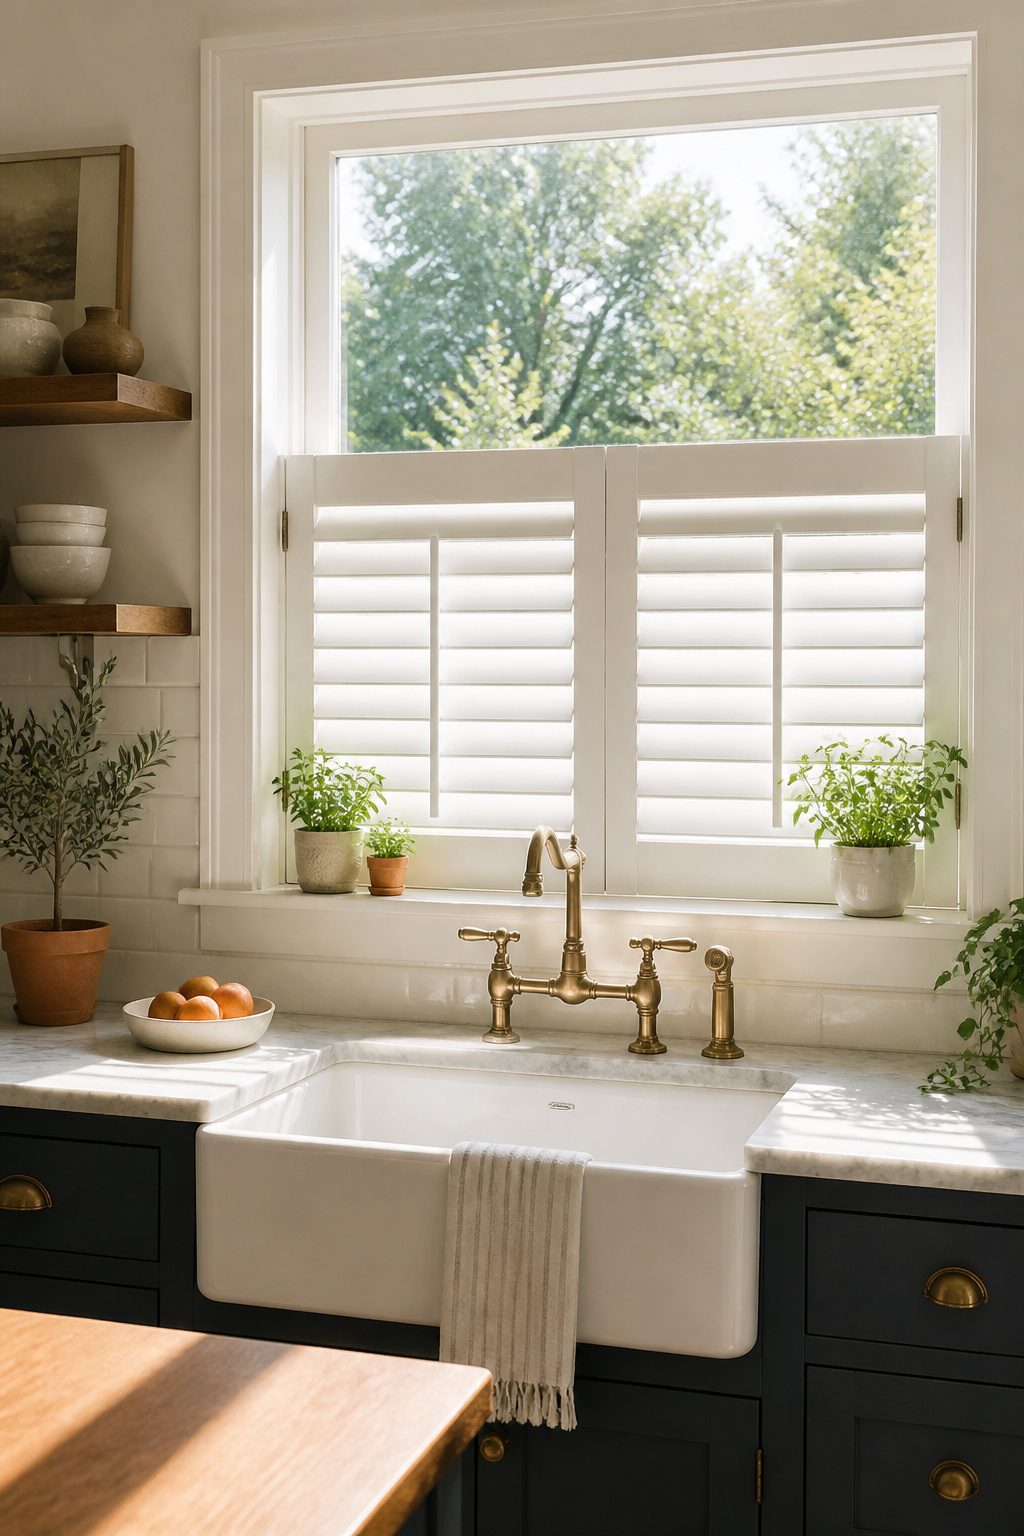
Cafe shutters cover only the bottom half of a window, leaving the top open for light while the lower slats handle privacy. They make sense in street-level rooms where you want to block the view from passersby without turning the space into a cave, and they are the standard choice for kitchen sinks where full-length shutters would fight the faucet and the view upward is usually sky or siding anyway.
The height decision matters more than it looks. Split the window too low and you lose privacy; too high and the shutter fights the proportions of the room. What convinced me, reading through the guides, was that the rail needs to land where it actually blocks eyes, not where it looks balanced from the curb.
A mid-rail adds the support the frame needs at that break point. On a full-height shutter the weight distributes through the whole frame, but a cafe shutter ends mid-wall and the rail carries the load. The wider rail always goes at the bottom on any shutter, and on a louvered cafe shutter that mid-rail has to be just as solid or the slats above will sag over time. Plan for about ¼ inch of clearance on all sides when you fit the frame, same as a full-size unit, but check that the mid-rail lands flat against the jamb or you will have a hinge point that works loose.
Tools You Will Actually Use
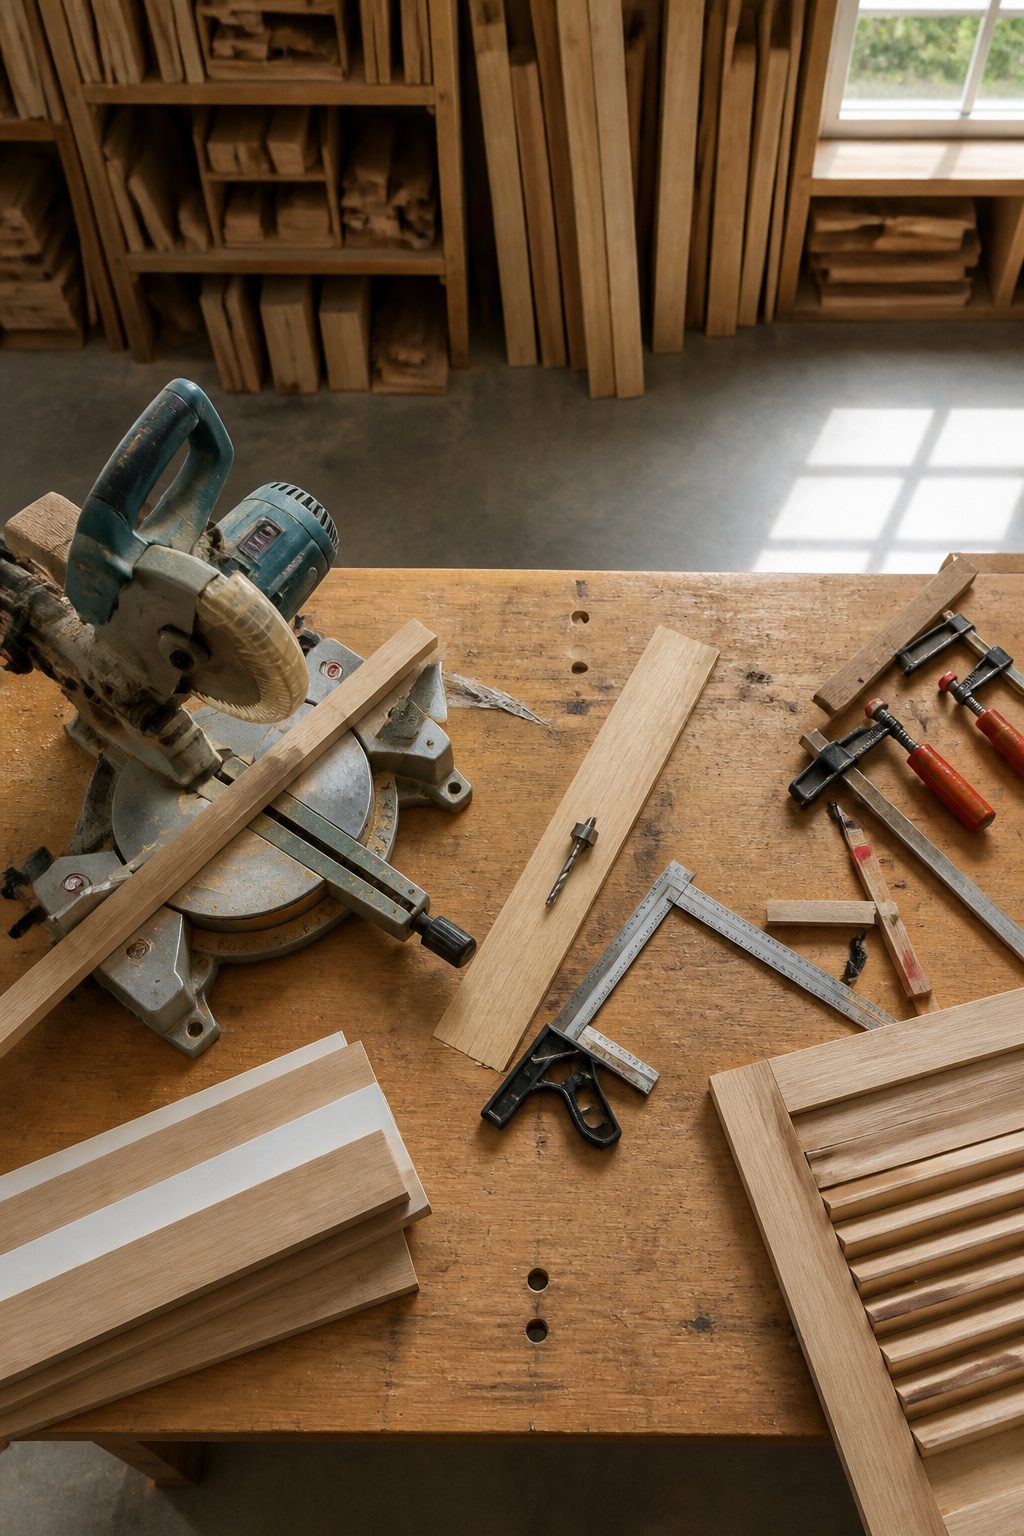
A mitre saw handles the long cuts cleaner than a jigsaw ever will, especially when you are ripping plywood panels to width. I own one, but the table saw at the lumberyard did the first pass on my 5′ sheets and the difference showed in the edges.
- A self-centering drill bit is the one specialty item worth tracking down. It keeps hinge pilot holes centered so the screws seat flush without chewing the wood. Vix is the name most often used, but any self-centering bit for #6 or #8 screws does the same job.
- A combination square and a stack of clamps are non-negotiable. The square checks that your corners stay true while glue sets; the clamps apply even pressure across the panel so the trim does not lift.
- A palm sander saves your wrists on the flat surfaces, but keep a file or sandpaper block for the edges after edge banding goes on. The iron-on banding melts fast and the file knocks down the slight lip before it catches dust forever.
- The drill/driver and bits you likely own already. If your windows are not square, add a folding rule with a sliding extension instead of trusting a tape measure against the jamb.
I borrowed the extra clamps. Everything else sat in my shop already, which is the test for whether a project belongs in a weekend or sprawls across a month of rentals and returns.
What This Costs by Line Item
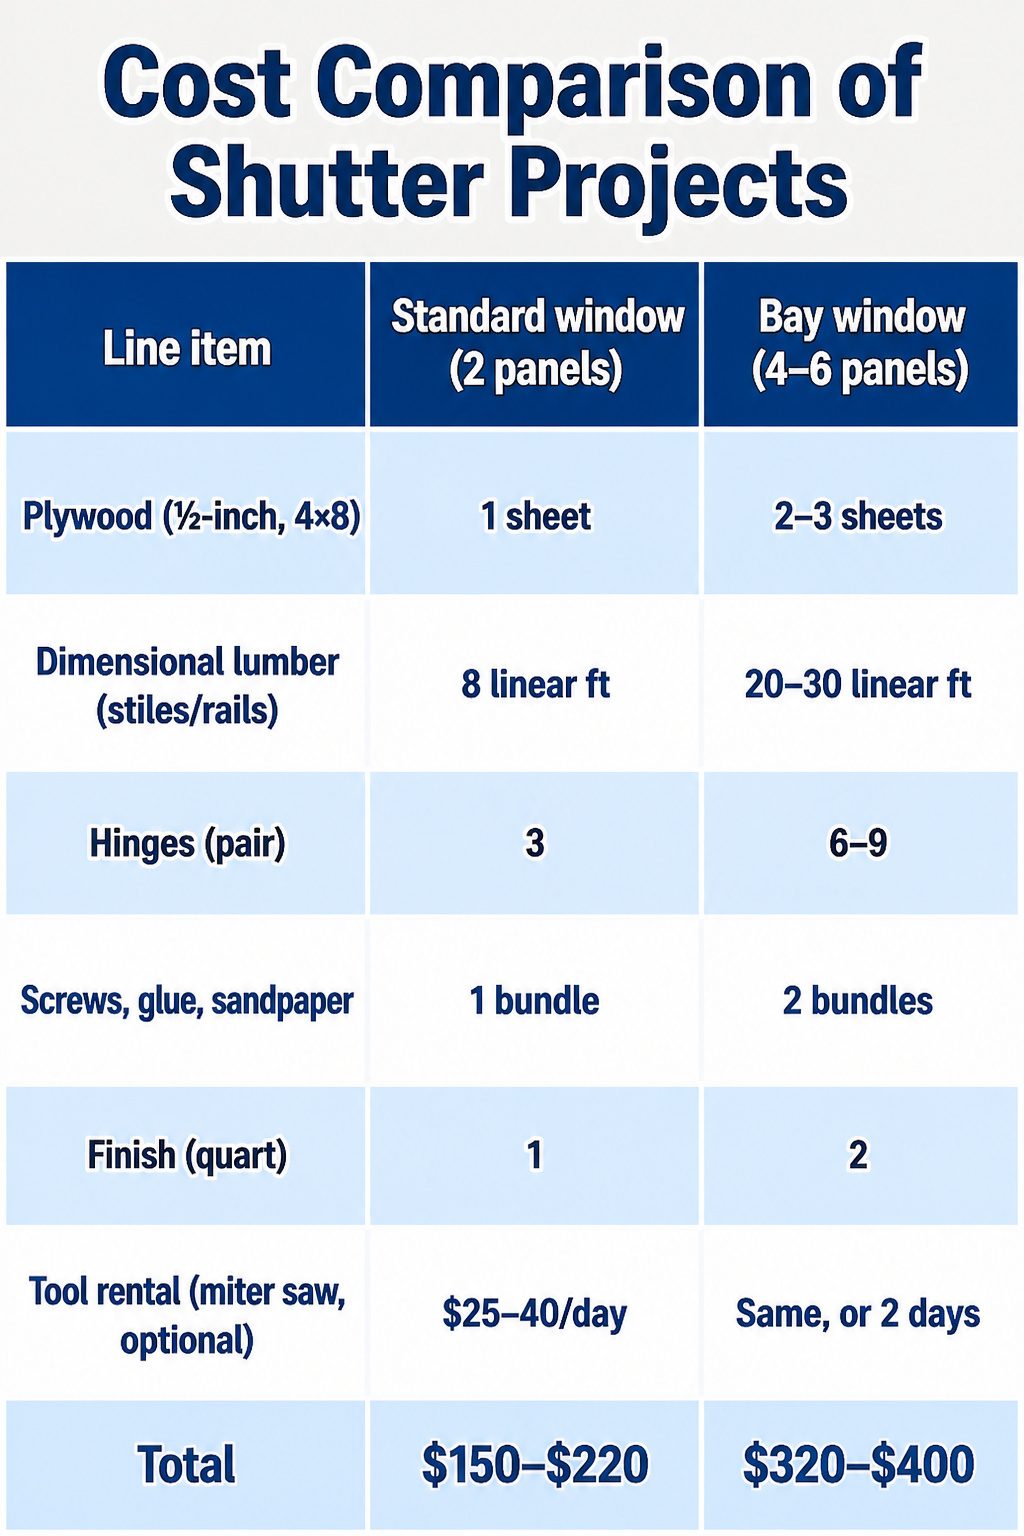
Plywood eats the biggest slice. A single 4×8 sheet of ½-inch birch runs enough for two standard panels if you plan the cuts tight, and the off-cuts pile up fast if you don’t. Dimensional lumber for the stiles and rails adds another $25–40 depending on whether you pick poplar or step up to clear pine. Hinges are the surprise: three pair of small brass or steel butt hinges per panel, and at $4–8 per pair that multiplies quicker than the wood.
Finish is where you save or spend. A quart of water-based poly covers three to four panels for about $15; a can of tinted oil stain plus topcoat nearly doubles it. Screws, wood glue, and sandpaper round out the consumables at roughly $15 total. The table below breaks out how a basic pair of shutters stacks against a bay window build.
| Line item | Standard window (2 panels) | Bay window (4–6 panels) |
|---|---|---|
| Plywood (½-inch, 4×8) | 1 sheet | 2–3 sheets |
| Dimensional lumber (stiles/rails) | 8 linear ft | 20–30 linear ft |
| Hinges (pair) | 3 | 6–9 |
| Screws, glue, sandpaper | 1 bundle | 2 bundles |
| Finish (quart) | 1 | 2 |
| Tool rental (miter saw, optional) | $25–40/day | Same, or 2 days |
| Total | $150–$220 | $320–$400 |
The bay jumps the range mostly in plywood and hardware. Skip the miter saw rental if your circular saw has a fresh blade and a fence; the cuts are short enough to stay accurate with a steady hand.
Frequently Asked Questions
How do I measure for interior shutters?
Measure the width at the top, middle, and bottom of the window opening, and the height at the left, center, and right. Use the smallest of each set, not the average, and build in ⅛ inch total clearance from that number. Check both diagonals if the window looks out of square; a racked frame will bind no matter how good your bench math was.
What materials do I need to build interior shutters?
You will need ¼-inch birch plywood or solid wood like poplar or cedar, 1×2s for end frames, 1×6s for panels, trim pieces for brace ends, wood glue, hinges, screws, sandpaper, and finish. Tools include a miter saw or circular saw with a sharp blade, drill/driver, self-centering drill bit, combination square, clamps, and a folding rule with sliding extension.
How do I install interior shutters?
Attach hinges to the shutter edge with pilot holes, then mount to the window using either an inside mount that preserves trim or an outside mount for shallow or out-of-square frames. Shim with cedar shims until plumb, test the full swing before final screws, and leave half an inch clearance at the bottom so the rail does not scrape the sill.
What types of interior shutters are there?
Hinged shutters swing outward and fold flat against the wall; bifold shutters stack two panels together for tight spaces; solid panel shutters block all light and insulate best; plantation shutters carry the widest louvers at 2-1/2 or 3-1/2 inches; and cafe shutters cover only the bottom half of a window for privacy with light above.