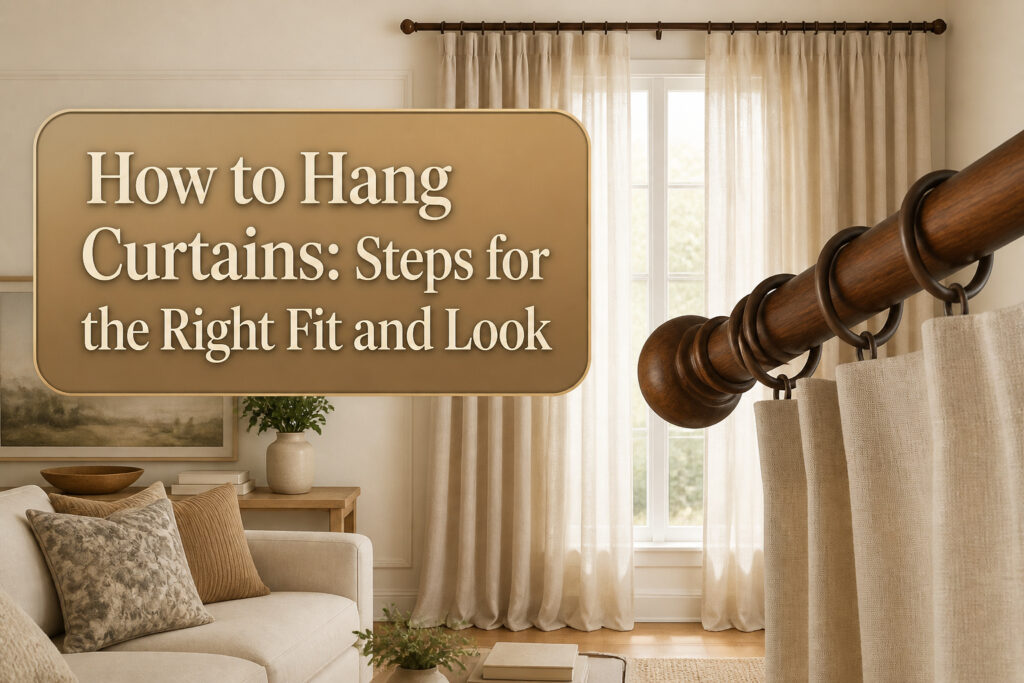
Done right, hanging curtains takes about an hour, a drill, and a level you will actually use.
Most rooms fall apart at the rod height: mount it at the top of the frame and the ceiling looks lower, not higher. The fix is 4 to 10 inches above, or halfway to the ceiling if you have the space.
A 50-inch window needs a rod 56 to 62 inches wide, with panels running 1.5 to 3 times that in total fabric, or the drapery hangs flat and sad no matter what you spent.
1. Measure the Window Width
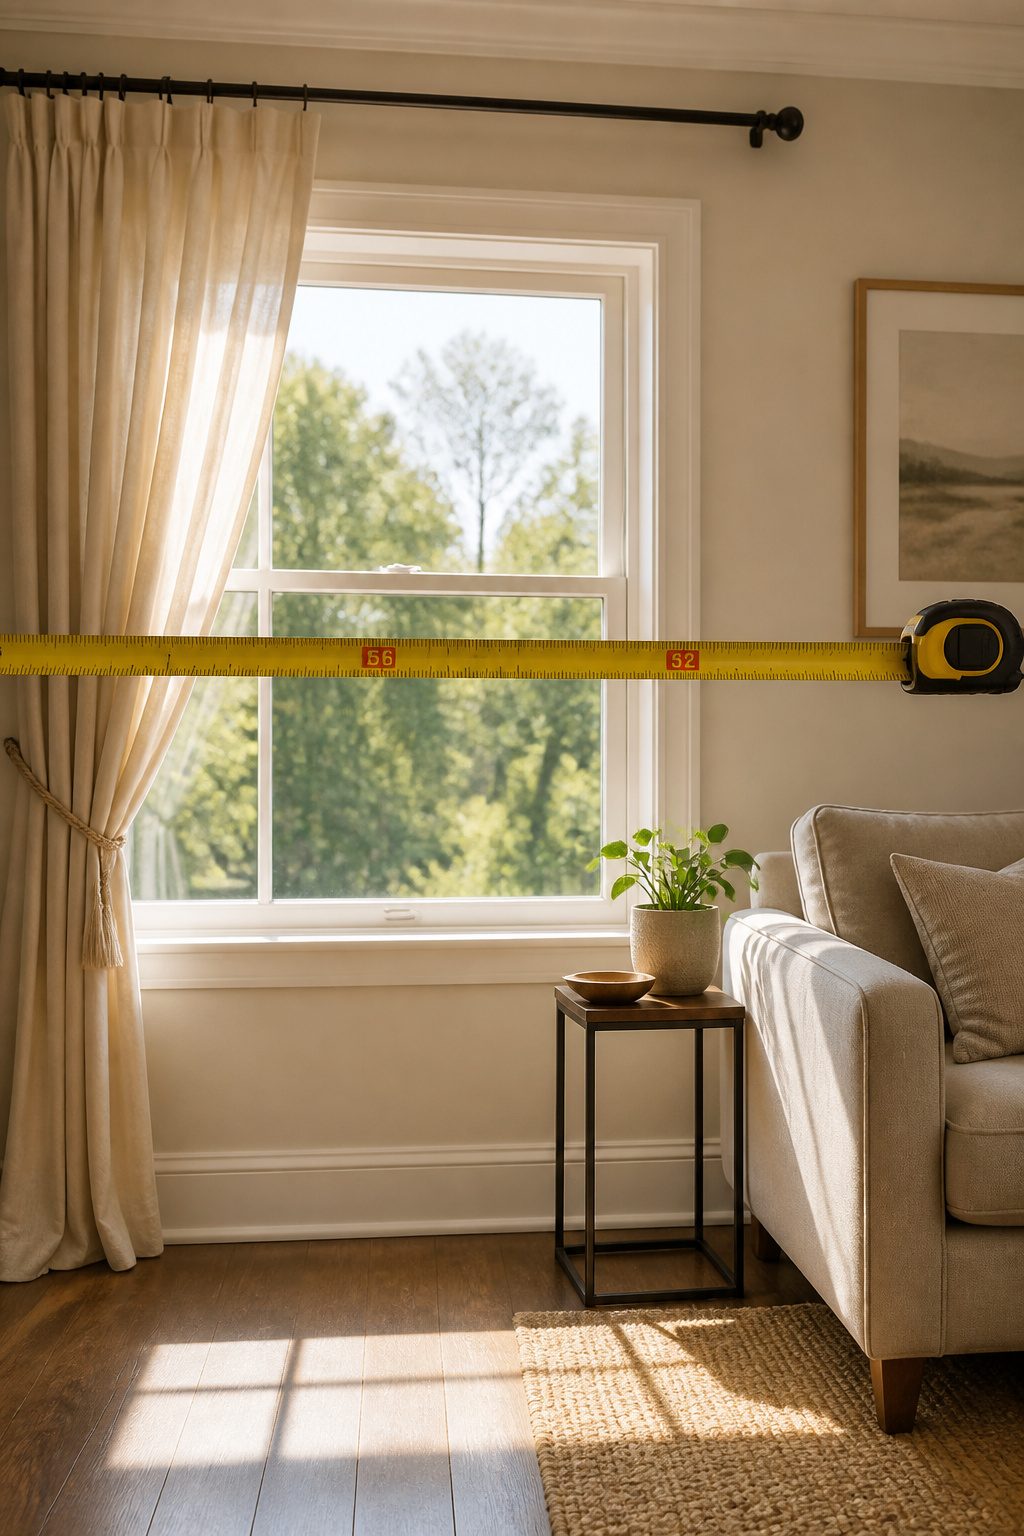
A 50-inch window needs a rod somewhere between 56 and 62 inches, which means adding 6 to 12 inches to the frame width before you even think about fabric.
That extra space puts the stack of draped fabric on the wall, not on the glass, so daylight actually reaches the room.
The window also reads larger than it is, the same way a mat makes a photograph feel intentional instead of cramped.
The rod width is only half the number that matters. The panels themselves need 1.5 to 3 times the window width in total fabric to look right.
A 60-inch window calls for at least 90 inches of curtain width for a standard look; push toward 2.5x or 3x if you want the heavier folds you see in rooms that actually look finished.
Two standard panels per side will usually hide the seam and read as one wide piece. Skimp on width and the curtains hang flat and sad no matter what you spent.

Heavy-Duty Metal Structure Design: These curtain rod brackets are crafted from premium thickened iron metal with enhanced hardness and sturdiness. Solid integrated metal construction delivers excellent load-bearing capacity, not easy to bend or break, ensuring long-lasting durability for indoor and outdoor use.


EXCELLENT DESIGN: The curtain rod brackets have T shaped design, easy to install with screwsdriver. The more longer screw position distance let the rod holder have more weight capacity
2. Determine the Rod Height
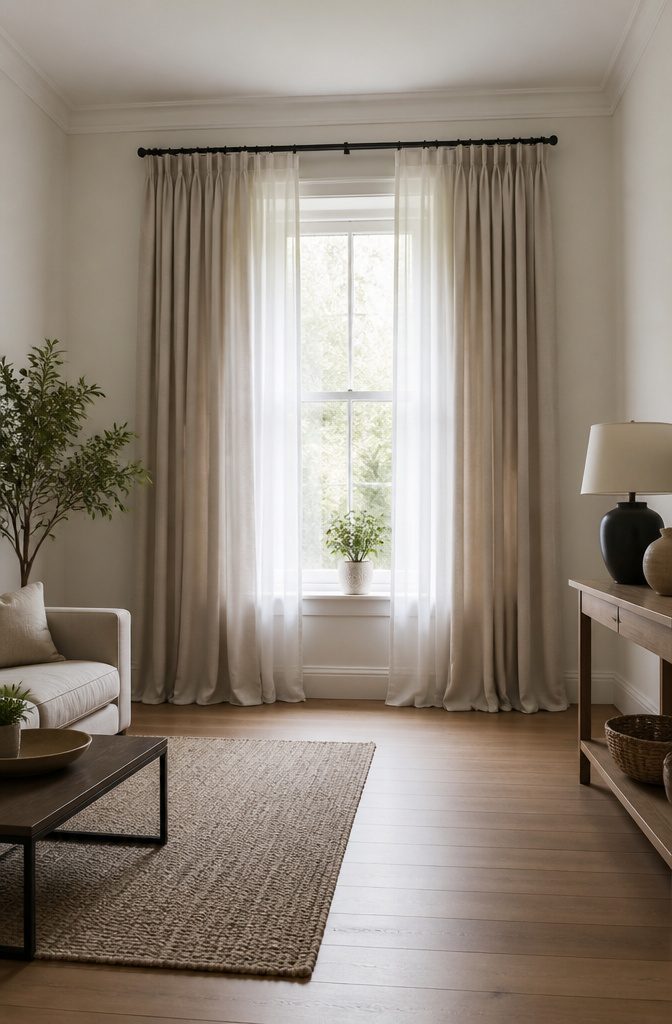
Rod height is where most rooms win or lose their sense of space.
Hang the bracket 4 to 10 inches above the window frame, and if your ceiling allows it, push that closer to halfway between the frame and the ceiling. The eye travels upward and the wall feels taller than it measures.
Ceilings at 8 feet need the rod almost kissing the drywall to squeeze every inch of height from the room. Anything above that, the halfway mark keeps the proportions from looking stretched.
I have seen rods mounted a foot below an 9-foot ceiling and the window looked like it was crouching; the same frame with the rod lifted to the midpoint looked like a different house.
Too high is mostly a problem when you start losing the stack space above the frame and the fabric pools on the floor because you ran out of wall. Measure your panel length against the mark before you drill.

【Purchase Note】Short tension rod, adjustments range in size just 12 inches, be necessary to get correctly measurements and order the right size
【Premium Material】Spring rod material after special treatment, the surface is not easy to be corroded, not easy to rust, built-in spring elasticity is good, long service life, sturdy and durable

Premium material : This Extendable tension rods are made of sturdy high-carbon steel, stainless steel SK8 strong rough spring, and electrostatic spraying technology for the surface, rust-proof, smooth, sturdy.
3. Select Curtain Length
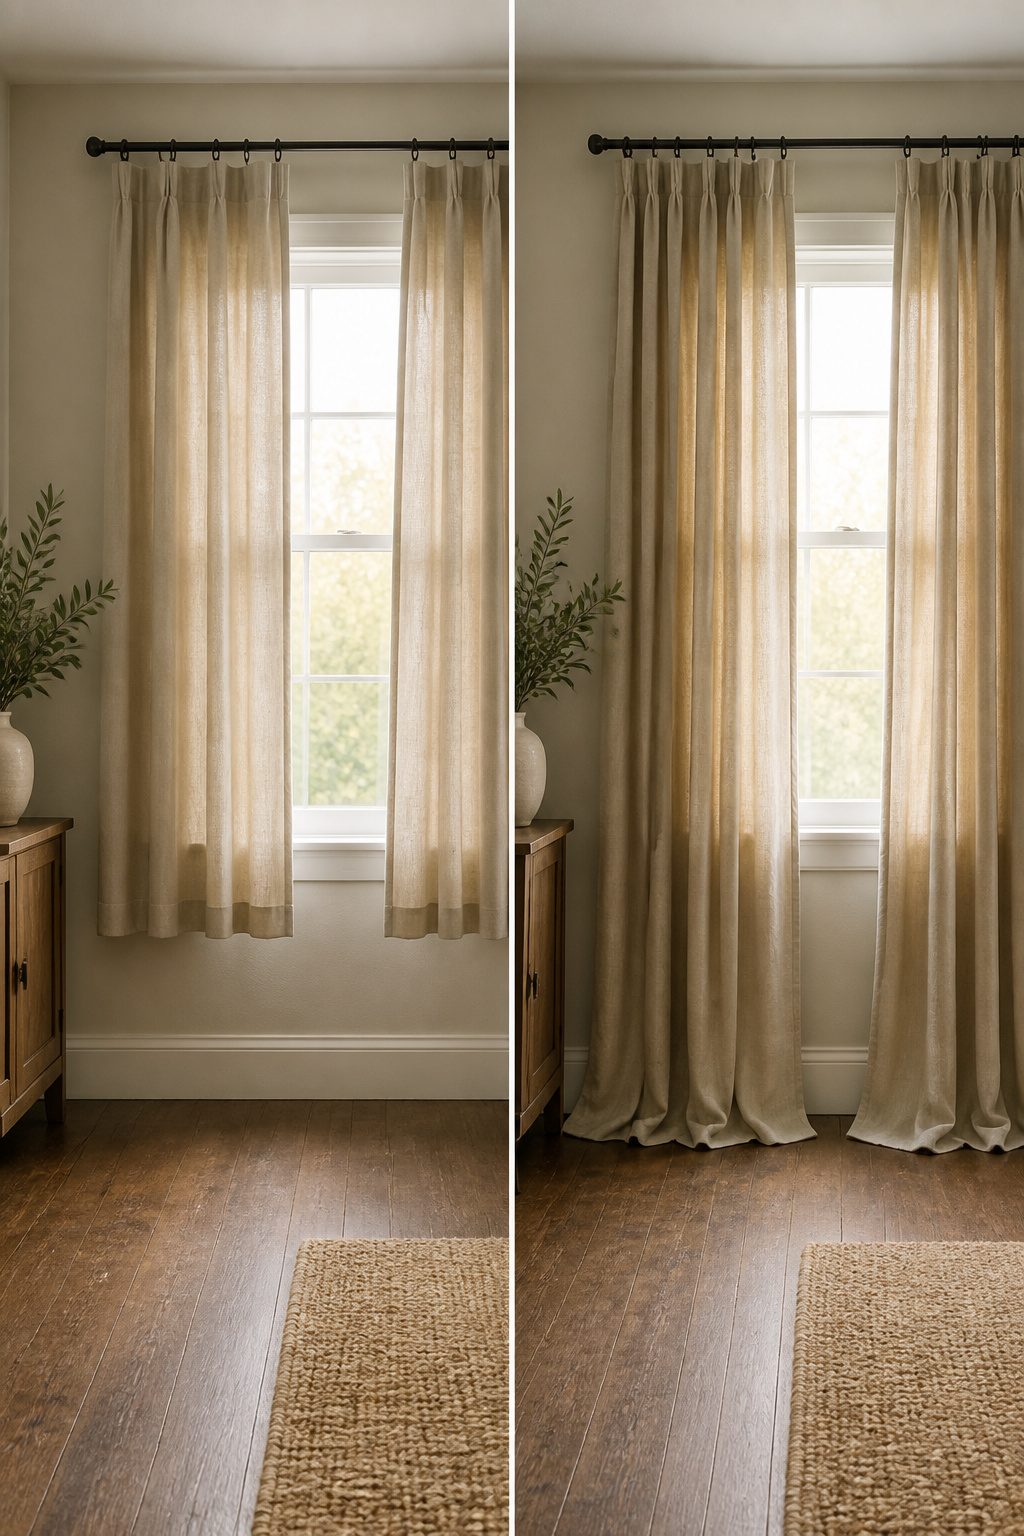
The three ways a curtain meets the floor each ask something different of your tape measure. A float keeps the hem about a half-inch above the floor, clean and out of the way.
Vacuuming underneath takes no effort, and the look works in kitchens or anywhere small feet or paws run through. A kiss just grazes the floor, sharp and tailored, but the rod-to-floor measurement has to be dead-on.
There is no wiggle room. A puddle extends one to three inches onto the floor, romantic and heavy with fabric, though it belongs in low-traffic rooms where the drape stays undisturbed.
Standard lengths run 63, 84, 96, 108, and 120 inches.
The 63-inch panels suit windows where the rod sits lower, often in older homes or above radiators. Eighty-four inches covers many standard windows with the rod mounted just above the frame.
Ninety-six and 108 inches reach higher mounts or taller ceilings, and 120 inches serves dramatic heights or the puddle look. The float and puddle forgive more; the kiss demands you buy for the exact drop or pay for hemming.

Sold as 2 Panels: Each package includes 2 pieces white sheer curtains. Each sheer curtain measures 42 inch width, 84 inches long( The curtain length not include top 1.5 inch header,total length 85.5 inch) 2 pieces total width is 84 inches, Sheer curtains width is 1.5-2 times wider than your window to show a nice look. Multiple Length are available, please measure your window first for the right choose

SOPHISTICATED LOOK: The well-crafted design of the Loha curtain panels offers a touch of elegance to your home with rich, linen-like texture and a variety of luxurious colors.

Package Included: SpaceDresser sheer curtains are made of High-Quality polyester fabric, soft to touch. Each pack includes 2 sheer panels of 52" wide x 84" length.
4. Install Brackets
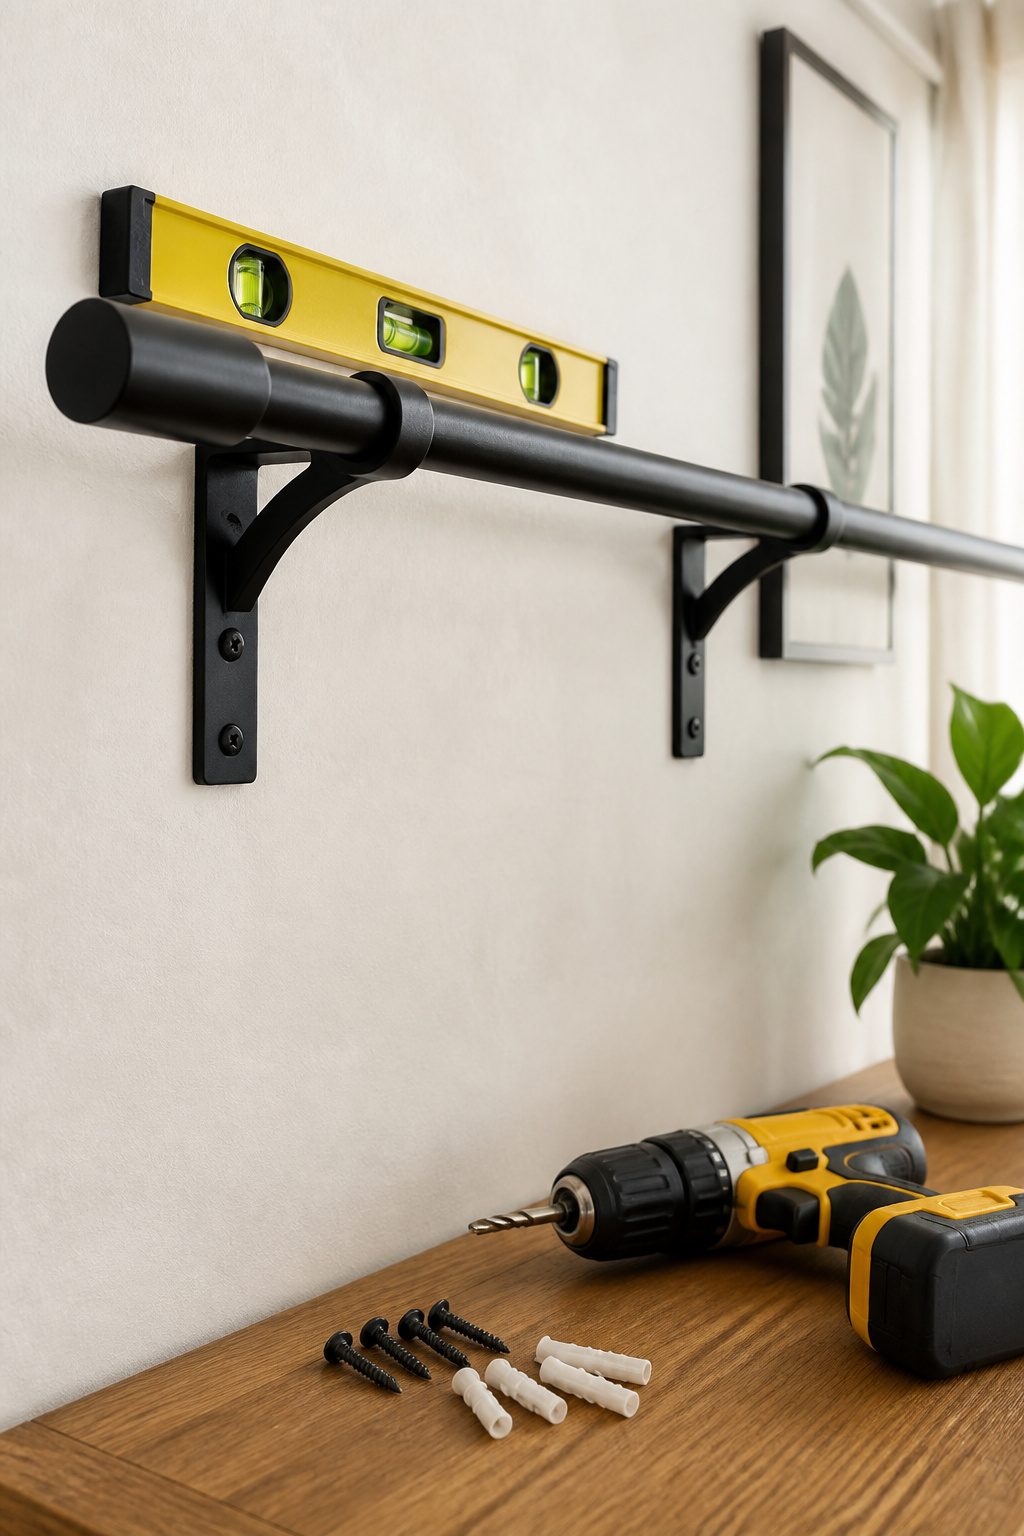
A stud finder saves the guesswork, but the tool that keeps the rod from looking drunk is the level. I learned that the hard way in our first apartment, eyeballing a bracket because the level had slid behind the fridge.
The rod sat visibly off for months, and every time the afternoon light hit it, the tilt announced itself across the wall.
Wall anchors are non-negotiable in hollow drywall; the bracket will pull free under the weight of even a light panel.
When you do hit a stud, a wood screw bites straight in. Otherwise, drill a pilot hole slightly smaller than your anchor, tap it flush, then drive the screw through the bracket.
A power drill with a 1/8" bit handles the pilot holes cleanly, and leaving a quarter inch of screw exposed lets you seat the bracket before tightening it down.
Skip the level and you will notice. Skip the anchor and you will notice faster, usually at 2 a.m. when the whole assembly hits the floor.

Adjustable length: 32-57" curtain rod fits windows 24 to 49 inches wide. It's telescoping rod extends up to 9", and the adjustable thickened brackets allow the gap between the rod and wall to be adjusted from 2.5 to 3.5", preventing friction and enhancing light-blocking performance.(Important Note: To ensure safe shipping, this rod consists of 3 segments that require assembly. It is not a single or 2-piece pole.)

WIDE POCKET DESIGN WITH DURABLE METAL SUPPORT: 2.5 inch pocket fits wide pocket drapery securely, while adjustable 3.44"–5.94" projection allows flexible spacing and sturdy metal construction ensures reliable support.

Timeless Design: The 7/16 inch diameter Interior Living Adjustable Petite Café Curtain Rod combines style with function and is the perfect accent to lightweight Café Curtains, Valances, or Tiers on smaller windows in the home
5. Hang the Curtains
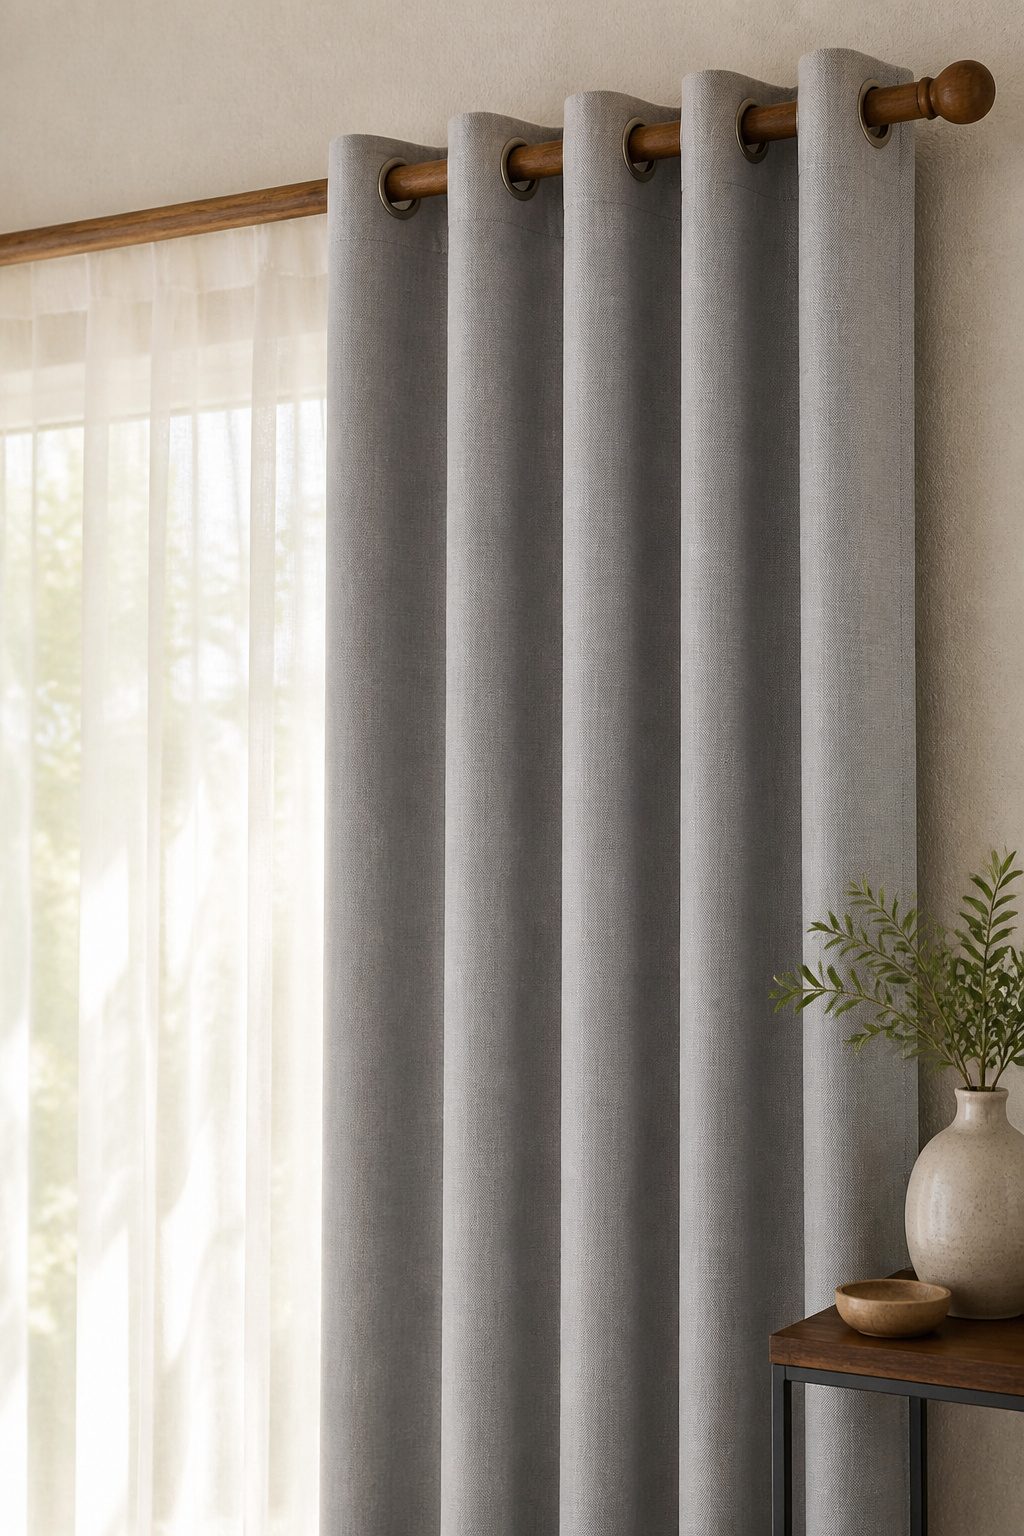
The header style you chose back in the curtain aisle now decides exactly how this step plays out.
Eyelet curtains with their built-in metal grommets are the quickest: the rod slides straight through the rings, no hardware to fumble with, and the fabric falls into those wide S-shaped folds that read modern and relaxed.
Pencil pleat curtains demand more patience. The header looks like a row of pencils laid tight together, and you thread curtain hooks into the back tape at even intervals before hanging them on the rod or track.
A pull cord at the back lets you gather the pleats to the right width, which means you can fine-tune the fit even if your window measurement was slightly off.
Pinch pleat curtains arrive already pleated and spaced wider apart, so the work shifts to choosing the right hook.
These need a pin-style hook rather than the standard curtain hook, and you space them to match the sewn pleats rather than deciding the spacing yourself.
With the panels on, lift the rod and settle it into the brackets.
Tighten the small set screws so the rod does not shift when you draw the curtains closed. Step back, fluff the folds into place, and the room already feels more finished than it did an hour ago.
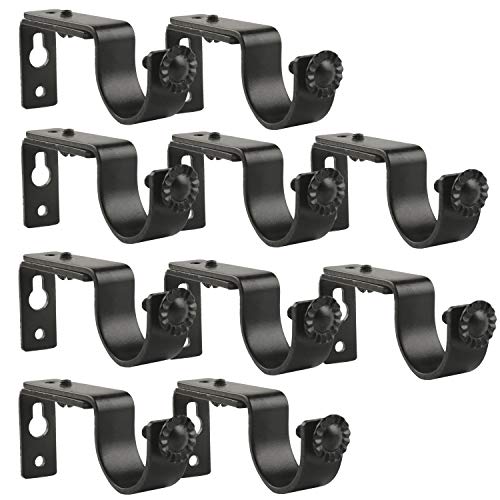
Curtain Rod Brackets feature metal construction providing firm support to the rod and lasting durability. Rod Brackets with decent oil rubbed finish that accentuates your existing decor

Anndason Heavy Duty Adjustable Curtain Rod Brackets,add a dash of Style and Elegance to your – home, office or anywhere else you decide to use then.

Set of 2 adjustable brackets for mounting a curtain rod to the wall
6. Style the Curtains
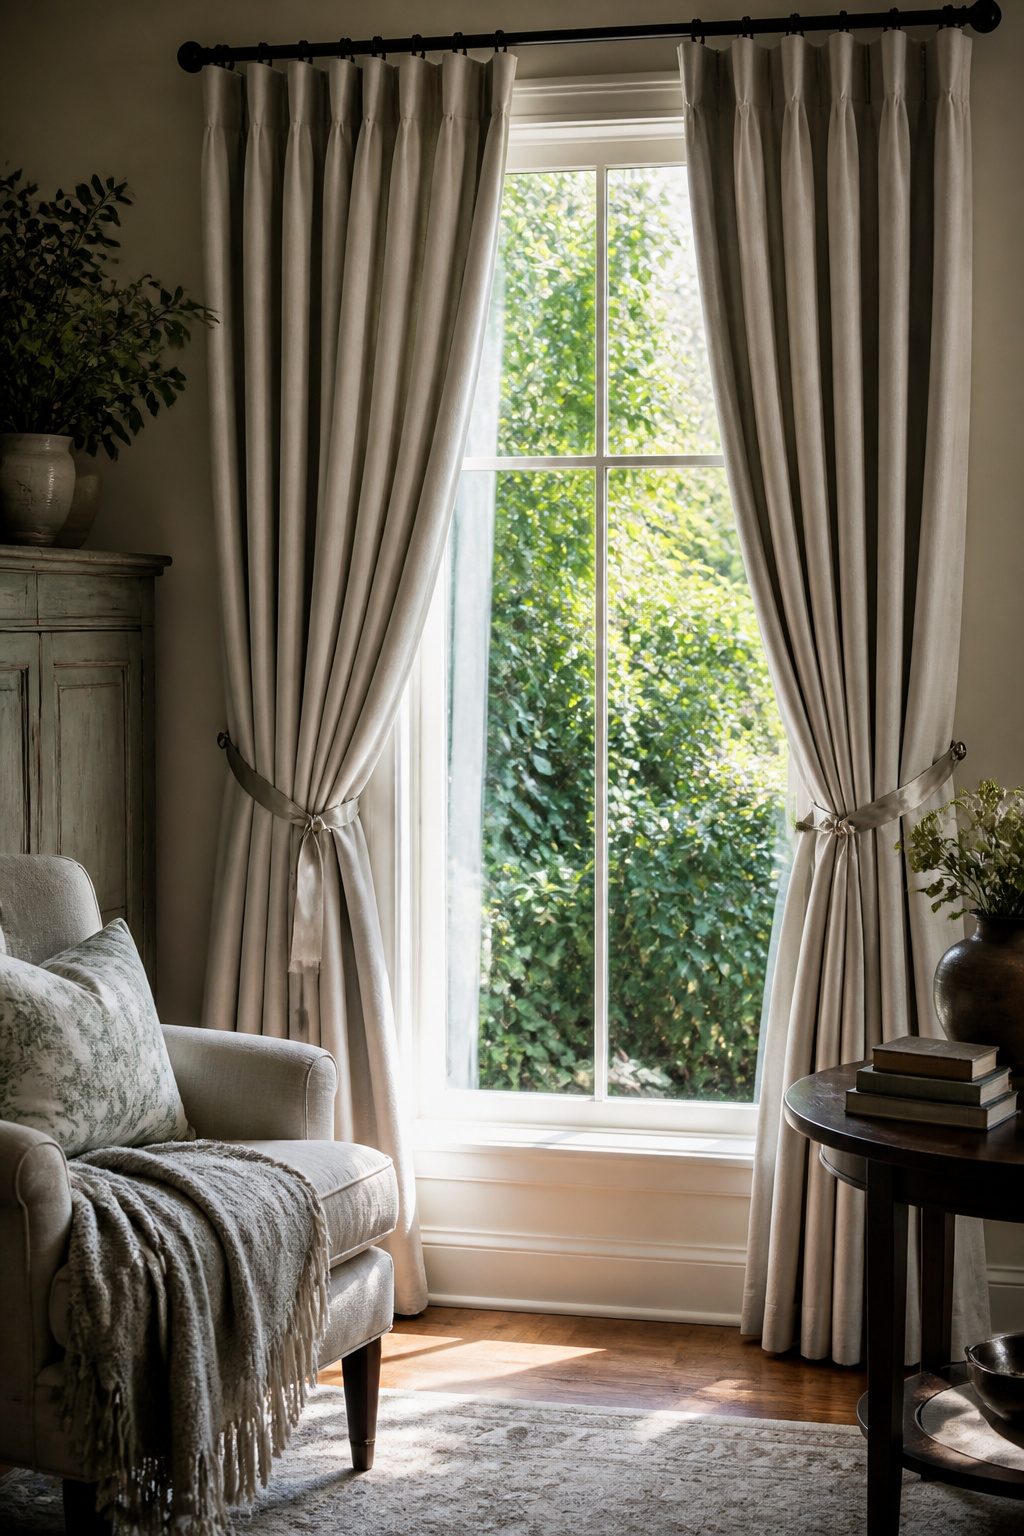
A handheld steamer does what an iron cannot: it relaxes the fibers without crushing the texture or leaving a shine on the face of the fabric.
I run it from top to bottom in slow passes, letting the weight of the curtain pull the wrinkles out as the steam penetrates. Ironing presses the folds flat; steaming lets them keep their body.
Once the panels hang smooth, I arrange them into even, accordion-style folds from header to hem. Ribbon ties at the top, middle, and bottom hold the shape loose enough that the fabric does not crease where it is bound.
Let them sit tied for 48 to 72 hours. The polyester blends and cotton-linen mixes most of us buy at this price point need that long to develop any memory of the fold.
Untie them too early and the pleats splay like a deck of cards dropped on the table; give them the full two or three days and they fall back into columns on their own every time you draw them closed.
【Quality Material】Spring tension rod material after special processing, surface electrostatic spraying technology anti-rust and anti-slip, sturdy and durable, not easy to corrode. Built-in strong thick spring, good elasticity, long service life

【Premium Material】Spring rod material after special treatment, the surface is not easy to be corroded, not easy to rust, built-in spring elasticity is good, long service life, sturdy and durable

【Quality Material】Spring tension rod material after special processing, surface electrostatic spraying technology anti-rust and anti-slip, sturdy and durable, not easy to corrode. Built-in strong thick spring, good elasticity, long service life
Curtain Styles Compared
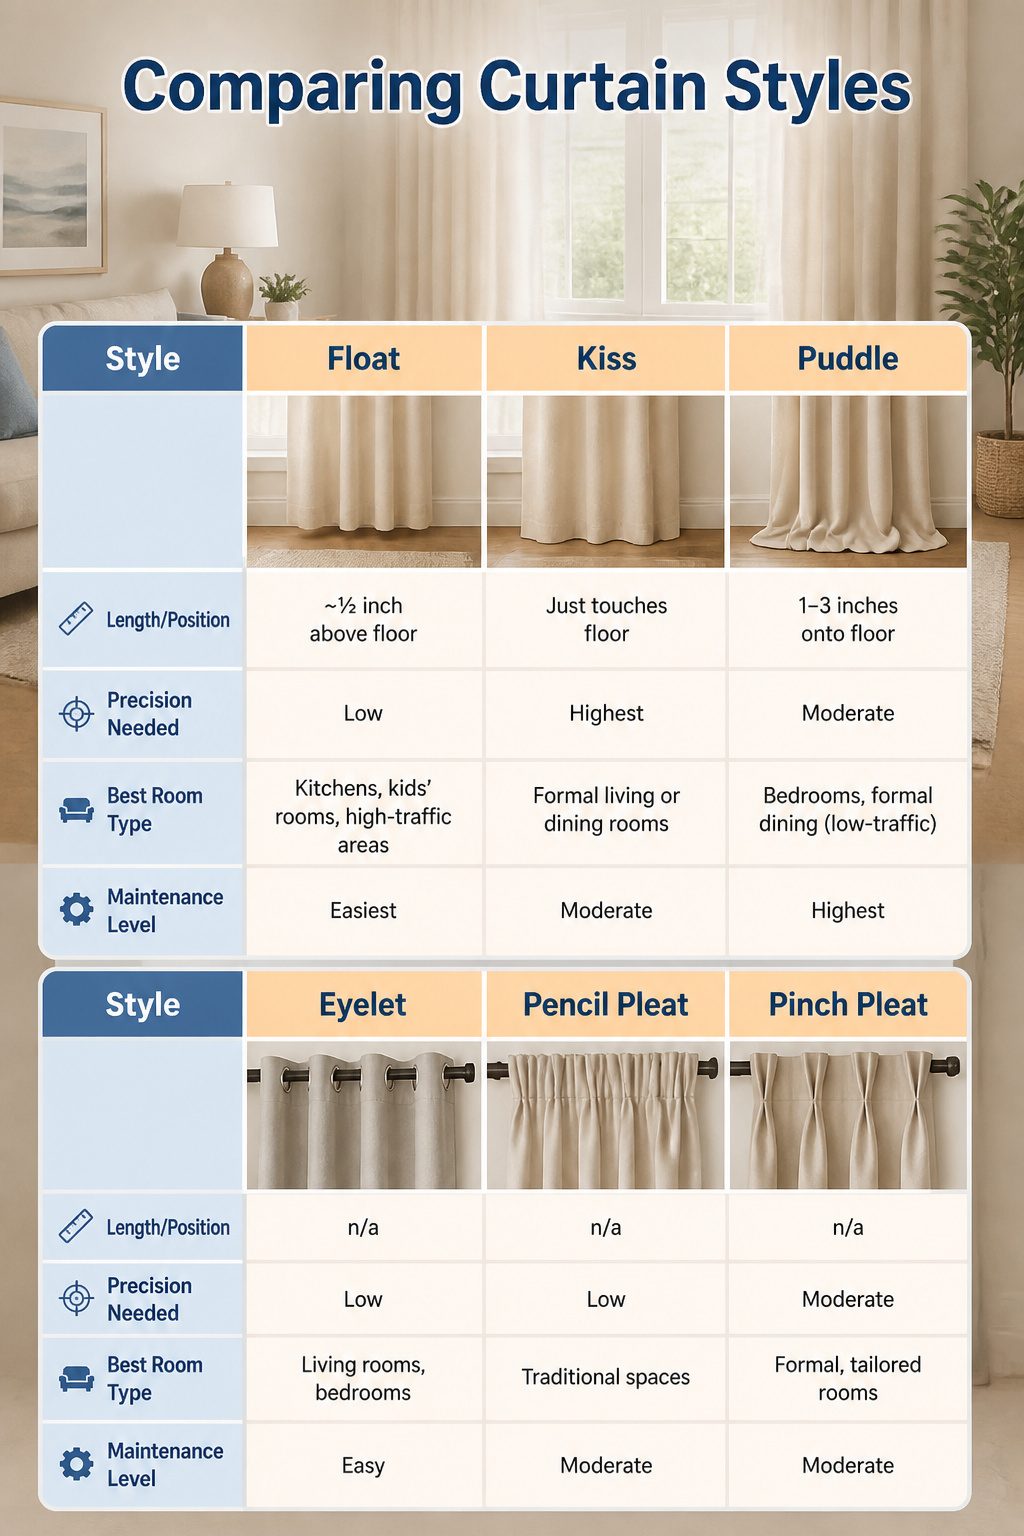
The way a curtain meets the floor gets the attention, but the header style and length choice work together to set the room’s tone.
A float hem sits about a half-inch above the floor, which keeps vacuuming simple and avoids the "high-water" look that visually shortens walls.
Kiss length demands dead-on measurement since the hem just skims the surface, though it reads as custom and intentional.
Puddle extends one to three inches onto the floor and pools best with heavier fabrics like velvet or linen in low-traffic spaces.
For headers, eyelet tops with their metal rings slide easily and suit living rooms or bedrooms.
Pencil pleat gathers into a softer, more traditional fold. Pinch pleat carries the most structure and formality, with sewn-in pleats that hold a tailored drape.
| Style | Length/Position | Precision Needed | Best Room Type | Maintenance Level |
|---|---|---|---|---|
| Float | ~½ inch above floor | Low | Kitchens, kids’ rooms, high-traffic areas | Easiest |
| Kiss | Just touches floor | Highest | Formal living or dining rooms | Moderate |
| Puddle | 1–3 inches onto floor | Moderate | Bedrooms, formal dining (low-traffic) | Highest |
| Eyelet | n/a | Low | Living rooms, bedrooms | Easy |
| Pencil Pleat | n/a | Low | Traditional spaces | Moderate |
| Pinch Pleat | n/a | Moderate | Formal, tailored rooms | Moderate |

Package Included: Sold as 2 sheer curtain panels. Each unfolded panel measures 38” width by 54” length. With 3" pole pocket fit our curtains the most of curtain rods, 2” bottom hem makes each panel drape well.
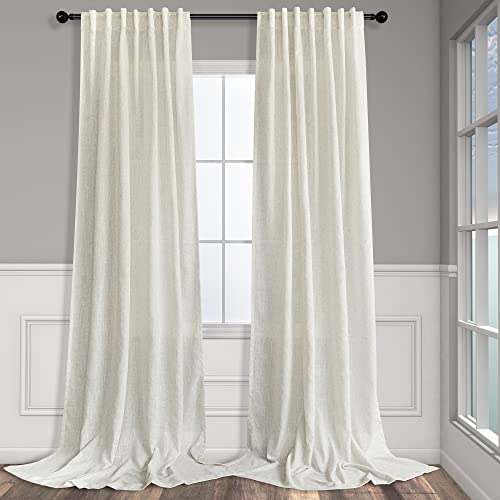
Basic Information: 2 LINEN PANELS in 1 package. Each panel measures width 52 x 84 length. 3-Way Hanging Options: Hang these curtain panels (1) using the back loops to create an elegant pleated effect, (2) from the 3 inch rod pocket for a classic look, or (3) using clip rings for easy, slide open and closed (clip rings are not included)
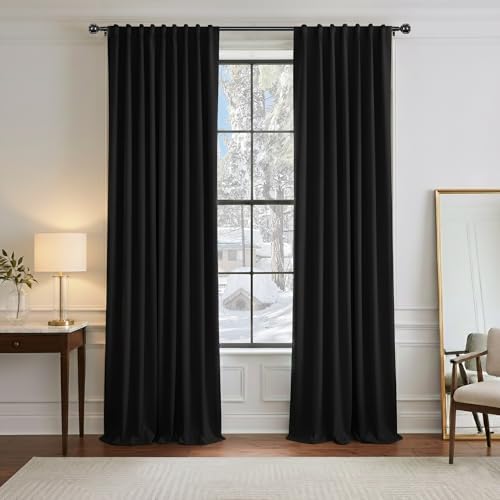
Ready Made - 2 pieces of heavy-duty blackout curtains includes, each measures 52" wide x 96" Long(Total width is 104"). 3" rod pocket top fits most standard rods and makes the maximum coverage of windows
No-Drill Options for Renters
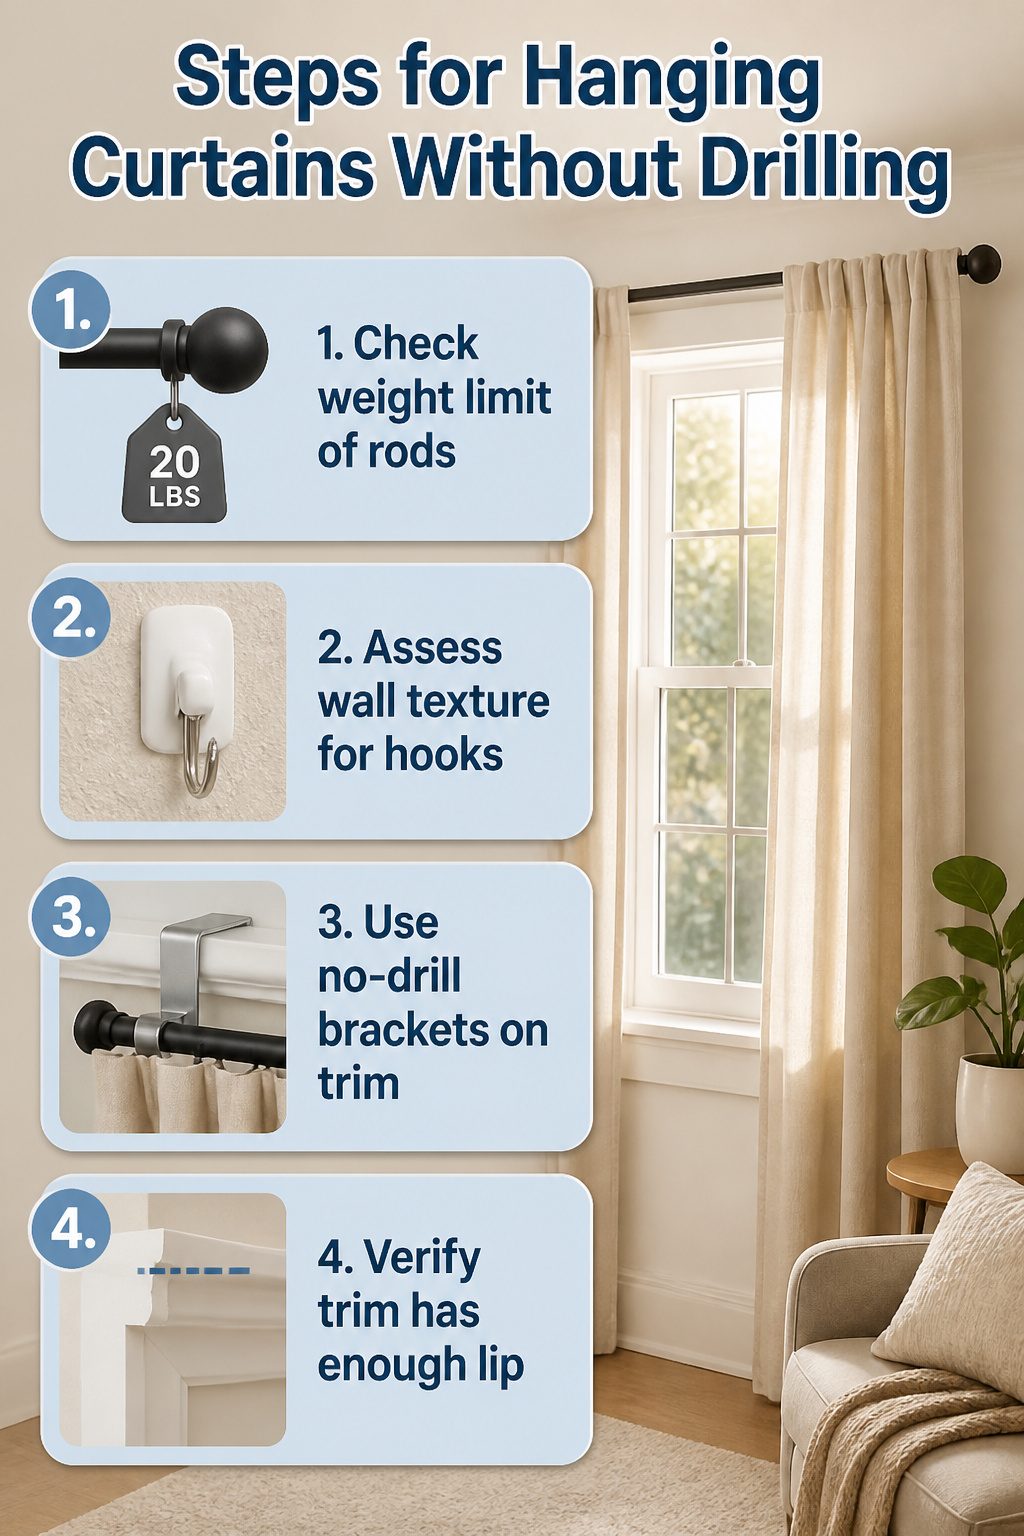
Tension rods work until they do not. I have watched one drop mid-morning from a bathroom window, spring-loaded ends coated in drywall dust, because the frame was too shallow and the humidity worked the grip loose over three months.
They need a frame deep enough that the rod sits fully inside, and even then, heavy fabric shortens their life.
Check the weight limit like you mean it, because a rod rated for lightweight sheers will groan under linen or blackout cloth.
Adhesive hooks are pickier than they look. The adhesive fails on textured walls, in bathrooms steam, or anywhere the temperature swings.
I would not trust them for anything wider than a narrow side panel, and I would not trust them at all for a rod that holds two panels.
No-drill brackets that hook over the top of window trim are the sturdier bet. The ones I have seen hold up to 20 lbs, which covers most lined drapes, and they lift away without touching the wall.
The catch is the trim itself: it needs enough of a lip on top for the bracket to grab, and older windows with thin or ornate molding may not cooperate.
If your trim is flat to the wall, this option is not an option.

Block Side Light: Curved ends help close side gaps around your curtains, reducing unwanted light for a more complete blackout experience.

Adjustable Curtain Rod: The small curtain rod can be adjusted in length by stretching the telescopic rod and adding or removing the splicing rod. The length adjustment range of curtain rod is 30 inches to 45 inches

Timeless Design: The Interior Living Superior Hold Premium Curtain Rod combines style with function and is the perfect accent to light to medium weight Curtains, Sheers, Valances, or Tiers on windows in the home
Common Mistakes I Have Made
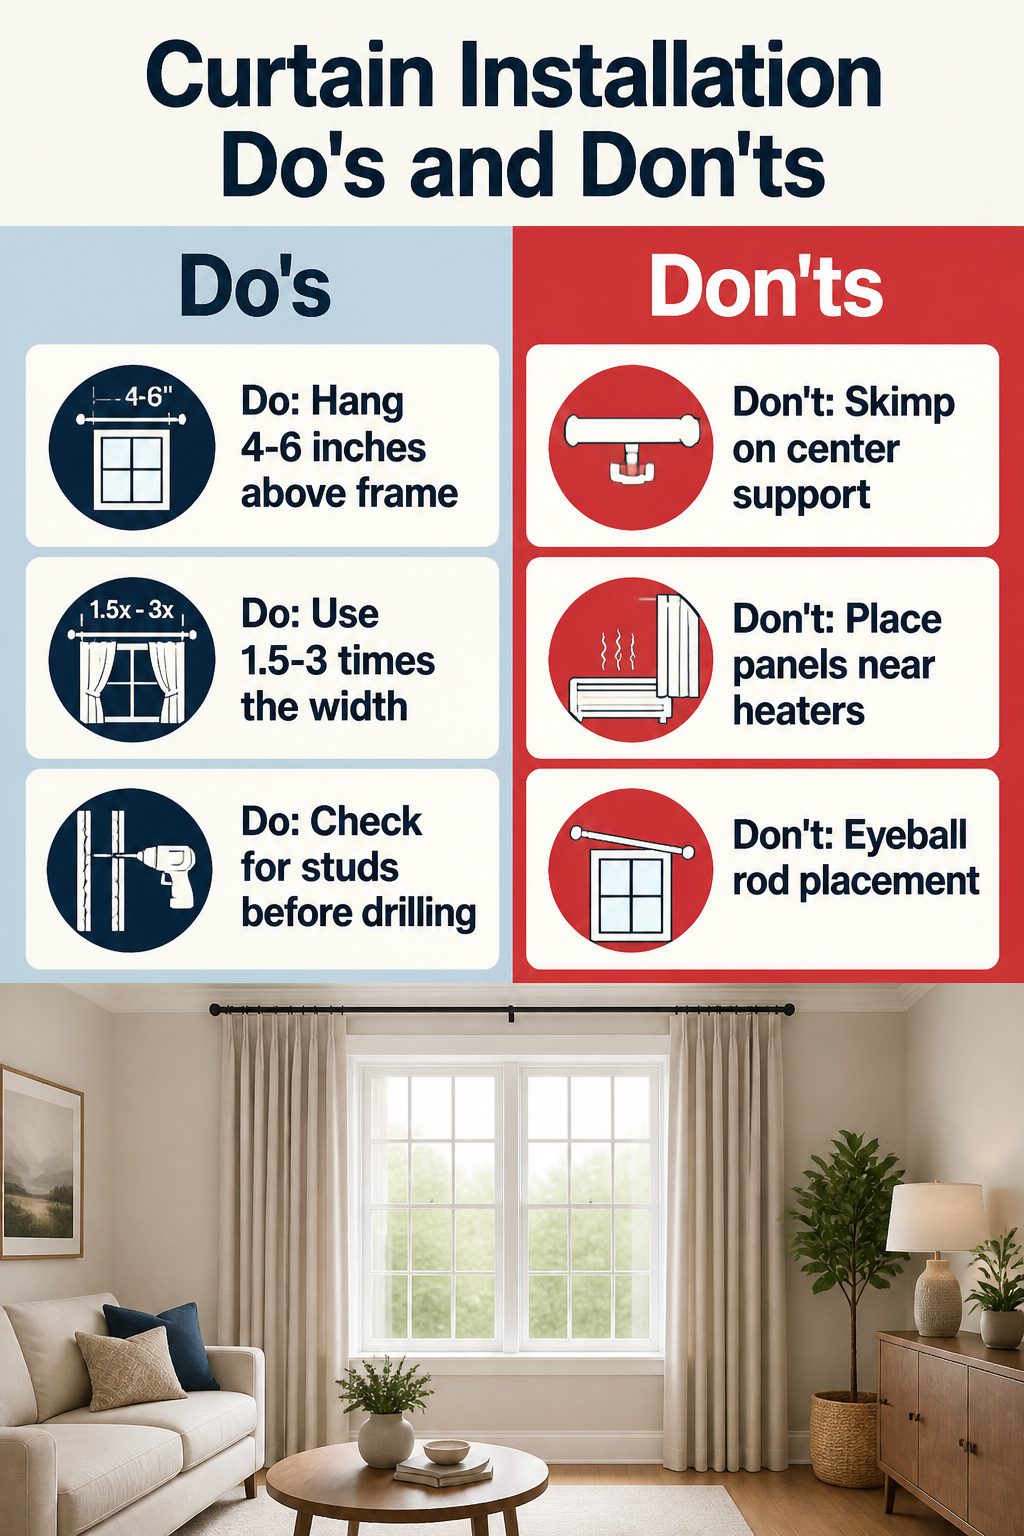
Rod height is where I have wasted the most time and drywall compound.
In my first apartment I mounted the bracket exactly at the top of the window frame because it looked balanced on the ladder. From the floor the ceiling looked lower, not higher, and the drapes hung like a shower curtain.
Four to six inches above the frame is the minimum that actually draws the eye upward; with eight-foot ceilings I now hang just under the crown to squeeze out every inch of height.
Fabric width is the mistake you notice only after the panels are up and the window looks dressed in a napkin.
Two panels that barely cover the glass when closed read as cheap even when they were not. Total panel width should run 1.5 to 3 times the window width, with 2× as the standard I aim for now.
I have also drilled straight into plaster without checking for studs, then watched the bracket pull out under the weight of lined curtains.
A center support bracket is non-negotiable past 30 inches of rod, and wider layered setups need double brackets with extra supports.
Baseboard heaters under windows create their own hazard.
Panels too close to the element are a fire risk. Adjustable brackets that hold the rod 2 to 3 inches from the wall solve this, with the hem kept 1 inch above the floor for air circulation.
In one room I used a double rod instead: decorative panels on the front rod, shorter blackout panels behind that clear the heater entirely.
The crooked rod I eyeballed rather than leveled taught me the last lesson.
Measure twice, mark with a level, then measure again. Patching three extra holes is not how anyone wants to spend a Saturday.

【8Packs Curtain Rod Brackets】8-Pack No Drill Curtain Rod Brackets with strong, durable adhesive that holds securely over time. Fits curtain or towel rods with diameters from 0.39 to 0.78 inches

MAGNETIC COVER DESIGN: Patent pending magnetic cover conceals screws and installation imperfections on these curtain rod brackets for wall; creates a designer level finish for your window curtain hooks and curtain hardware brackets

Ivilon adjustable bracket for curtain rods is compatible with any rod of 7/8 or 1 inch diameter rods.
Layering Curtains
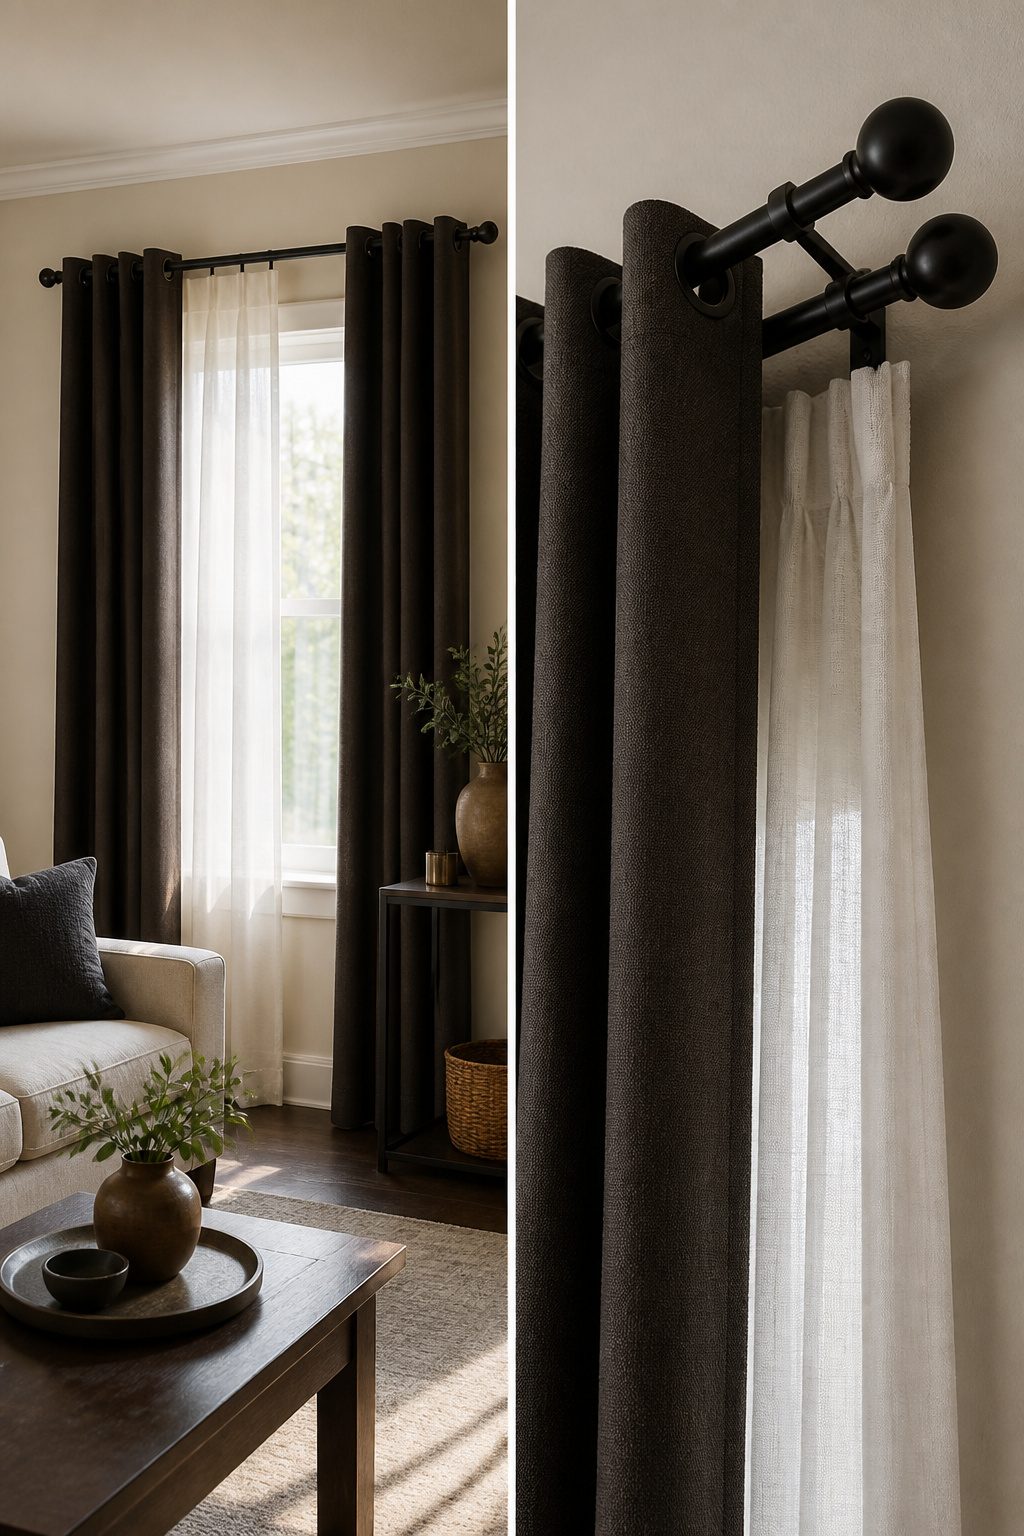
A sheer curtain underneath a blackout panel is the only setup that has ever earned me the extra hardware. The inner layer softens daylight without blocking it; the outer layer kills the light when I need sleep.
That combination needs a double rod with double brackets, and the brackets are what most people skip because they look like overkill until the single rod starts to sag.
Double brackets mount two rods at once, one behind the other, so the sheer sits closer to the glass and the heavier panel floats in front.
The rod diameter matters here: brackets come in 5/8-inch and 1-inch widths, and mixing them up means one rod rattles while the other binds.
I have learned to buy the bracket set and the rods together rather than hoping old hardware fits.
The budget hit is real. A second rod and bracket set runs about double the cost of a single, plus the extra curtain panel.
For a renter working through a Saturday, that is only worth it if the window faces a streetlight or if you need the room dark enough for a projector.
Otherwise, a single blackout panel does the job and the sheer stays in the cart.

The adjustment distance of the rod is small, so make sure to measure your area first and don't forget the overlap space

Made of steel with a rolled hemmed edge to provide strength and prevent snagging
Frequently Asked Questions
How high should I hang my curtain rod?
Hang the bracket 4 to 10 inches above the window frame.
With 8-foot ceilings, push the rod almost to the crown molding to squeeze every inch of height from the room. For taller ceilings, aim for about halfway between the frame and the ceiling so the proportions do not look stretched.
How wide should the rod be?
Add 6 to 12 inches to the window frame width, or extend 3 to 6 inches past each side.
That extra space parks the draped fabric on the wall instead of the glass, so daylight reaches the room and the window reads larger than it actually is.
What length should my curtains be?
Choose between three finishes: a float keeps the hem about a half-inch above the floor, a kiss just grazes the floor with no wiggle room, or a puddle extends one to three inches onto the floor for a heavier, romantic look.
Standard lengths run 63, 84, 96, 108, and 120 inches.
How do I hang curtains without drilling?
Tension rods work for lightweight panels inside a deep frame, but check the weight limit and expect humidity to shorten their life.
No-drill brackets that hook over the window trim are sturdier, holding up to 20 lbs, though they need enough of a lip on the molding to grab.
Adhesive hooks are the least reliable option and only suit narrow, lightweight panels on smooth walls.