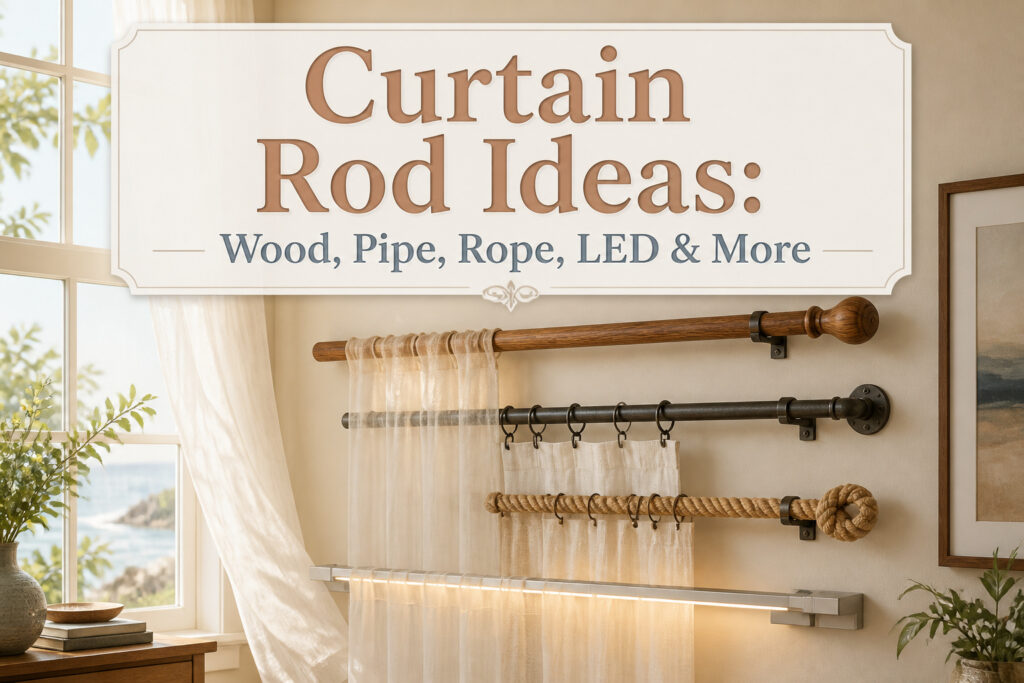
A curtain rod can cost under $10 or north of $200, take an afternoon or a single trip to the plumbing aisle, and read as farmhouse, loft, or coastal depending on what you slide through the brackets.
The difference is not taste; it is whether you are willing to drill, solder, or balance on a step stool to change the light.
Drywall anchors rated for 30 pounds will hold a sheer panel fine, but blackout curtains on a wide span need the 75-pound kind or you will be patching holes by October.
1. Wooden Dowel Rods
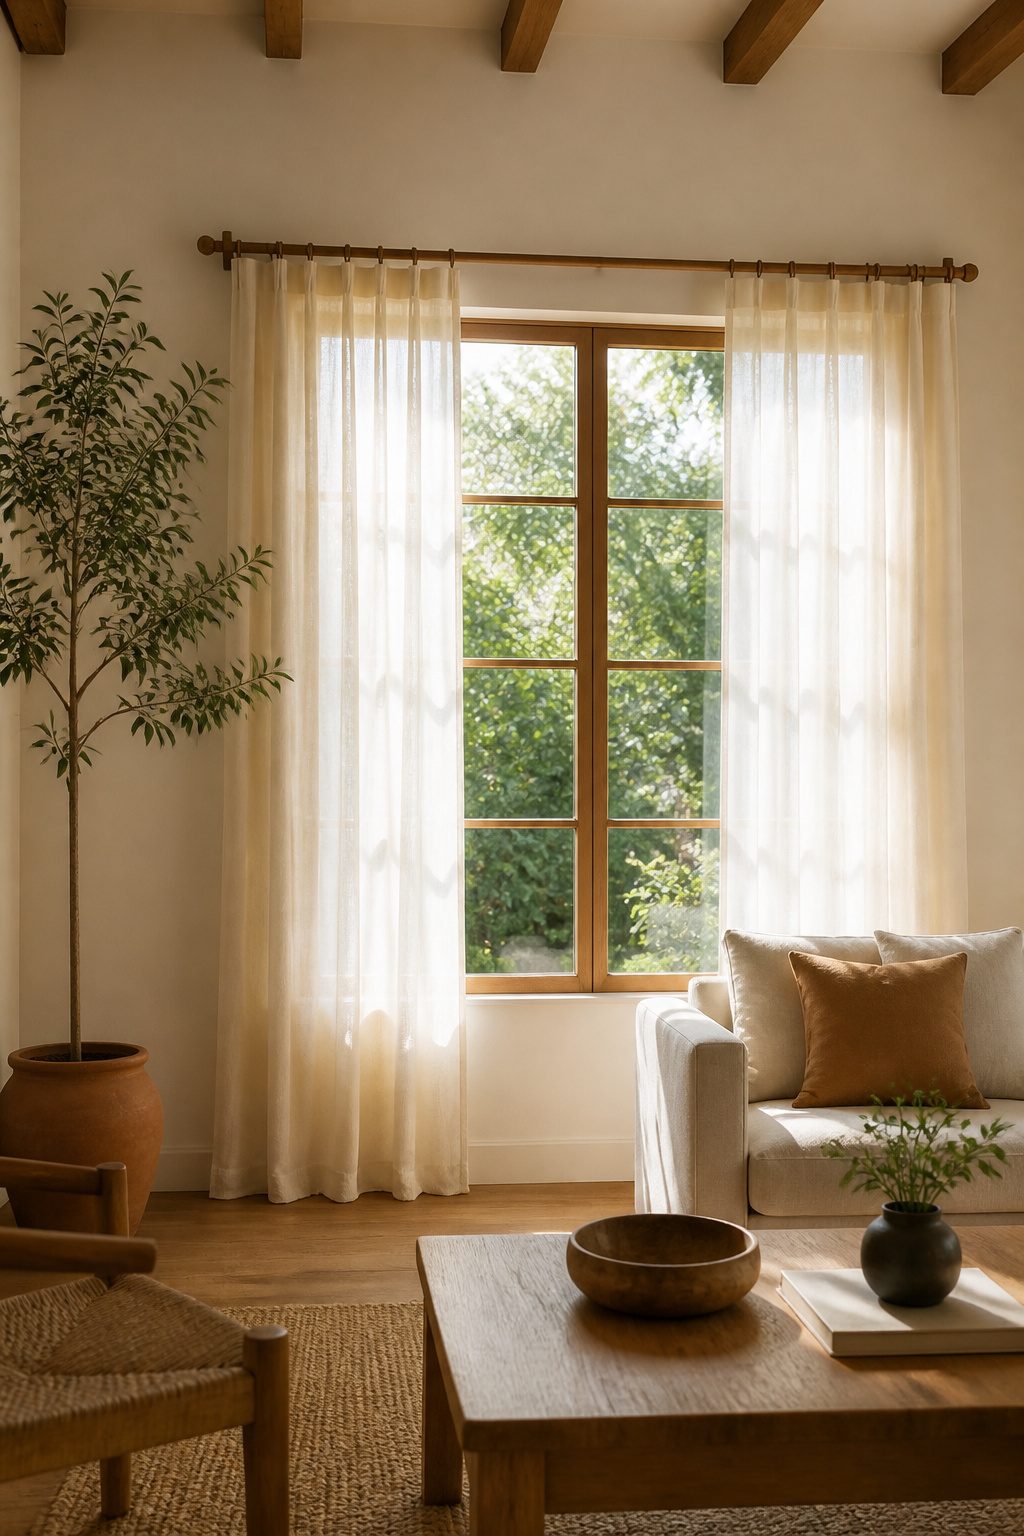
A 1-inch or 1.25-inch hardwood dowel is the cheapest way to get a curtain rod that does not look like a hack.
Eight feet of oak or maple runs under $10 at any home store, and the cut is clean enough that the ends barely need work.
I sand mine to 220 grit, then seal with a water-based poly if the wood is pretty or leave it raw if I want it to darken on its own.
Mounting is where the look gets decided.
Basic metal brackets disappear behind the fabric. Leather loops screwed to the wall give the floating look people pin, though the rod will sag over a wide span without a center support.
For a long window, a dowel screw joins two shorter lengths, with a corbel or extra bracket at the joint. The curtains hide the seam anyway.
The tradeoff is weight.
A dowel this size handles light to medium drapes. Anything heavier and the rod bends, which is the mistake that sends people back to the store for conduit instead.

𝐐𝐃𝐖𝐈𝐒 𝐈𝐦𝐢𝐭𝐚𝐭𝐢𝐨𝐧 𝐖𝐨𝐨𝐝 𝐆𝐫𝐚𝐢𝐧 𝐋𝐞𝐚𝐟 𝐏𝐚𝐭𝐭𝐞𝐫𝐧 𝐂𝐮𝐫𝐭𝐚𝐢𝐧...
2. Pipe Rods
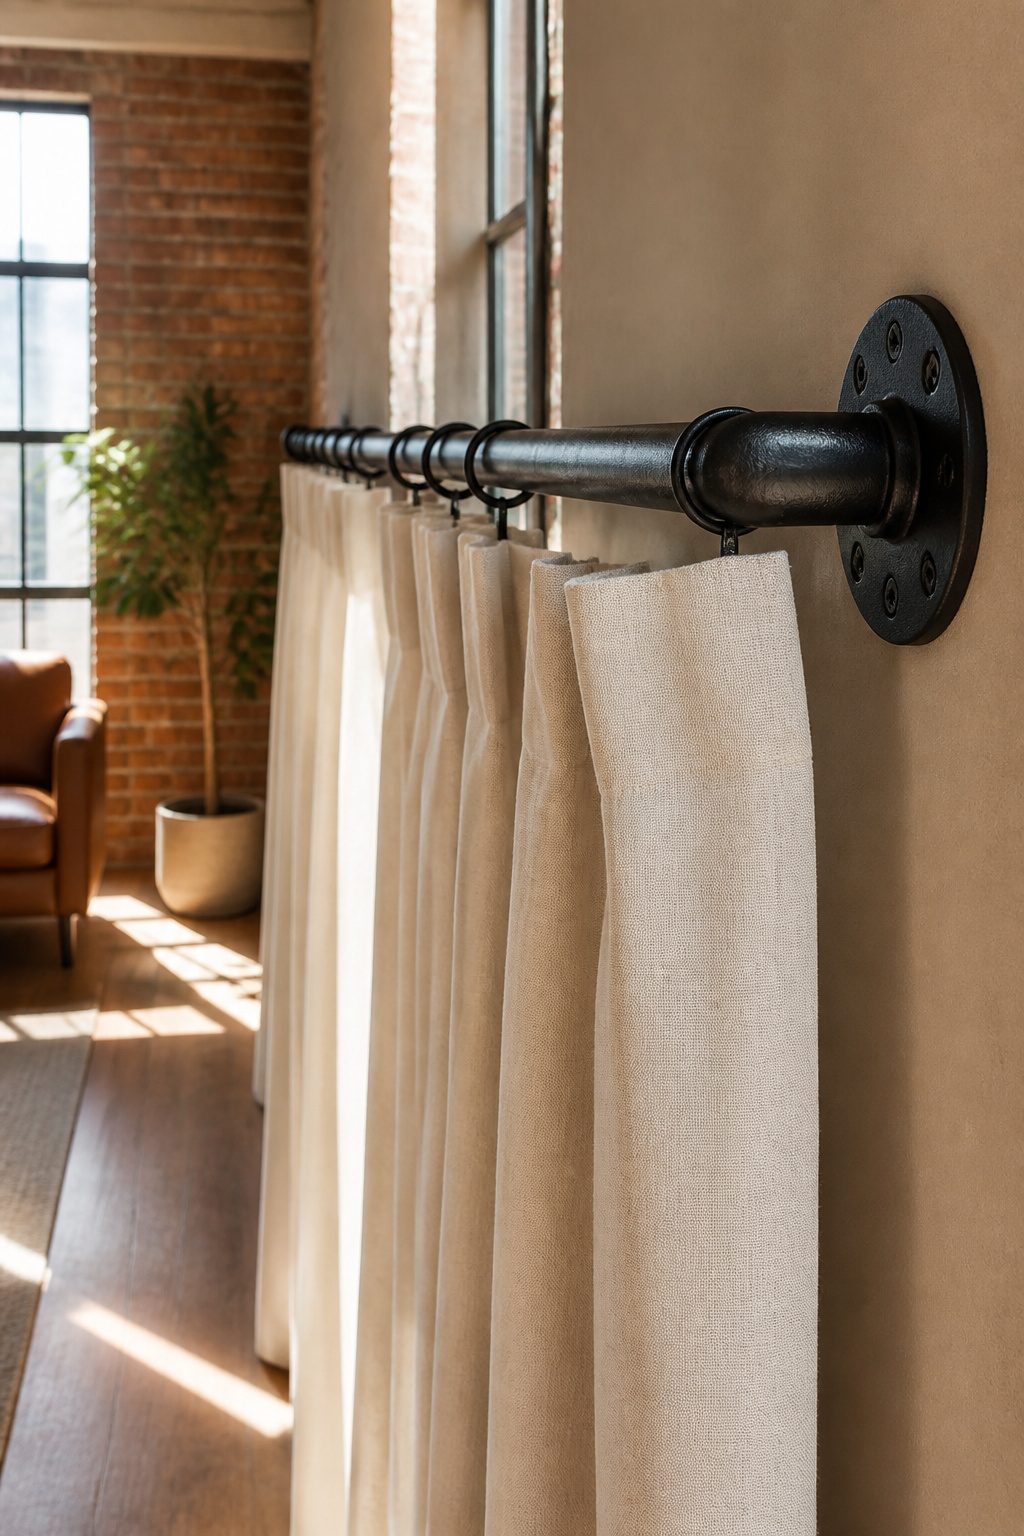
Black iron pipe from the plumbing aisle carries more weight than any off-the-shelf rod I have seen.
Floor flanges bolted to the wall become brackets, and the pipe itself threads through or simply rests inside, depending on whether you buy it threaded or plain.
The industrial look reads as loft-expected, but the surprise is how it softens in a room with linen curtains and pale walls. The heft is what sells it: blackout curtains that sag a standard rod will hang flat here.
You will need a pipe cutter, and most hardware stores rent them if you do not own one. Threaded pipe gives you adjustability in small increments; threadless is cleaner visually and often cheaper per foot.
Either way, check that your flanges match the pipe diameter exactly, or you will be making a second trip for fittings that actually fit.

HEAVY DUTY METAL CONSTRUCTION: Crafted from high-strength metal, this black curtain rod features a 1 inch diameter pole and 0.8 mm thick wall construction for enhanced durability and stability. The reinforced design with secure helical threaded connections helps reduce bending and sagging, while supporting curtains up to 50 lbs for long-lasting performance with lightweight, medium, and heavy curtains.
HEAVY DUTY METAL CONSTRUCTION: Crafted from high-strength metal, this black curtain rod features a 1 inch diameter pole and 0.8 mm thick wall construction for enhanced durability and stability. The reinforced design with secure helical threaded connections helps reduce bending and sagging, while supporting curtains up to 50 lbs for long-lasting performance with lightweight, medium, and heavy curtains.

Durable Construction Materials: Aluminum alloy ends, steel poles and steel brackets with 7/8 inch rod diameter ensures handling heavy draperies up to 30 pounds
3. Repurposed Branches and Sports Gear
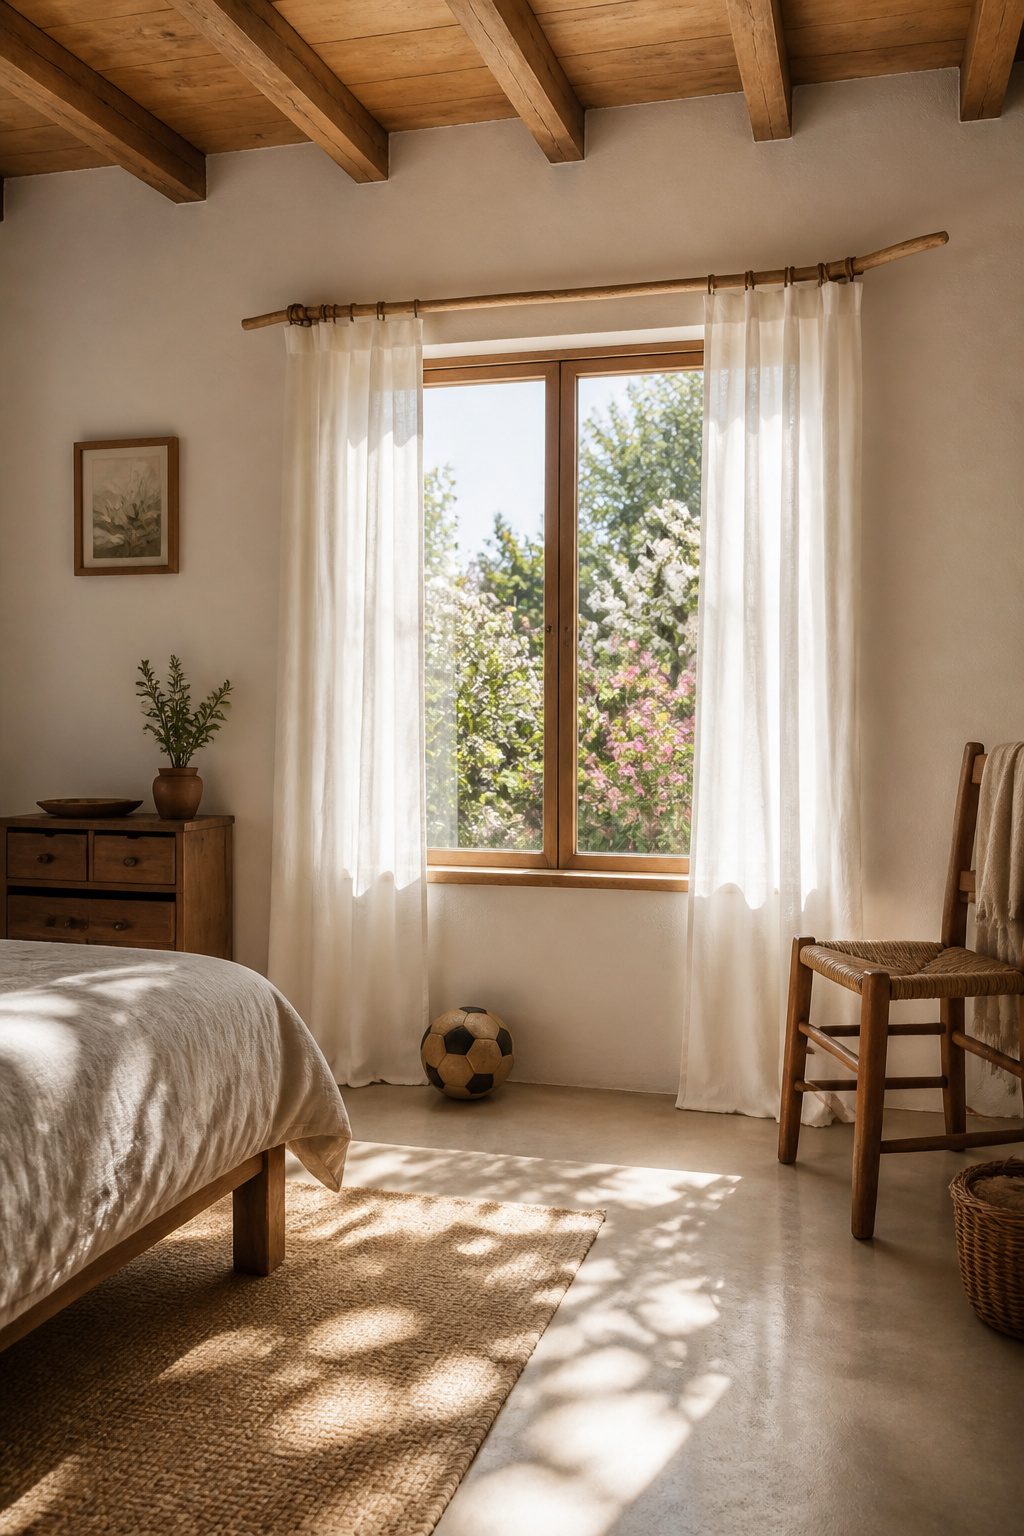
A branch from the backyard, stripped of bark and sanded smooth, carries the shape no factory will duplicate.
The same goes for an old hockey stick with its tape scars still showing, or an oar pulled from a garage sale pile. These pieces turn a window into something that started somewhere else, with a story you already know.
Green wood needs months to dry, not weeks. Seal it too early and the rod warps inside your brackets, twisting the drape along with it.
Even dried branches get a long look for powder post beetles or carpenter ants before they cross the threshold. A coat of polyurethane or tung oil seals the surface without erasing the knots and grain that make it interesting.
The catch is the slide.
Rings on an irregular branch catch on every bump and angle. Fabric tabs or back-tab curtains work better than eyelet rings here, since the rod never needs to pass through a perfect circle.
For something straighter, a golf club shaft cut to length gives you rigidity with the grip end still attached as a built-in finial.
The taper is slight enough that most rings glide past it, though heavier drapes will want a middle bracket to keep the shaft from bowing.

Premium Material and Finish: Constructed from durable stainless steel with an elegant black color finish that complements any decor

Heavy Duty Brackets - These closet rod holder are made of high quality stainless steel,heavy-duty and rust-resistant,which can be used for a long time and save you some money.

Elegant Construction: Made of high quality stainless steel with laser welding, sturdy and not easy to deform and crack, the metal surface is coated with matte black layer, smooth surface, comfortable to touch, suitable for bathroom, bedroom, kitchen, hotel, apartment, school, etc
4. Copper Pipe Rods
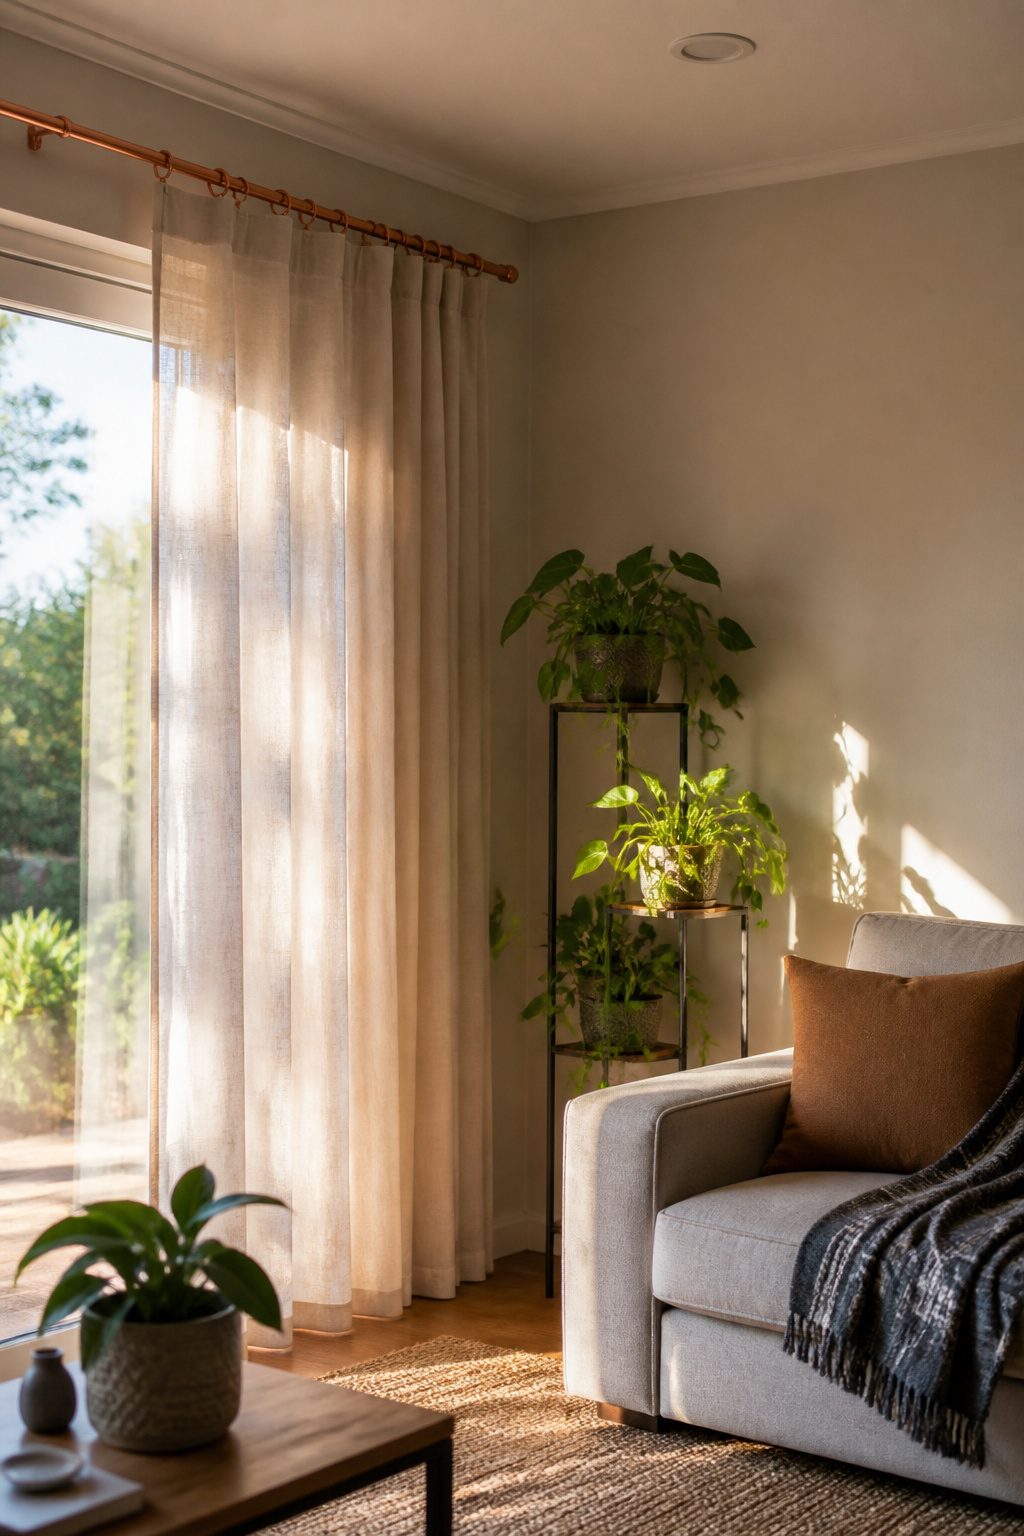
Soft copper tubing from the refrigeration aisle gives a curtain rod warmth that painted metal never matches.
The thin wall stock runs about ten dollars for a ten-foot stick at most home centers, and it darkens to a quiet brown patina inside of a year rather than the bright orange that puts people off.
The catch is the metal itself. Type K or L soft copper dents if you look at it hard, so bracket placement matters more than usual.
A standard bracket with a set screw will oval the tube over time; a saddle bracket that cradles the bottom half leaves the profile alone and carries the weight better.
End caps finish the look without hardware-store finial prices. Compression fittings press on with a wrench and come back off if you change your mind.
Soldered caps look cleaner but need a propane torch and a steady hand; the thin tube heats fast, and too long in the flame collapses the wall.
Either way, skip the thick-walled drain pipe sold in plumbing. It costs more, weighs enough to pull anchors out of drywall, and the dull finish never warms up the way the thin stuff does.

Heavy-Duty Metal Structure Design: These curtain rod brackets are crafted from premium thickened iron metal with enhanced hardness and sturdiness. Solid integrated metal construction delivers excellent load-bearing capacity, not easy to bend or break, ensuring long-lasting durability for indoor and outdoor use.

Anndason Heavy Duty Adjustable Curtain Rod Brackets,add a dash of Style and Elegance to your – home, office or anywhere else you decide to use then.

LOCKING BUCKLE DESIGN – Curtain rod bracket features a plastic buckle to hold the rod firmly in place without wobbling. NOTE: curtain rod hooks fit 1 INCH diameter rods only; the anchors provided are not for drywall.
5. Tension Rods
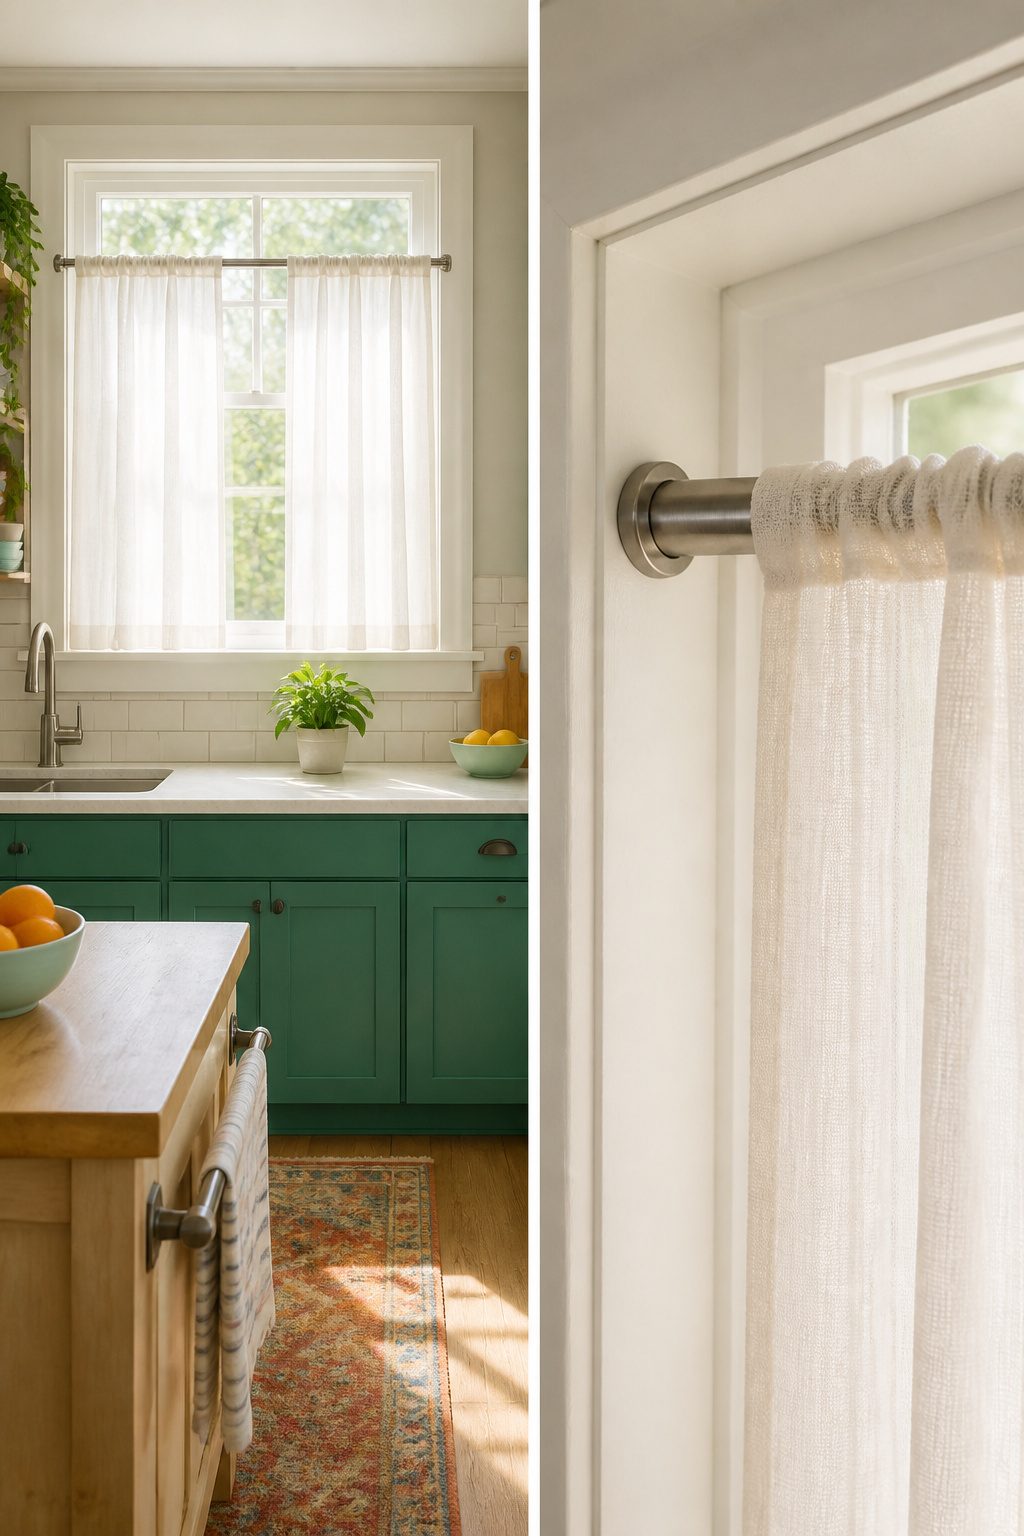
A spring-loaded tension rod wedged inside the window frame was the first curtain hardware I ever bought, and it stayed in service long after I stopped renting.
The appeal is obvious: no drill, no brackets, no deposit argument with a landlord. You twist the rod until the internal spring presses the rubber end caps hard enough against the jamb, and the curtain hangs.
The weight limit is real. Heavy drapes or even lined panels will slowly compress the spring, and the rod drops onto the sill at 2 a.m.
I learned that after a set of velvet curtains I should have known better about. Lightweight sheers, café panels, or a simple cotton curtain stay put; anything with a thermal lining wants real hardware.
The rubber end caps are another gotcha.
Leave them pressed against painted trim through a humid summer and they can leave a ring or pull a chip when you move the rod. A scrap of wax paper behind each cap breaks that bond without slipping.
What keeps tension rods in my house now is everything except windows.
A short one under the kitchen sink hangs spray bottles by their triggers, no more domino tumbles into the cabinet back. In the closet, a rod at shoe-heel height turns a pile into a row.
My sister runs one across her daughter’s bookshelf as a soft corral for stuffed animals that would otherwise avalanche. The same mechanism, just aimed at a different gap.

Material: Adhesive curtain tiebacks is construct of superior thicken 304 stainless steel, which will never rust and can be used for a long time.

【CURTAIN TIEBACKS SIZE】The length of each curtain rope is 67cm/26.37inches, width 1cm/0.39 inches, set of 4 PU curtain tiebacks. When you open the curtains, you can let the sunlight in, adding retro and elegant visual sense to your room

Premium PU Leather Craftsmanship: These leather curtain rod holders are made from high quality PU leather, offering durability and a refined decorative touch for modern home interiors
6. DIY Finials
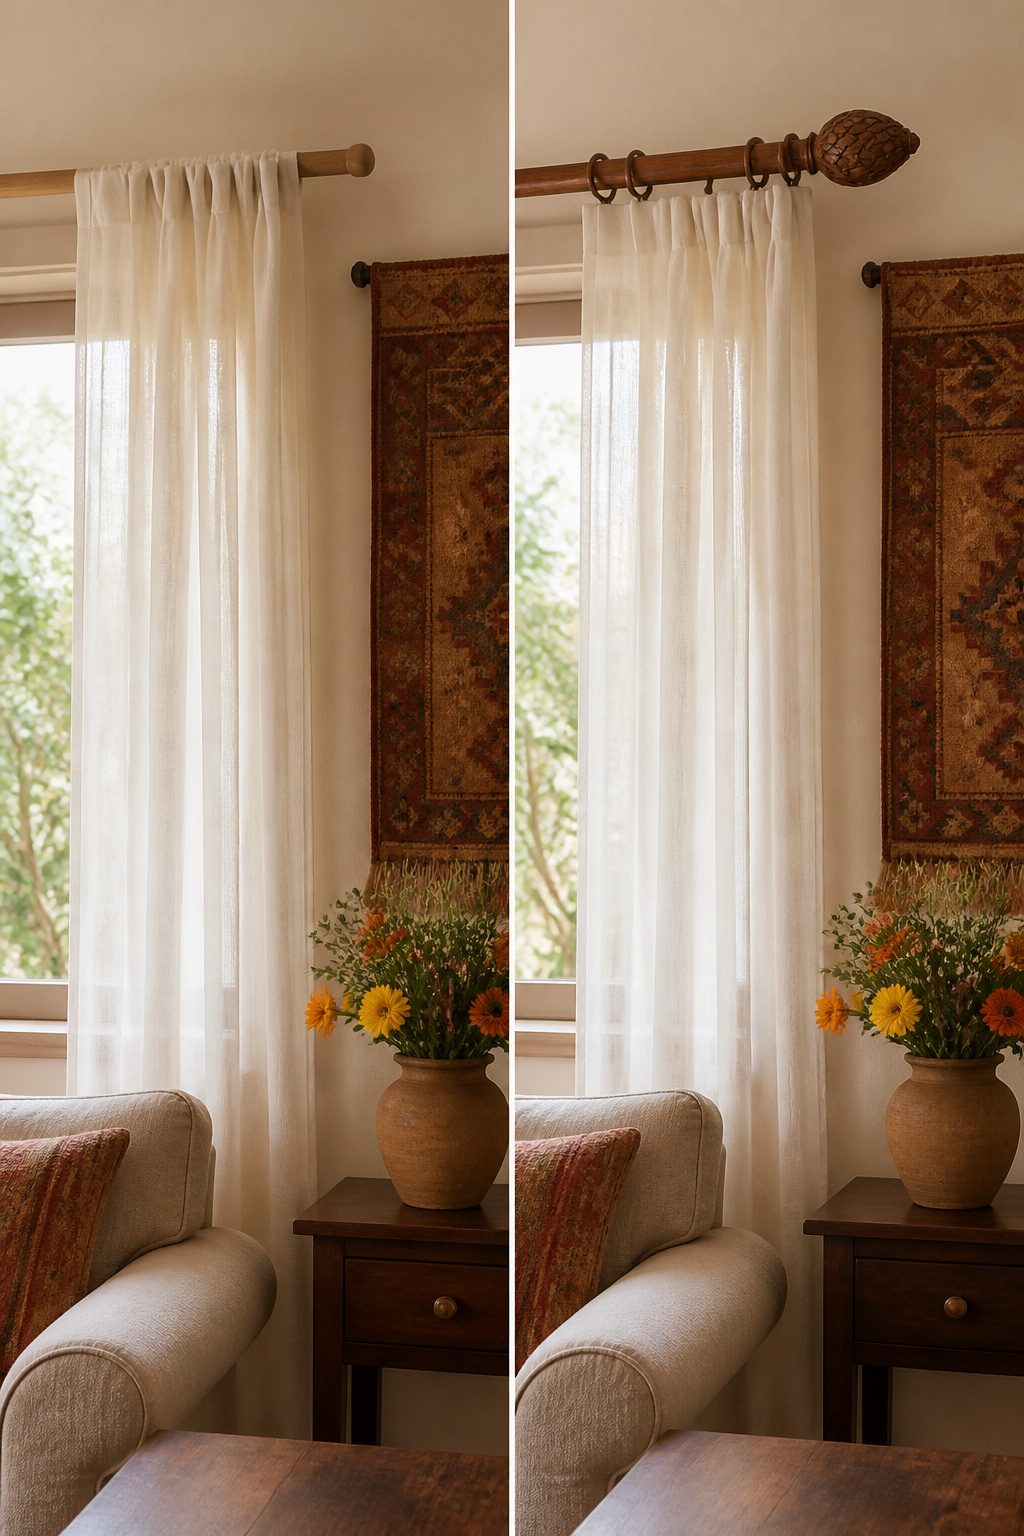
The real personality of a curtain rod sits at the ends, not the middle. Wooden knobs from the craft-store bin cost a few dollars and thread straight onto a dowel with a 5/16-inch threaded insert epoxied into the knob base.
Wine corks work too, drilled through and glued, though they split if you torque the screw too hard.
Salvage-yard doorknobs give weight and a story, but check the stem diameter against your rod before you pay.
Polymer clay lets you bake whatever shape you want, keys or leaves or lumpy spheres, and the set-screw method holds them fine: a small machine screw through the finial face that bites into the rod end.
No threading needed, just a pilot hole.
Set-screw finials spin loose over time unless you flatten the rod end with a file so the screw has a seat to grip.
Threaded inserts hold better long-term but need the right tap and patience; for a weekend project, the set-screw route forgives more mistakes.

【WOOD CURTAIN ROD WITH CARVED FINIALS】Each finial is crafted from high-strength resin with an intricate leaf vine pattern, bringing the hand-finished look of sculpted wood to this decorative curtain rod — a natural fit for boho, farmhouse, rustic, and vintage interiors
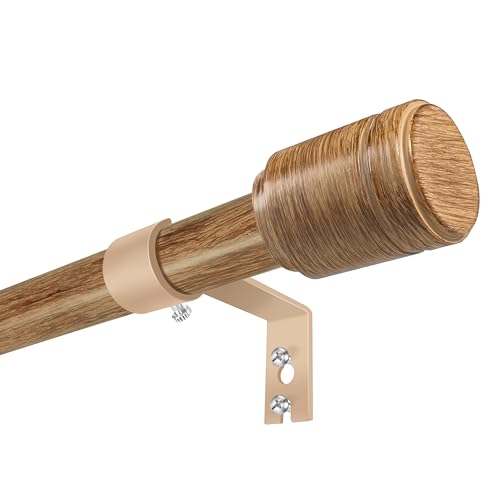
【ADJUSTABLE LENGTH】Composed of 5/8 diameter curtain rods, the small curtain rod is ranging from 30 to 60 inches in length, suitable for windows ranging from 30 to 54 inches. Comes with 4 rods that need to be screwed together, not 2 poles

【How to Choose a Right Curtain Rod】Please measure your window size(Don't only measure the glass but the entire window frame.) before purchasing to help you choose a right curtain Rod.Curtain Rod Size = Overlap + Window Size + Overlap(The recommended overlap is at least 2-6 inches for panels to stack on each side,it depends on the panels thickness),so a right curtain rod should be 4-12 inches longer than your window size.If your window is 45 inches, your curtain rod should be 16-60 inches
7. Motorized Tracks
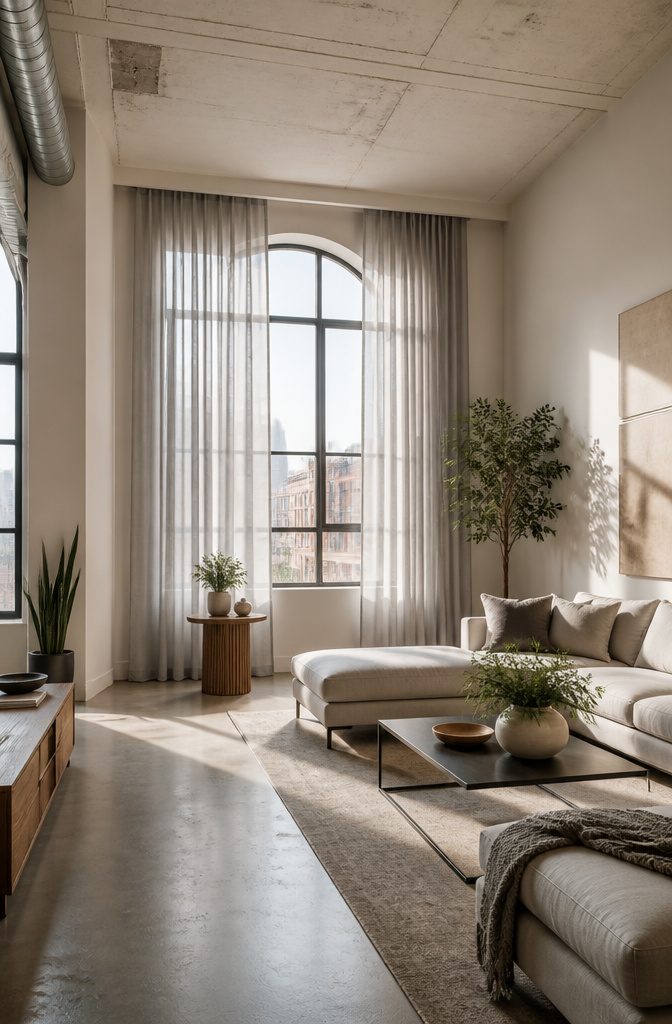
Some windows are just not worth climbing for. The battery-operated retrofit track solved that for a friend with a lofted living room window that sat above a narrow staircase landing.
The motor runs on a small lithium pack or a set of AAs, tucked into a slim housing that disappears behind a shallow valance or up inside a ceiling return.
Track lengths top out around 12 feet before the motor strain becomes noticeable, so a single unit handled her 10-foot wall but would have needed a paired setup for anything wider.
The remote and app control both work, though the app adds scheduling she never actually uses. Prices cluster between $80 and $200 depending on length and whether you want the smart-home integration or just the clicker.
Installation means screwing the track to the wall or ceiling, no electrician, but the bracket placement still needs to be dead level or the curtain drags.
For renters, the holes are small enough to patch later; for owners, the real win is never again balancing on a step stool behind the sofa just to let in morning light.

Adjustable Length for Perfect Fit: This industrial curtain rod is designed to meet your window needs with its adjustable length, extending up to 144 inches. Whether you’re looking for curtain rods for windows in your bedroom, kitchen, or living room, this rod projects 3.5 inches from the wall and can be mounted on walls or ceilings, offering versatility for any space.

【Metal Curtain Rod】100% metal construction, 1-inch diameter, 0.6mm thick metal tubing, more robust and durable.The anti-slip brackets grip walls firmly, ensuring wobble-free performance

Value Pack: Each package includes 2 sets of curtain rods, providing more value than purchasing a single pack
8. Rope Rods
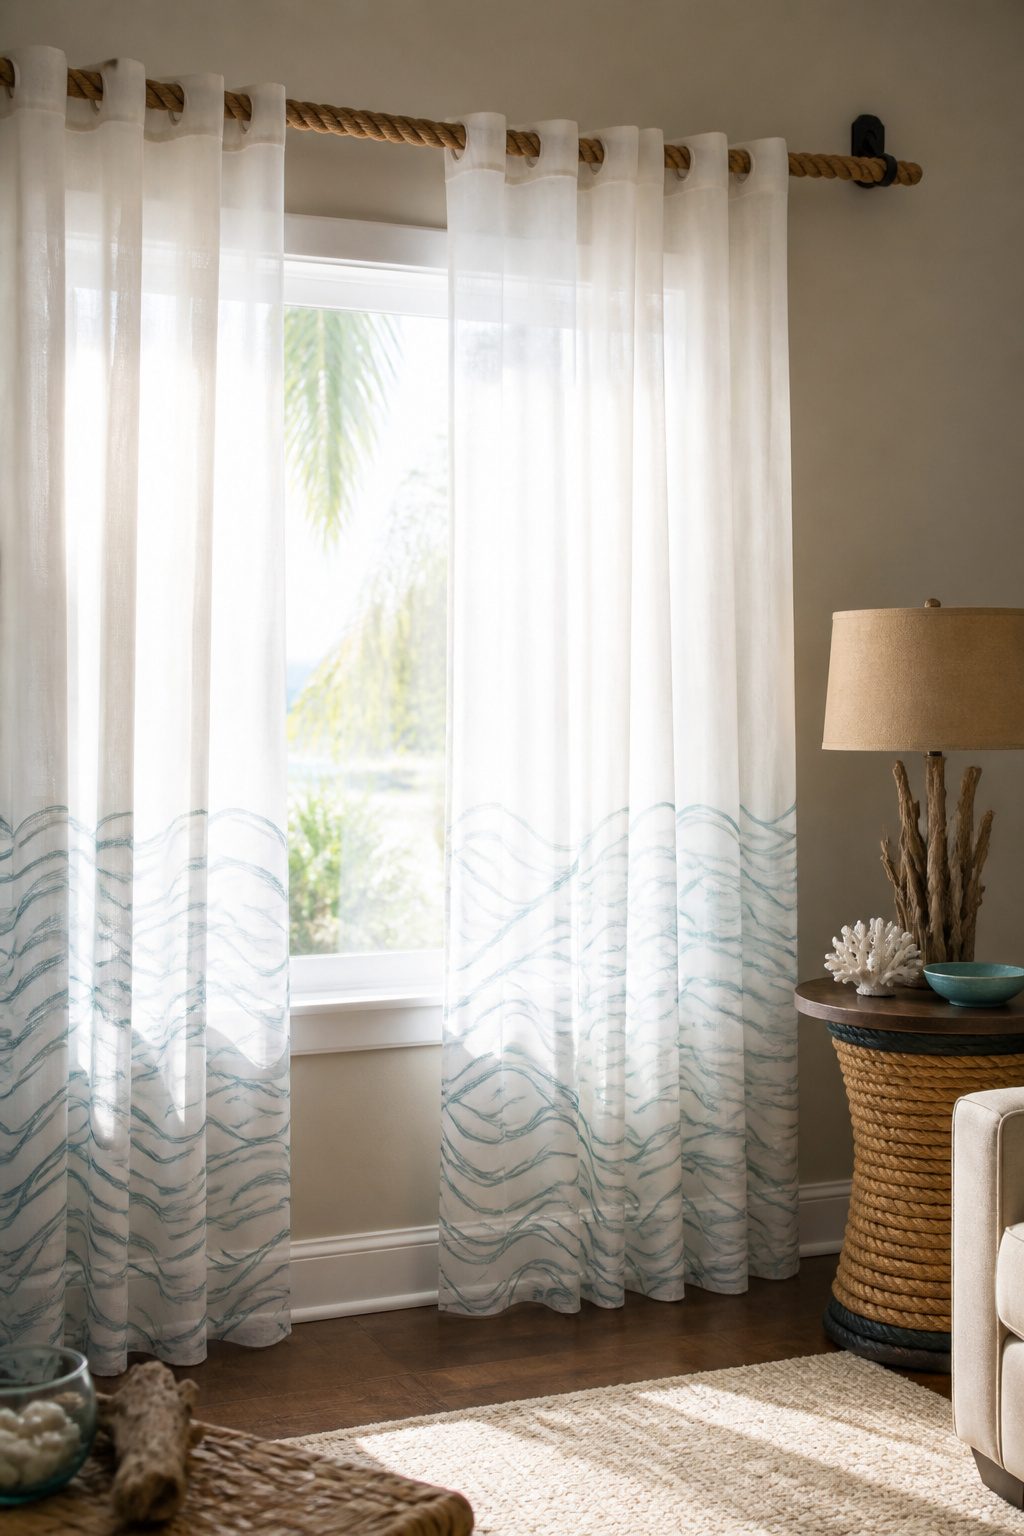
Thick manila or marine rope threaded through simple wall hooks gives curtains the easiest hardware to install and the hardest to keep level.
The rope itself becomes the rod, with curtain rings sliding directly over the braided surface for a look that reads more clothesline than window dressing.
That casualness is exactly why it works on porches, in kids’ rooms, or anywhere you want the support to vanish behind fabric.
The ends need proper whipping or a tight eye splice, not just a knot that swells fat and catches on the rings.
Hook spacing at three feet or closer keeps the rope from developing the low belly that shows up after a month of gravity and humidity.
Natural fiber stretches, especially the first few weeks; what hung taut in October will sag by Thanksgiving unless you started with the rope almost too tight and planned to retension it.
Marine cord in polyester solves the stretch but sacrifices the warm, fuzzy texture that makes rope appealing in the first place.
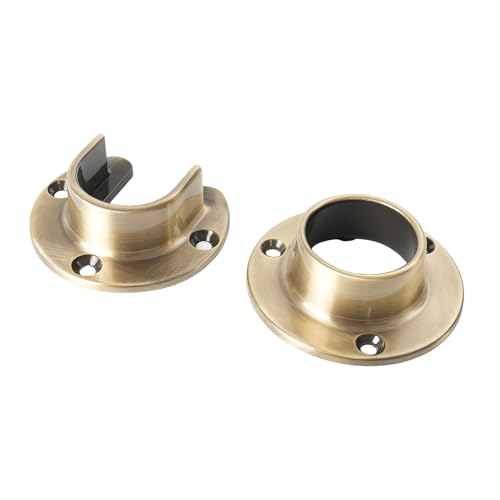
【Premium & Durable】: The Closet Pole Sockets Rod are made of solid cast zinc alloy outstanding rust proof and anti-corrosive properties. The surfaces are meticulously hand-forged and polished, attention to detail and electrocoating finish.

[Package includes]- The wardrobe pole set comes with 4 Franks and installation screws to meet your needs. One set of packaging can satisfy your requirements without any additional preparations.
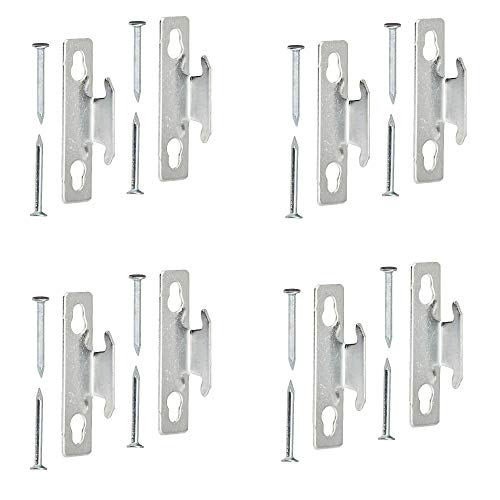
1 case of 4 Packs, 4 Count Total
9. LED Rods
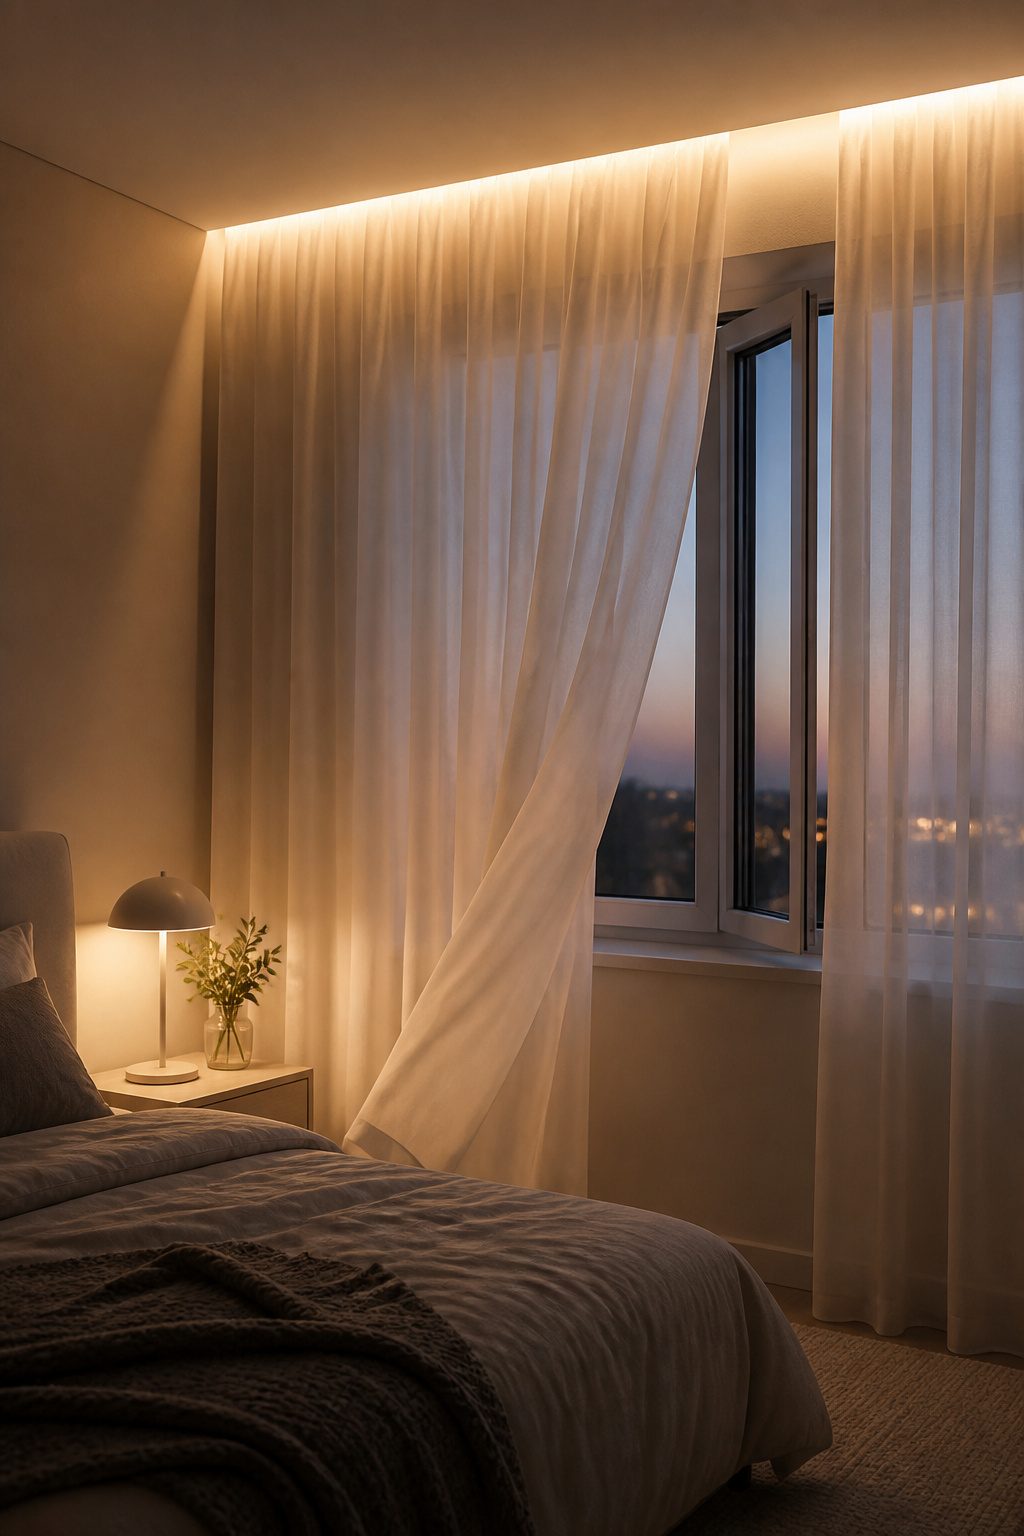
An aluminum channel with an embedded LED strip turns the rod itself into the light source, casting a glow downward through the fabric.
The power run hides inside the bracket or drops as a thin wire along the wall to the nearest outlet, which matters more than you’d think until you see a thick black cord dangling beside your curtains.
Warm white, around 2700K, reads as ambient light rather than a clinical strip.
Cooler temperatures feel like a hospital corridor when the room goes dark. The dimmer belongs on the cord within arm’s reach of where you stand to close the curtains, not buried behind furniture.
Sheers make this setup worth the effort. A blackout panel traps the light against the rod and wastes it; a sheer diffuses the glow through the weave and throws soft light into the room.
Velvet or lined cotton turns the whole thing into an expensive nightlight pointed at your ceiling.

EXCELLENT DESIGN: The curtain rod brackets have T shaped design, easy to install with screwsdriver. The more longer screw position distance let the rod holder have more weight capacity
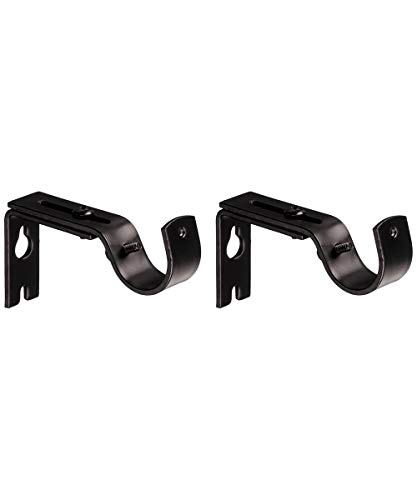
Set of 2 adjustable brackets for mounting a curtain rod to the wall

Set of 2 adjustable brackets for mounting a curtain rod to the wall
10. Double Rods
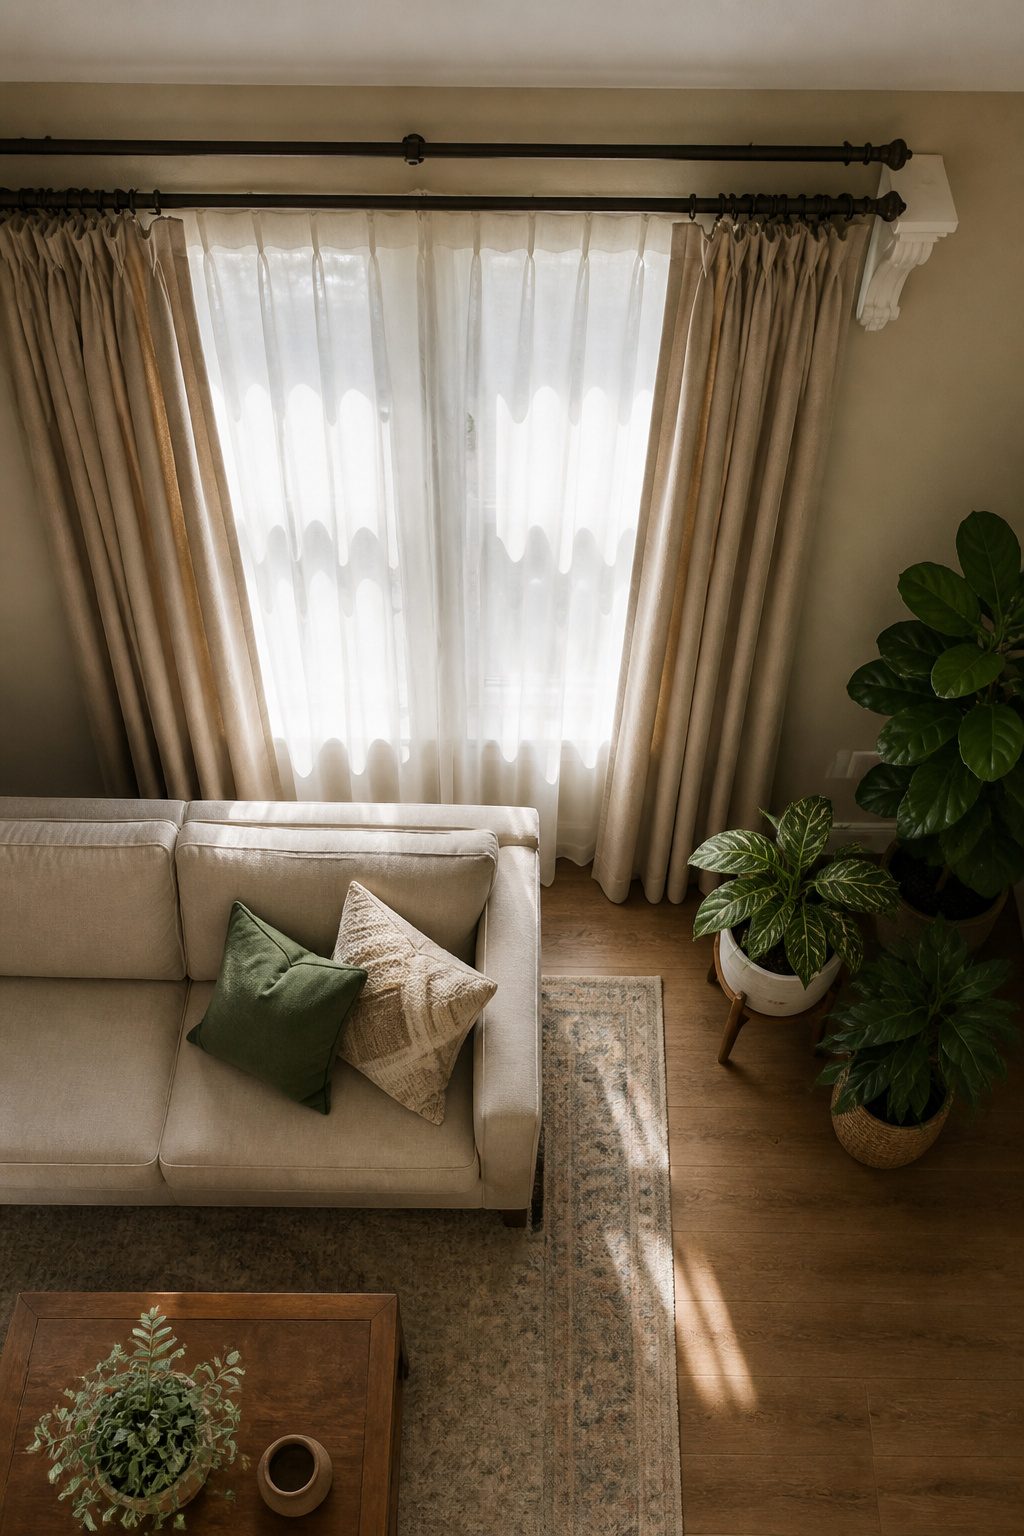
Two layers on one set of brackets give you sheer inside, drape outside, or any pairing you want. Adjustable kits expand to whatever width you measure, which saves the headache of cutting metal down yourself.
The brackets sit one in front of the other, and three inches of clearance is the minimum that lets both layers move without tangling every time you draw them.
A DIY build works with two wood dowels and corbels spaced for that same gap.
The back rod carries the sheer, the front rod carries the heavier drape, and the weight splits across both mounts instead of doubling up on one.
I like the look of corbels against a wall painted anything other than white; the shadow line reads as intentional trim rather than hardware you tried to hide.
The adjustable kits run cheaper than buying two separate rods, but the trade is in finish options. Most come in brushed nickel or oil-rubbed bronze and not much else.
With dowels, you stain or paint to match the room, though you are drilling your own bracket holes and living with whatever spacing math you did on the tape measure.

Material: Adhesive curtain tiebacks is construct of superior thicken 304 stainless steel, which will never rust and can be used for a long time.

Crystal Curtain Tiebacks: Facted crystal glass beaded rope with sun and moon pendants create a pure, simple, elegant atmosphere for your boho, farmhouse decor

STRONG MAGNETIC HOLD: Secure curtains in seconds without drilling or wall damage. These decorative magnetic curtain tiebacks keep curtains neatly in place while adding a clean, modern accent to any room.
What to Measure Before You Buy or Cut
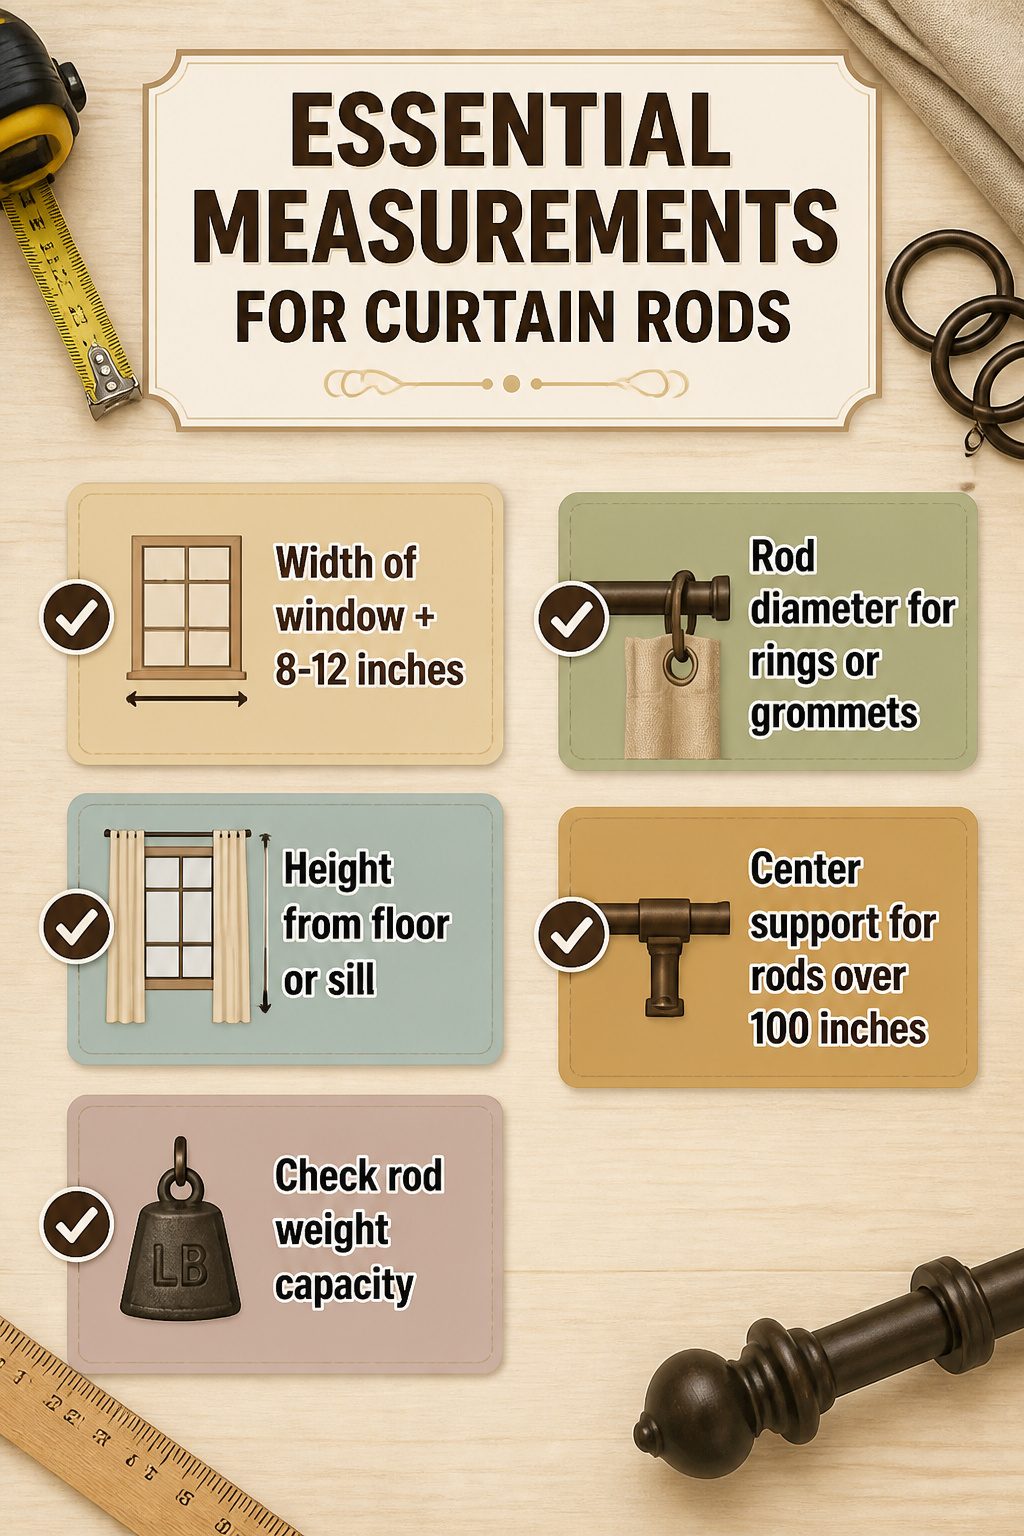
The width of the window is only the starting point.
Add 8–12 inches of wall past each side so the opened curtain, called the stackback, clears the glass entirely. Without that extra span, the fabric blocks daylight even when shoved to the edge.
Height matters just as much. Measure from the floor, or from the sill if that is your finish line, up to where the bracket will sit.
Higher placement buys a taller look, but the curtain length has to match exactly or the hem pools or floats.
Rings or grommets need a rod diameter that slides freely without rattling. A half-inch gap either way and the curtain hangs stiff or clatters when the window opens.
Weight is what tests the rod after it looks fine.
A heavy drape on a thin metal span bows in the middle by October. Past 100 inches, a center support or a pair of corbels underneath becomes non-negotiable, no matter how sturdy the wall brackets felt at installation.
Anchors and Drilling for Real Walls
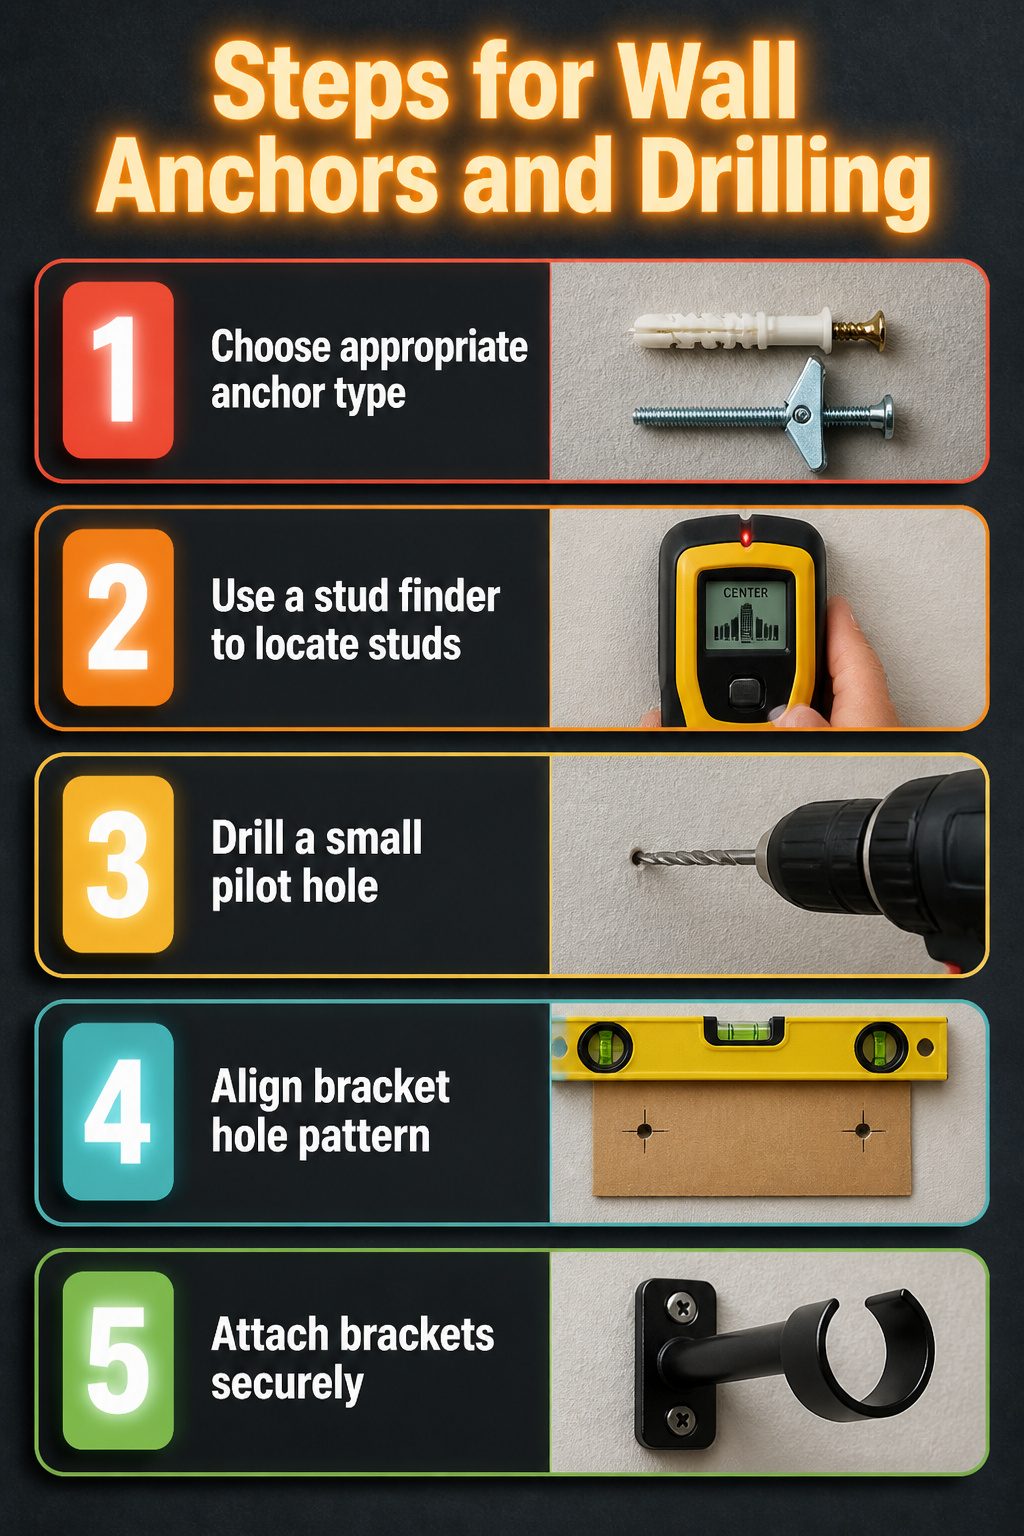
Drywall anchors rated for 30 pounds will hold a light sheer panel fine, but a blackout curtain on a wide span needs the 75-pound kind or you will be patching holes in six months.
In older houses with plaster and lath, the toggle bolt spreads the load across the back side of the wall and actually grips where the brittle plaster itself would crumble.
The stud finder that beeps over a pipe instead of a stud is a familiar frustration. I have learned to slide it slowly, mark the edge, then confirm by knocking for the hollow sound between studs.
Even then, drilling a small pilot hole first has saved me from punching into a bathroom supply line more than once.
The bracket hole pattern matters more than whether the rod is black iron or oak, because two holes misaligned by half an inch mean a bracket that sits crooked or pulls loose.
A scrap of cardboard punched with the bracket holes becomes a template that marks both sides at once, and a four-foot level laid across the top of it keeps the second bracket from the common mistake of creeping upward.
Budget Realities for Each Rod Type
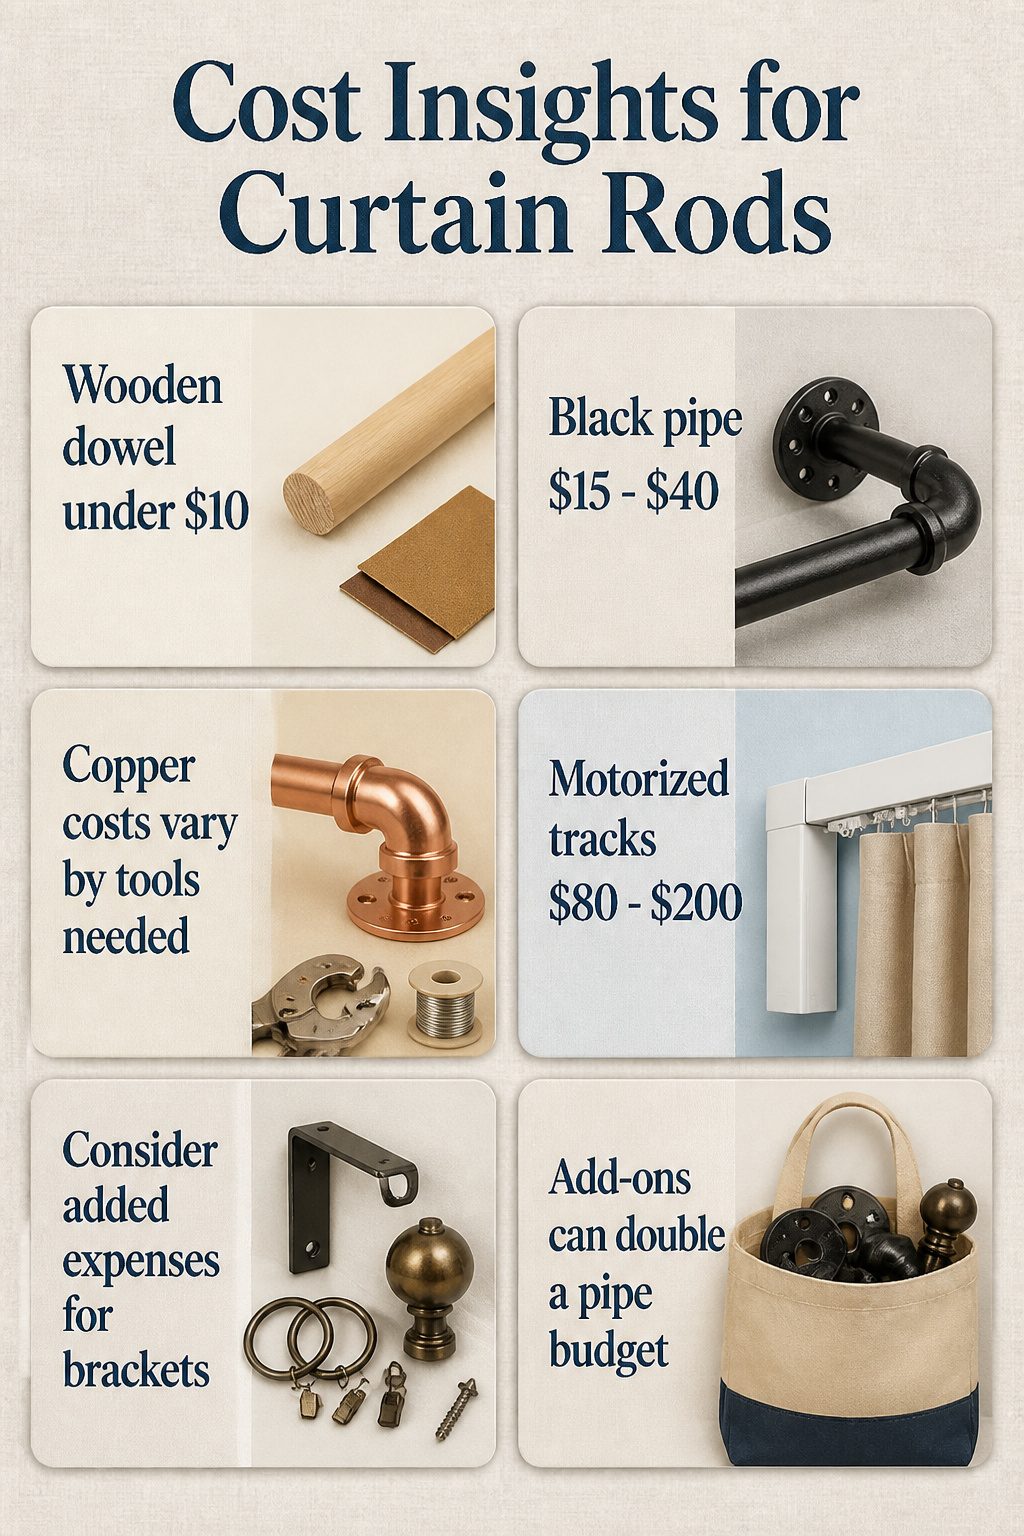
A wooden dowel for a standard window runs under $10 if you already have a saw and sandpaper at home.
Black pipe lands between $15 and $40, with the final number riding on diameter and how many elbows or floor flanges your wall demands.
Copper sits in that same band, though the math shifts if you need to buy or borrow solder or compression tools to join lengths without leaks that stain the wall.
Motorized tracks are the outlier at $80 to $200, and the gap in that range usually tracks with whether you are hanging a single panel or wiring a whole bay.
What the sticker prices hide: brackets, finials, rings, paint or sealant, and the second trip to the store because one flange thread is different from the rest. Those add-ons can double a pipe budget before the curtain ever slides on.
Frequently Asked Questions
What are some creative DIY curtain rod ideas?
Hardwood dowels, black iron pipe, copper tubing, rope, and repurposed items like tree branches, hockey sticks, or oars all work as curtain rods.
Each material gives a different look, from minimalist to industrial to nautical, and most cost far less than store-bought hardware.
How do I install curtain rods properly?
Add 8–12 inches of wall past each side of the window so the opened curtain clears the glass. Use drywall anchors rated for at least 30 pounds for light sheers, or 75-pound anchors for blackout curtains on wide spans.
Drill a small pilot hole first to avoid pipes or wires, and use a cardboard template punched with your bracket holes to keep both sides level.
What materials can I use to make a curtain rod?
Wood dowels, black iron pipe, soft copper tubing, thick rope, tree branches, golf club shafts, hockey sticks, and vintage oars are all usable materials.
Weight capacity varies: pipe carries the heaviest drapes, while dowels and rope suit lighter panels, and copper needs saddle brackets to avoid denting.